Any links to online stores should be assumed to be affiliates. The company or PR agency provides all or most review samples. They have no control over my content, and I provide my honest opinion.
I have reviewed some excellent case options from Thermaltake so far, and I am working on reviews for two amazing new cases that have recently been released.
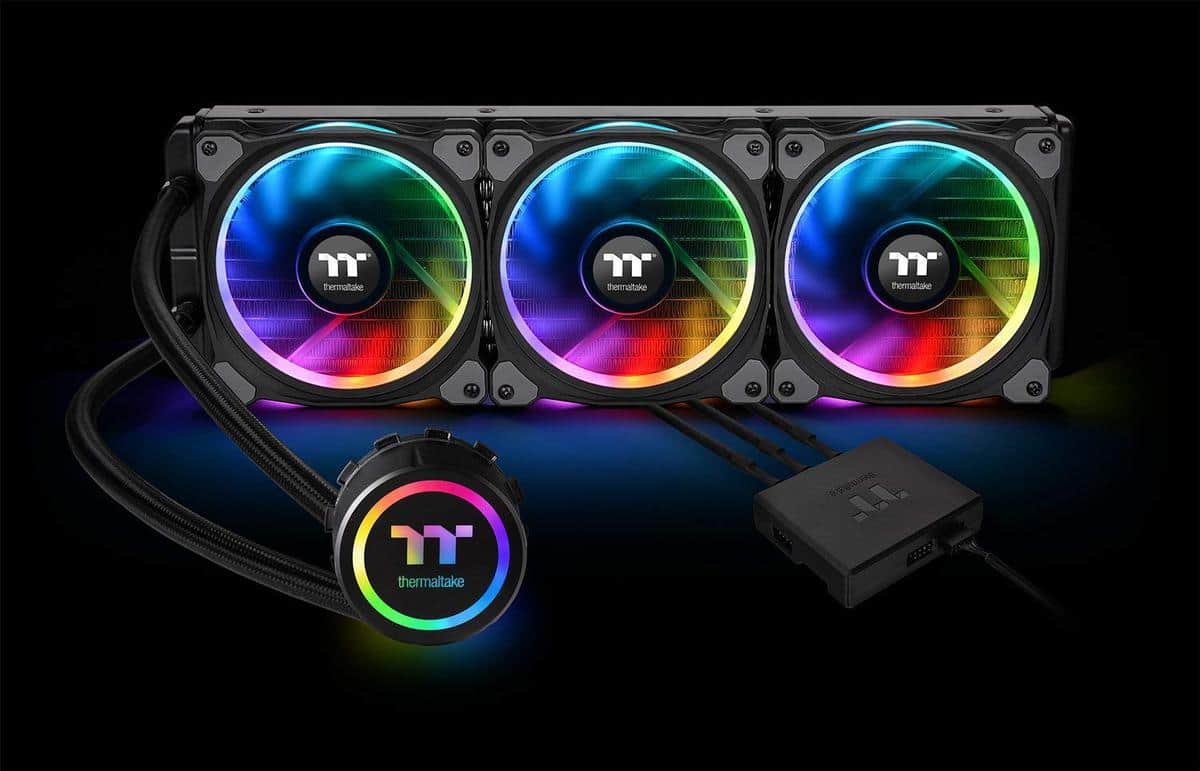
In order to make these cases shine, Thermaltake sent me their top of the range AIO watercooler to review the 360mm Floe Riing RGB Premium Edition.
Costing £186.39 on Amazon, from what I can gather this is the most expensive AIO solution on the market, with some options coming in as low as £100 and Thermaltake also offering a slightly cheaper choice with the Water 3.0 Riing RGB 360 at around £150.
With the Intel i9 7980XE costing £1,700+ with a TDP of 165W for stock, investing in a high-end cooler to help achieve better overclocks is a wise investment.
For me, I run an R5 1600, so this cooler costs more than I paid for the CPU. In the past, I invested in one of the first generations AIO options from Corsair when I built my i5 750 based machine. I generally value silence over performance, and the Corsair turned out to be a bit disappointing with a loud pump and average performance. Since then I have stuck with air cooling and most recently the excellent Dark Rock Pro 3.
So, I was quite pleased when this AIO arrived so I can see if the pumps are as loud as silent PC enthusiasts claim and how much better this solution cools my moderate CPU over air.
Design and Specification
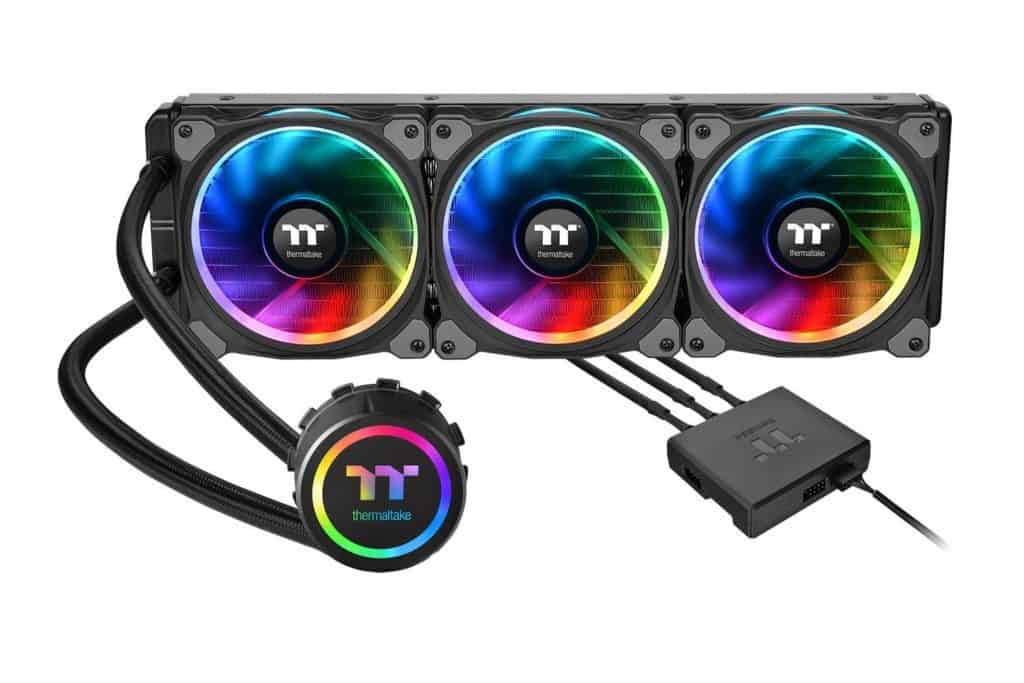
For a start, this model is an absolute beast, and only really needed to cool the most extreme of setups with some of the largest cases. They do a more moderate sized 240mm model too, which costs around £145. So if you want to buy this, make sure your case can fit it.
The Floe Riing RGB series isn’t just a normal AIO; it combines high end cooling with the first 16.8 million RGB colour option that you can manage within Windows.
The three included Riing Plus RGB TT fans differ from the fans most of us are used to, these do not use 3 or 4 pin headers but instead use a USB header that you would usually plug into your motherboard.
These fans are then plugged into the included hub which can accept up to 5 fans, and up to 5 hubs can be used on the same system giving you an option to run up to 25 fans, more than enough for even the most extreme build.
The fans themselves are PWM just like a 4-pin fan, so you get a wider range of control with the speed allowing you to create a quieter system.
Using Windows software to control the fans rather than your motherboard allows Thermaltake to add a few additional features. As well as the RGB control these fans work with Amazon Alexa which can be used to change the lighting modes, colour, brightness and speed modes.
The specification of the fans from the Thermaltake website states:
Nine fan blades are engineered to generate higher airflow without compromising on ultra-silent operation. With this unique blade design, the Riing Plus 12 RGB acts as a guarantee of performance.
The hydraulic bearing self-lubricates with a high-quality, friction-reducing substance, which lowers operation noise while improving thermal efficiency. The seal cap prevents lubricant leakage and extends the lifespan of the unit.
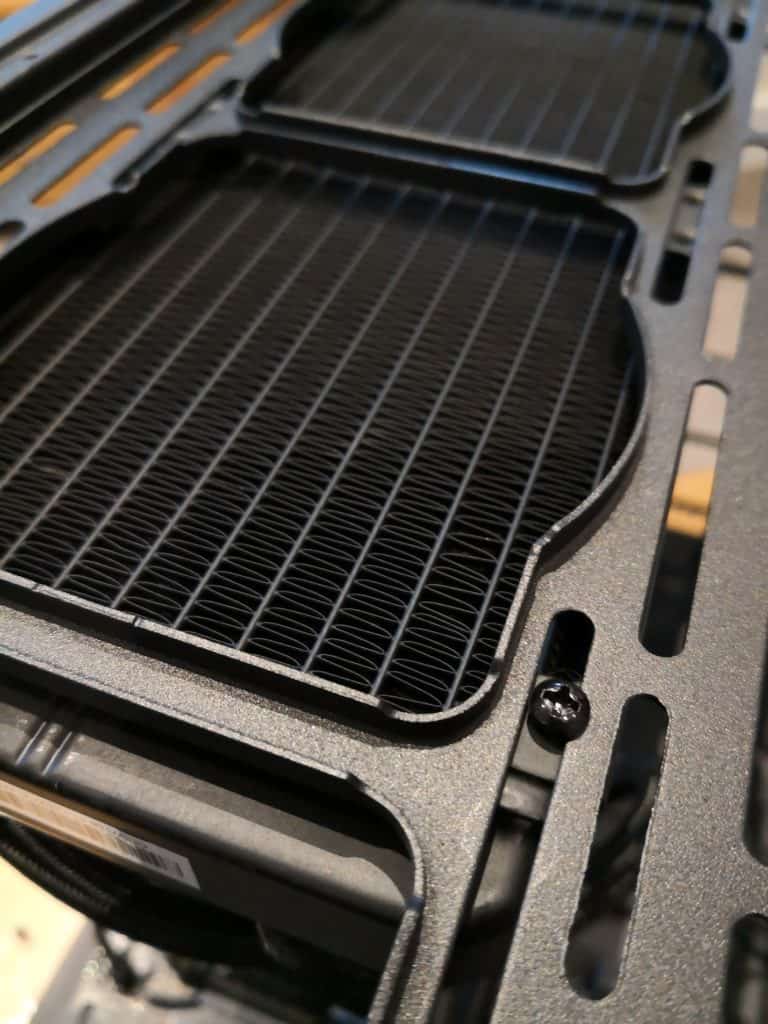
With the radiator and water block, you get a 360mm large surface radiator which not only doubles the cooling surface but also supports up to 6x120mm fans (push/pull) for additional heat dissipation.
The high-performance copper base plate accelerates the heat conductivity. The pre-refilled coolant reduces any stress from liquid replenishment hassle. Additionally, the reinforced sleeved cable delivers the best durability and prevents the tubing from any damages.
And finally, the high quality and reliable pump enables the maximum amount of water circulation, keeping the copper plate continuously cool. The low evaporation tube effectively decreases the loss of coolant; therefore, no refill is either needed or required.
Installation
This is obviously a more complicated process than fitting a typical air cooler, but thankfully it was still quite a simple affair. I did encounter 2 issues that were unrelated to Thermaltake which I think may be worth noting for anyone considering replacing an existing 3rd party cooler.
- This uses the standard AM4 backplate, if like me, you already had a third party cooler there is a chance it replaced the backplate. I had dismantled everything only to find out I was missing the part. Thankfully I found it in the loft.
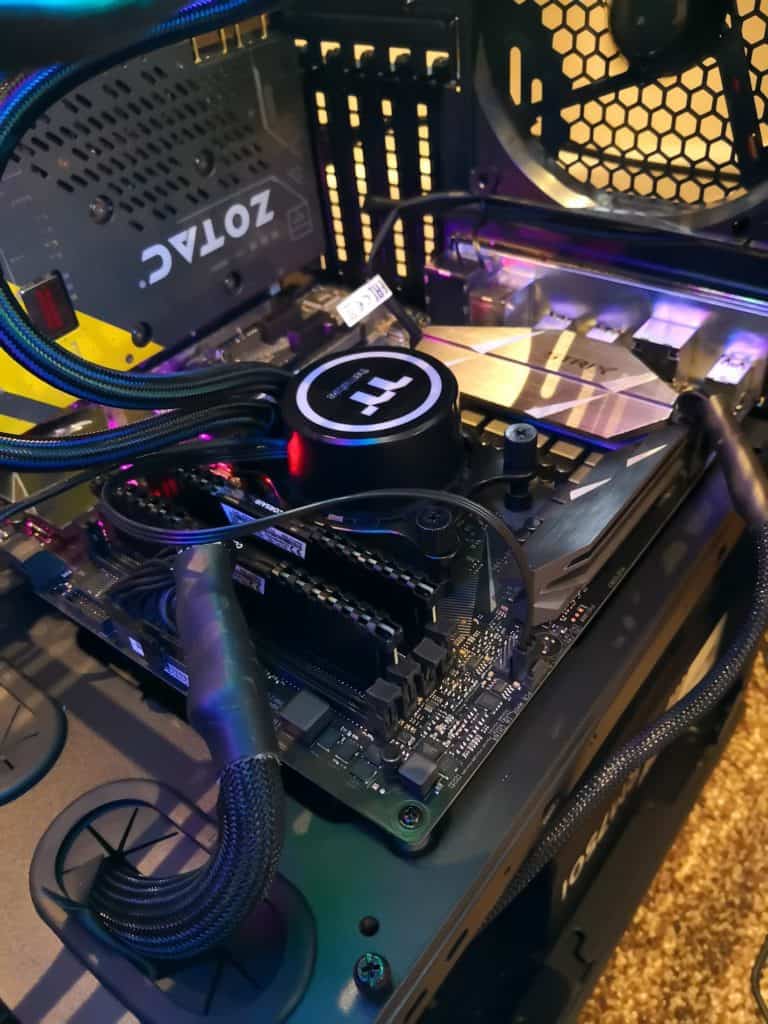
- In a quest to achieve lower temps and therefore lower noise I have used Thermal Grizzly Kryonaut as my thermal paste due to its higher conductivity over other popular options. It appears this sets more than standard TIM and my cooler and CPU were almost glued together, I ended up ripping the cooler out with the CPU attached. Luckily I didn’t damage anything.
Anyway, following my own incompetence, the rest of the installation was straightforward, you screw some mounts into the AM4 backplate, attach the AM4 mount to the cooler and screw it down with some large thumb screws. The mounts used and thumb screws appear to be perfectly sized so you don’t have to go through that awkward process of doing quarter turns to get even pressure across the CPU. At least that’s how it felt.
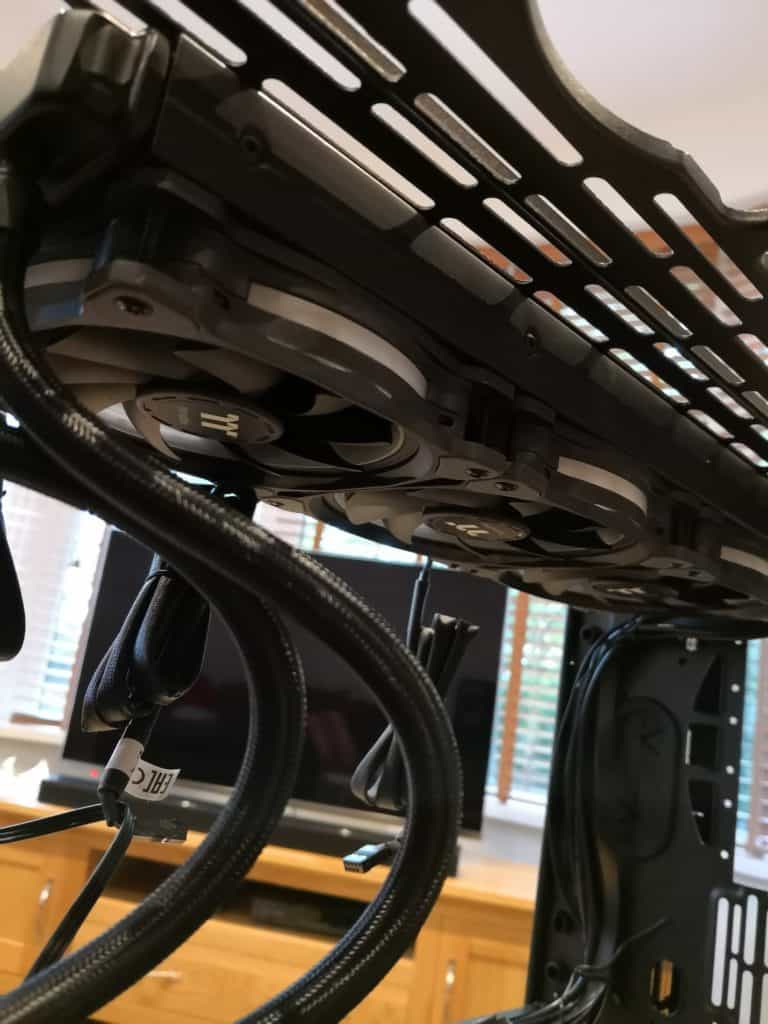
Installing the fans is also a simple affair, they all have rubber pads to provide some vibration resistance and the long screws easily mount onto the cooler.
Similarly, the small screws to mount to the case are easy to screw on and there are plenty of screw holes for a secure fit.
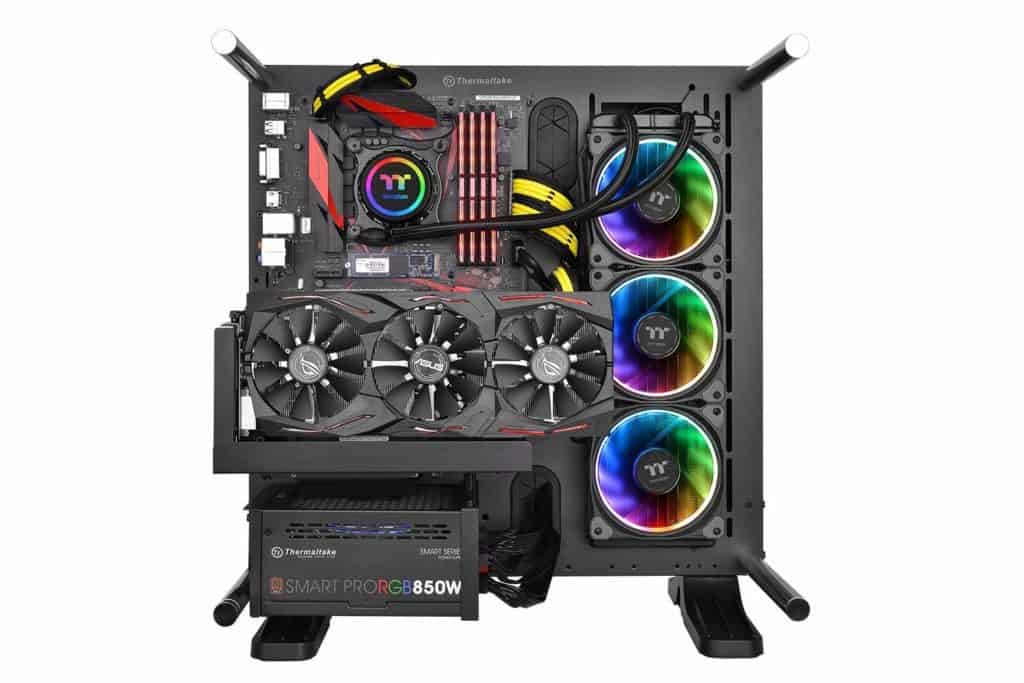
The main issue I found was with radiator placement. The hoses are not particularly long, on the 2 large Thermaltake cases I tried it out on they could not accommodate installation in the front. Roof placement was not an issue, and it what I prefer anyway as it exhausts the warm air and takes advantage of warm air naturally moving upward.
All the fans then need to be plugged into the hub, a molex connector from the PSU powers the hub, then you need to plug a micro USB cable into the cable which is then connected to one of the USB headers on the motherboard.
Software
To take full control over the fans, you need to install the TT RGB Plus software, which should then auto-detect your fans. In one of the cases I am reviewing I have 3 additional fans, so I needed a second hub, I did have some issues getting the 2 hubs working together during the set-up, it seemed to be a case of trial and error with setting the controller number or plugging things in different ways.
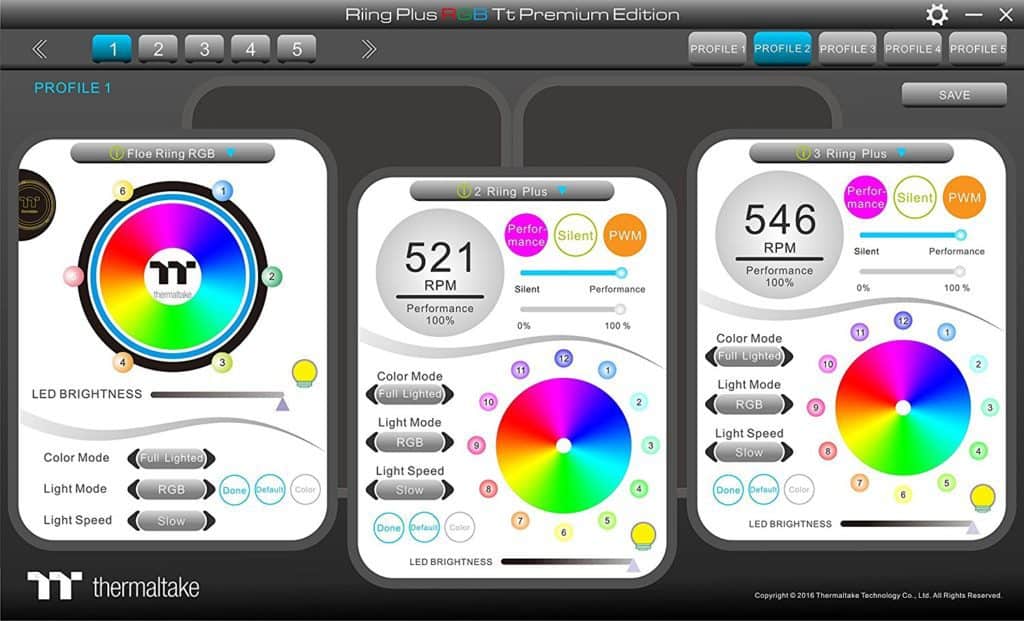
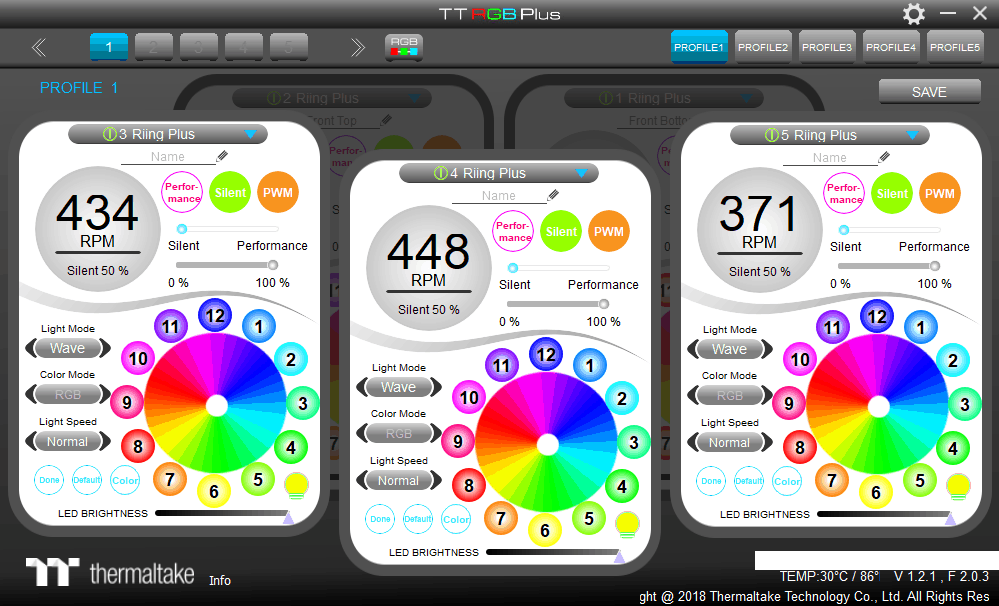
The software isn’t the most attractive; it looks like it was designed 10 years ago. It is however functional and quite easy to use. There is not a huge amount of options, for example controlling the actual fan speed is less thorough than the BIOS on my ASUS Strix motherboard. You can’t create custom profiles controlling the fan speed automatically based on temperature.
The main fan settings are silent, performance, and PWM on/off, with the PWM option giving fan speed control to the software.
With the LEDs, they is an extensive level of customisation. Each fan has 12 LEDs, and you can control the colour on each one individually, change brightness speed and light modes.
Performance
I am pleased to say, from my experience the performance is phenomenal, though the caveat here is that my CPU doesn’t test it to its best ability.
For comparison, at stock, my Dark Rock Pro 3 keeps my CPU at around 15 degrees above ambient using a silent fan profile making the PC inaudible under light load from my desk.
Using the cooler with the setting on for PWM and the profile set to silent the fans run at around 400-450 RPM. At this speed, I have to put my ear on the case before I can hear anything.
At stock, this kept my PC at around 30-degrees under light to medium load, which is about 8-degrees above ambient.
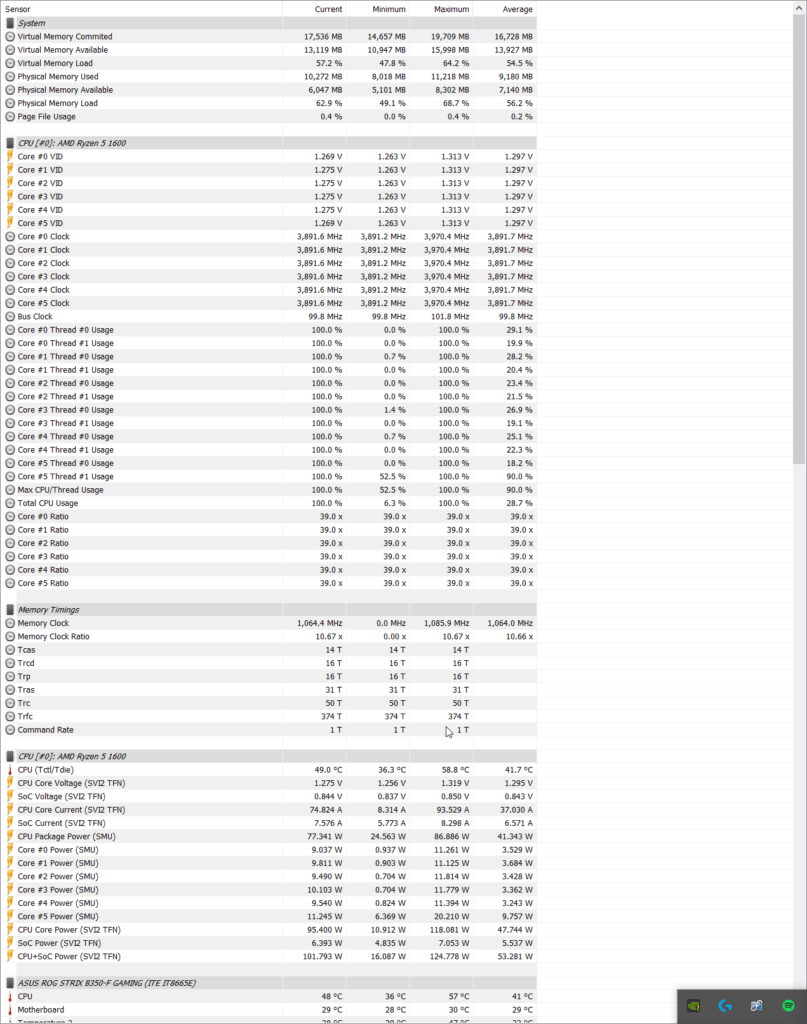
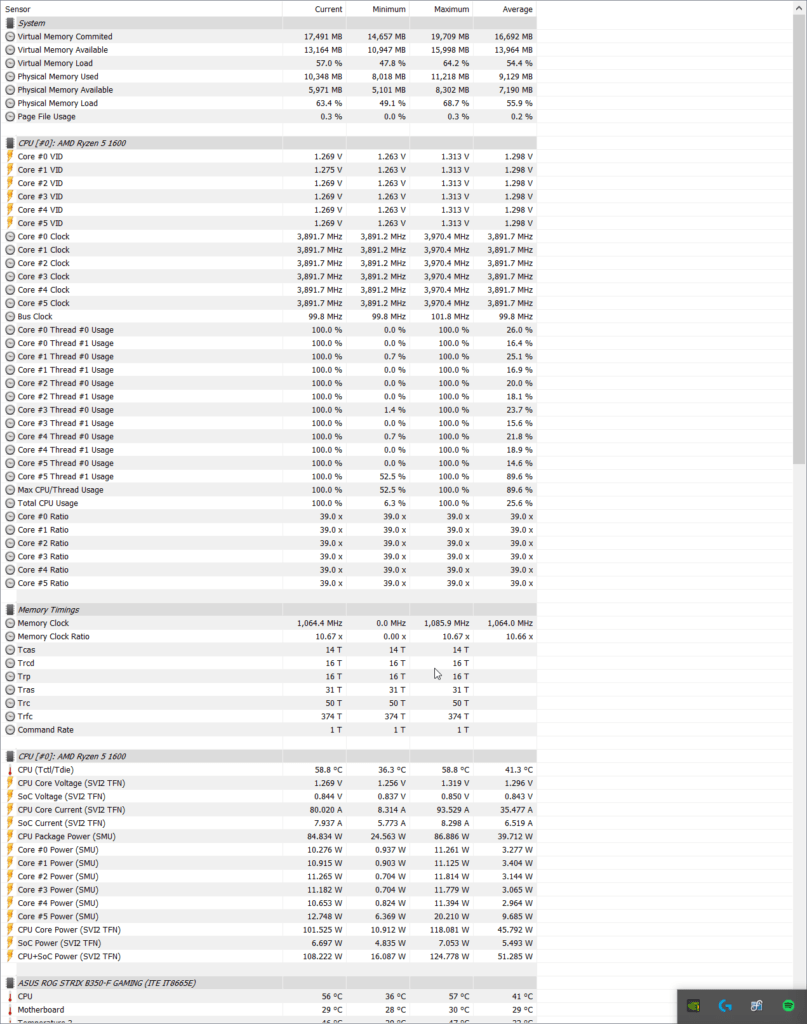
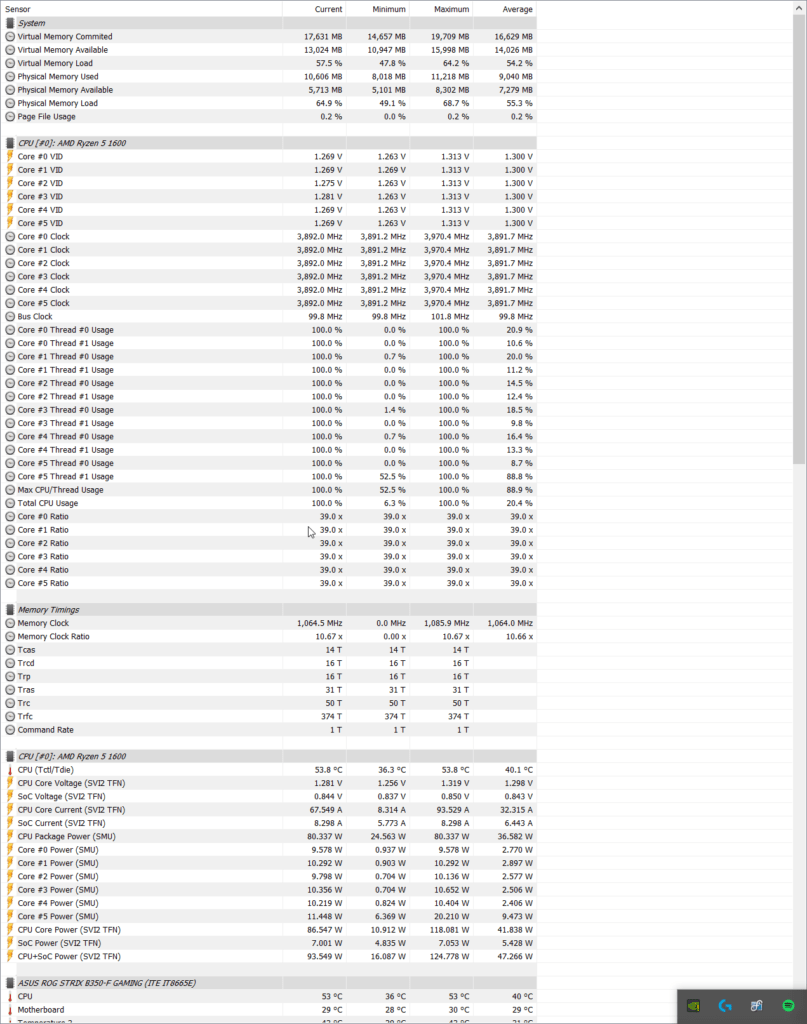
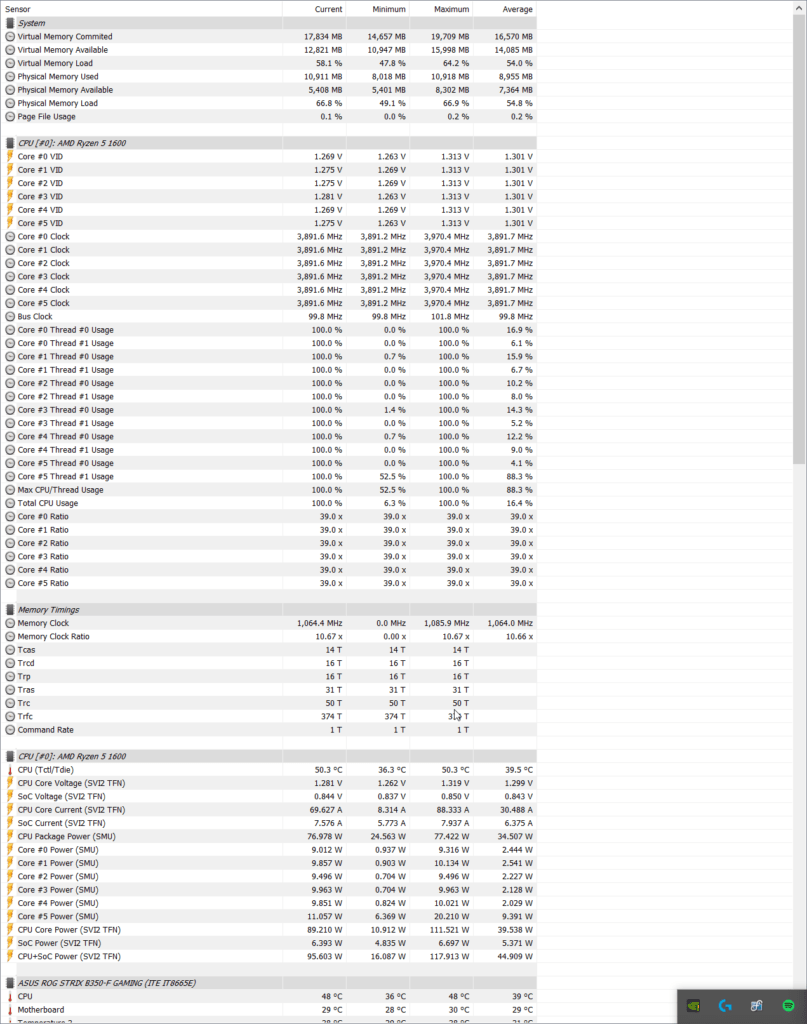
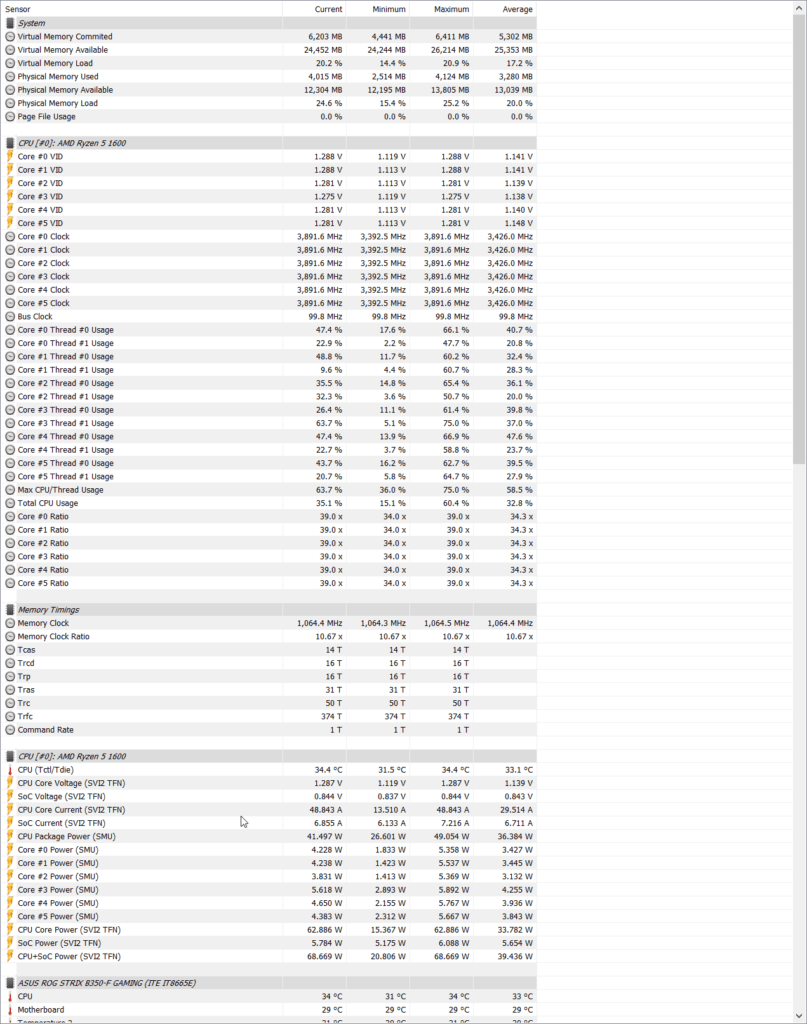
While I don’t do a lot of overclocking, I did play with AMD Ryzen Master Suite to push my CPU a little further. In the past, I used the BIOS for overclocking, but since getting the Ryzen CPU and based on my low overclocks I have found Master Suite to be a lot more user-friendly and quite capable of achieving what I want. Using this software worked my clock speed up to a moderate 3.9Ghz. HWinfo reported the average clock as 3.891Ghz
For light load this overclock didn’t increase my temperatures that much, with it only going up to about 35-degrees, or 15-degrees above ambient.
Using Prime95 to apply a heavy load to the CPU I ran it for 30 minutes with temperatures peaking at just under 60-degrees at this point temperatures either stopped rising or were extremely slow to rise. My PC remained almost completely silent even though the fans span up to around 900rpm.
Switching to performance mode the fans spun up to about 1200, and at this point, my PC did become more audible, but not by much, the sound profile was not distracting. Switching to this mode decreased the temperatures by around 5-degrees while running Prime95, so the temps dropped to about 55-degrees.
Switching off PWM and putting them into performance mode, they spin up to full speed at 1600RPM. At this point they are very audible but not intrusively so, the sound profile is quite pleasant, and most background noise drowns this sound out. In particular, the GPU fan noise is far higher when they spin up compared the CPU.
It appears the years I have avoided AIO coolers due to the fear of a noisy pump has been somewhat unwarranted. You don’t get a completely silent system, but I do have to put my ear next to the case to hear the pump properly.
Overall
I think I am an all in one convert; the 360mm Floe Riing RGB offers extreme performance while providing near silent operation.
This cooler should be able to tame the most powerful of processers while allowing you to achieve some large overclocks.
During my use it was possible to run this almost silently for day to day use while achieving minimal noise for heavy use, it far outclassed my air-based cooler.
I am not a massive fan of RGB but I can appreciate its appeal, and this cooler can provide an enormous level of colour customisation allowing you to illuminate your case with any colour scheme you want.
The software could do with some work; it would be nice if it was a little more attractive and provided an option for you to apply your own fan profiles. It works as is, and based on the performance you probably don’t need to worry about custom fan profiles, it is just nice to have the option.
Price is obviously an issue, but with this level of performance I think it is justified, and it is also easier and cheaper to implement than a custom water loop.
Thermaltake 360mm Floe Riing RGB Premium Edition
Product Name: Thermaltake 360mm Floe Riing RGB Premium Edition
Offer price: 186.39
Currency: GBP
Availability: InStock
Overall
90%-
Performance - 100%100%
-
Sound / Silence - 90%90%
-
Price - 80%80%
I am James, a UK-based tech enthusiast and the Editor and Owner of Mighty Gadget, which I’ve proudly run since 2007. Passionate about all things technology, my expertise spans from computers and networking to mobile, wearables, and smart home devices.
As a fitness fanatic who loves running and cycling, I also have a keen interest in fitness-related technology, and I take every opportunity to cover this niche on my blog. My diverse interests allow me to bring a unique perspective to tech blogging, merging lifestyle, fitness, and the latest tech trends.
In my academic pursuits, I earned a BSc in Information Systems Design from UCLAN, before advancing my learning with a Master’s Degree in Computing. This advanced study also included Cisco CCNA accreditation, further demonstrating my commitment to understanding and staying ahead of the technology curve.
I’m proud to share that Vuelio has consistently ranked Mighty Gadget as one of the top technology blogs in the UK. With my dedication to technology and drive to share my insights, I aim to continue providing my readers with engaging and informative content.

