Any links to online stores should be assumed to be affiliates. The company or PR agency provides all or most review samples. They have no control over my content, and I provide my honest opinion.
Following on from my previous Insteon posts about setting up Home Assistant Windows Portable (HassWP) and cheap PCs to run as a server for Docker/Insteon.
This post is a guide for anyone wanting to get Home Assistant Windows Portable working on a PC running Windows Home.
In my HassWP original post, I installed Home Assistant on my work PC, and it didn’t even occur to me that I was running Windows 11 Pro. One reader pointed out that you need Hyper-V, which is not available on Windows Home.
However, it is possible to get this working, and it is not too difficult.
If you are looking for a permanent solution to keep your Insteon devices up and running, I’d strongly recommend investing in dedicated hardware to run as a server and have Home Assistant running 24/7. I’d avoid a big desktop, especially with the cost of electricity at the moment; instead use a small form factor / mini PC (or an RPi4 if/when they become available again.
These are easy to hide away, low noise and low power. They are also cheap to pick up used.
However, if you absolutely have to get Home Assistant up and running on a Windows 10/11 Home installation, this guide may help.
Check your system supports virtualization
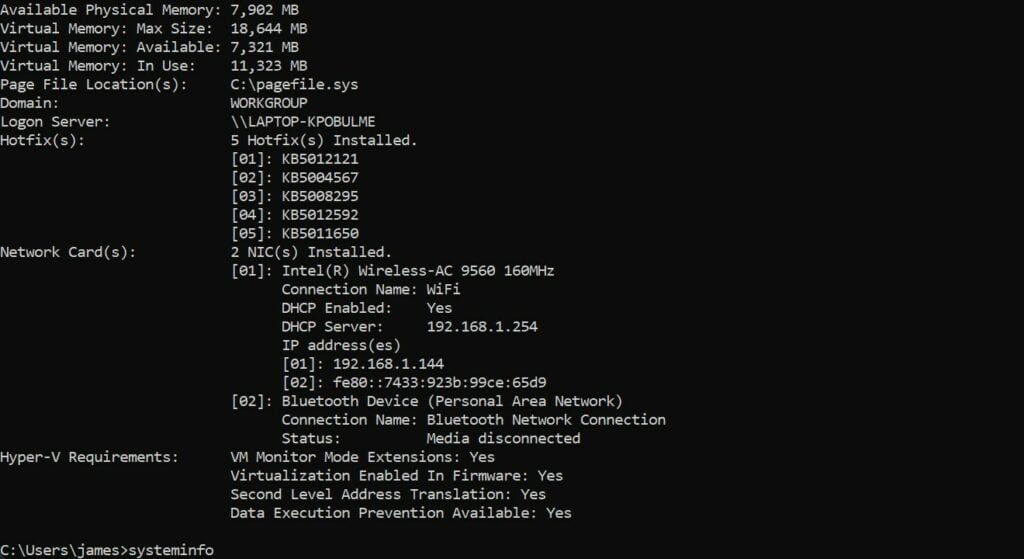
A lot of PCs may have virtualization disabled from the BIOS. You can check this by:
- Click the Windows Icon
- Type CMD and click on the program icon
- Type systeminfo and hit enter
- This should show Hyper-V requirements and have Yes for the various options.
- If no, you need to restart you PC, go into the BIOS and find where it says virtualization support and enable it.
Enable Hyper-V in Windows 10 or 11 Home
I tested this on my Huawei Matebook 13, which is currently running Windows 11 Home.
If you save the following code into a .bat file then run it as administrator (right-click, run as admin), Windows will install the various components required for Hyper-V.
pushd "%~dp0"
dir /b %SystemRoot%\servicing\Packages\*Hyper-V*.mum >hyper-v.txt
for /f %%i in ('findstr /i . hyper-v.txt 2^>nul') do dism /online /norestart /add-package:"%SystemRoot%\servicing\Packages\%%i"
del hyper-v.txt
Dism /online /enable-feature /featurename:Microsoft-Hyper-V -All /LimitAccess /ALL
pause
I have uploaded the bat file for your convenience, and I sourced the code for the bat file from the bottom of this thread. For security, I’d recommend opening the bat file in notepad to confirm what I have included is the same as what is on that page.
You can download the Hyper-V installer bat file here.
When you run the script, it takes a while to install, and when it is completed, Windows will ask you to restart.
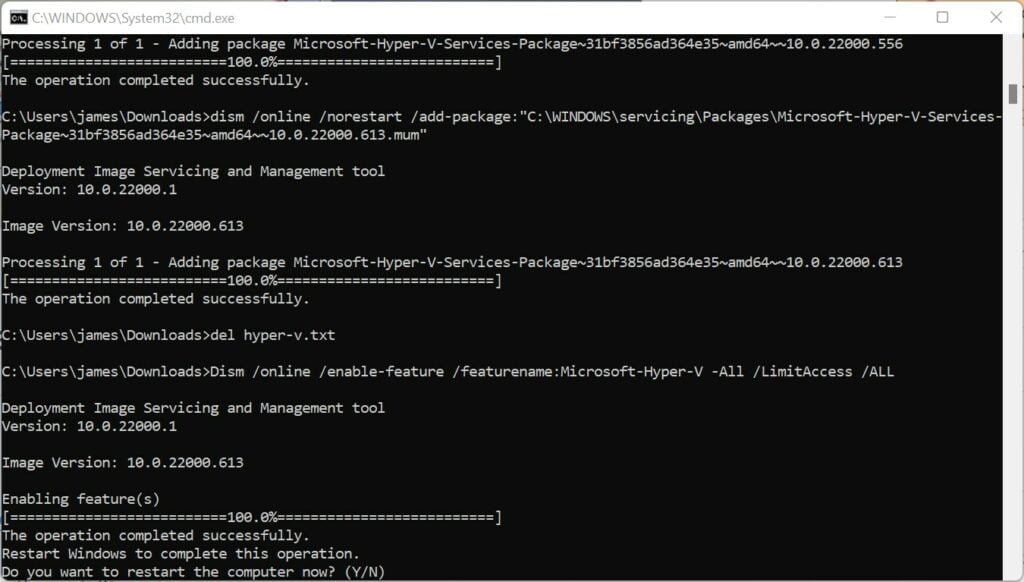
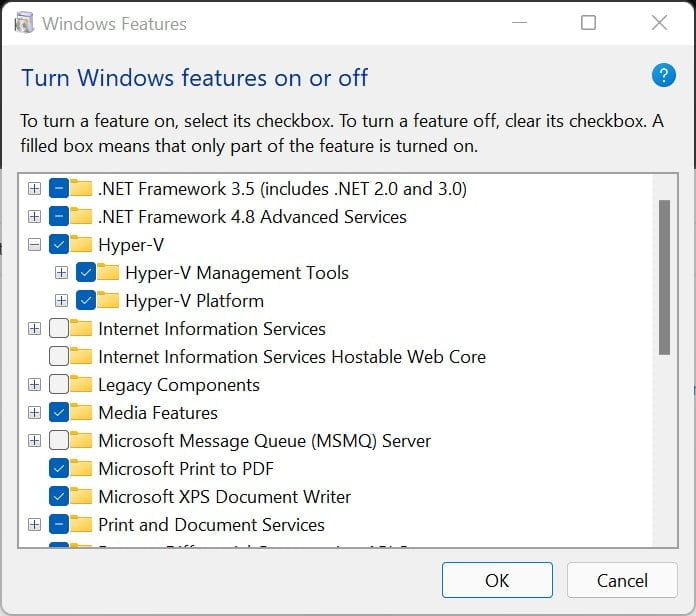
After restarting, you can check if the Hyper-V option is visible in Windows Optional Features. To check, go to Run > type control, hit enter > Programs > Turn Windows Features on or off
Under here, both options under Hyper-V should be ticked.
Install Home Assistant Windows Portable
With Hyper-V working, I was able to set up Home Assistant Windows Portable (HassWP) with ease.
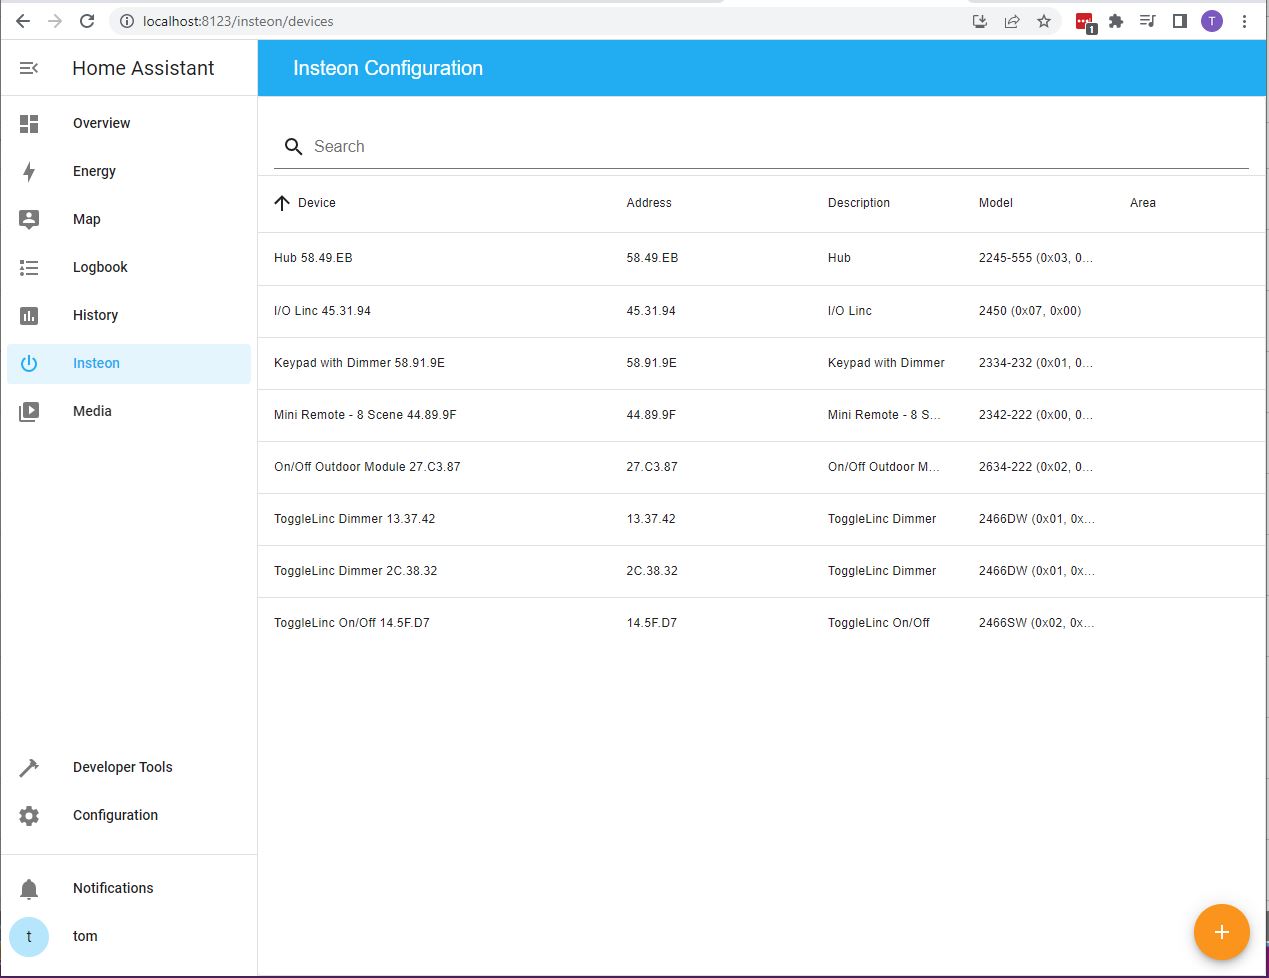
I have written more information here, including adding your Insteon devices
Basically, to install HassWP you just need to:
- Download HassWP.zip
- Unpack
- Run Hass.cmd (it will just be hass if you don’t have extensions visible)
I am James, a UK-based tech enthusiast and the Editor and Owner of Mighty Gadget, which I’ve proudly run since 2007. Passionate about all things technology, my expertise spans from computers and networking to mobile, wearables, and smart home devices.
As a fitness fanatic who loves running and cycling, I also have a keen interest in fitness-related technology, and I take every opportunity to cover this niche on my blog. My diverse interests allow me to bring a unique perspective to tech blogging, merging lifestyle, fitness, and the latest tech trends.
In my academic pursuits, I earned a BSc in Information Systems Design from UCLAN, before advancing my learning with a Master’s Degree in Computing. This advanced study also included Cisco CCNA accreditation, further demonstrating my commitment to understanding and staying ahead of the technology curve.
I’m proud to share that Vuelio has consistently ranked Mighty Gadget as one of the top technology blogs in the UK. With my dedication to technology and drive to share my insights, I aim to continue providing my readers with engaging and informative content.




It may be obvious to others than a newbie. I’ve followed the very well documented steps. All went smoothly and Home Assistant Windows Portable is installed. But where, and how do I run it?
I figured it out. cmd.exe in the download folder. May want to add to your instructions as, again for a newbie, I expected something more like a desktop shortcut or a filename that was not so generic.
Thanks for the help!