Any links to online stores should be assumed to be affiliates. The company or PR agency provides all or most review samples. They have no control over my content, and I provide my honest opinion.
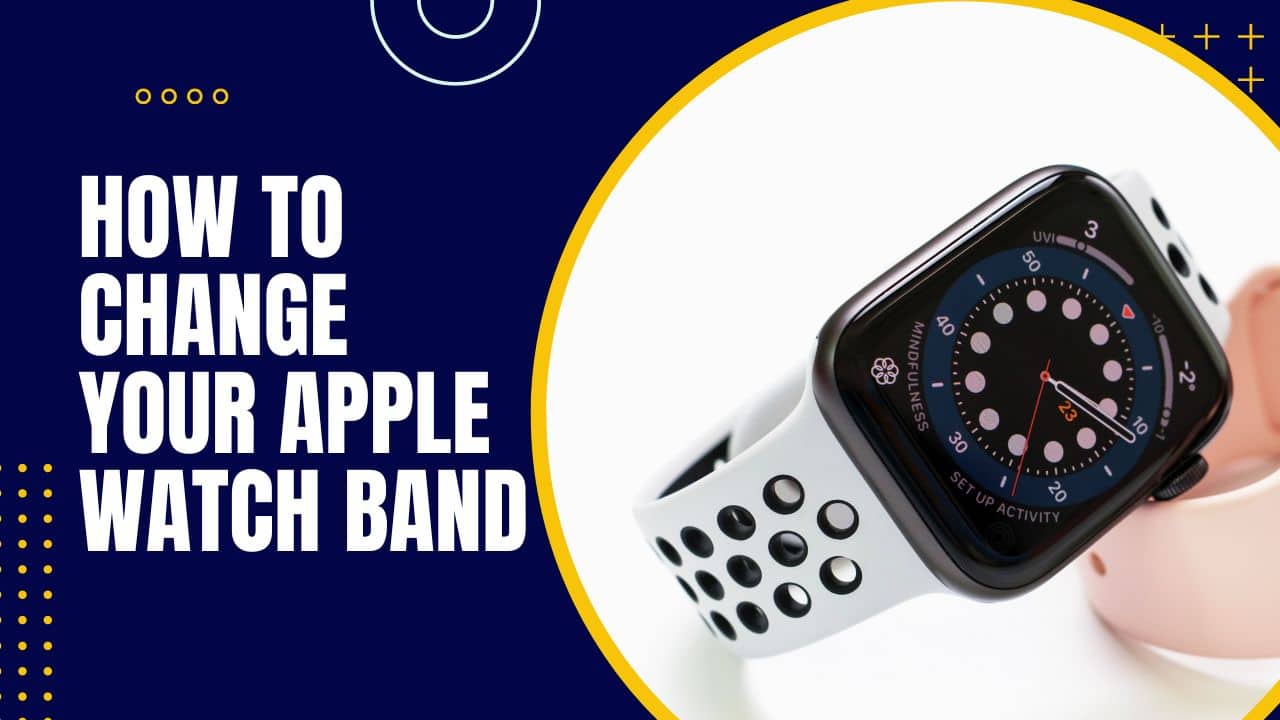
Changing the band on your Apple Watch is a simple process that can be done in just a few steps. Whether you want to change the band for a new look or to replace a worn band, the process is essentially the same.
Apple sells multiple styles of bands. You have the default band that comes with the watch, but there are also the loop bands, a metal Milanese Loop band and the premium-looking metal link bracelet.
How to change your Apple Watch band
Here’s how to change the band on your Apple Watch. This is the general process for all the bands:
- Start by placing your Apple Watch face down, exposing the bottom of the watch. Ideally, this should be on a soft surface so you don’t risk scratching the watch face.
- Locate the two small band release buttons on the back of your Apple Watch, one on the top and one on the bottom. These buttons are used to release the band from the watch.
- Press and hold the button on the top of the watch and slide the band to the left.
- Release the button and repeat the process on the bottom of the watch.
- Once both bands are released, you can slide the old band off the watch.
- To install the new band, simply slide it onto the watch in the reverse order. Make sure to align the notches on the band with the pins on the watch.
- Press and hold the button on the top of the watch while sliding the band to the right.
- Release the button and repeat the process on the bottom of the watch.
- Once both bands are securely in place, your Apple Watch is ready to wear with a new band.
It’s worth noting that different Apple Watch models have different types of bands, such as the sport band, the leather band, the loop band, and the Milanese loop band. Each band uses a different mechanism to attach to the watch, so make sure you know how to change the band on your specific model.
It’s also important to note that if you are using an older Apple Watch model, such as the Series 0, 1, 2, and 3, you will need a special tool to remove the band. This tool is called the Apple Watch band removal tool and can be purchased from Apple or a third-party retailer.
How to Remove and Replace a Link Bracelet

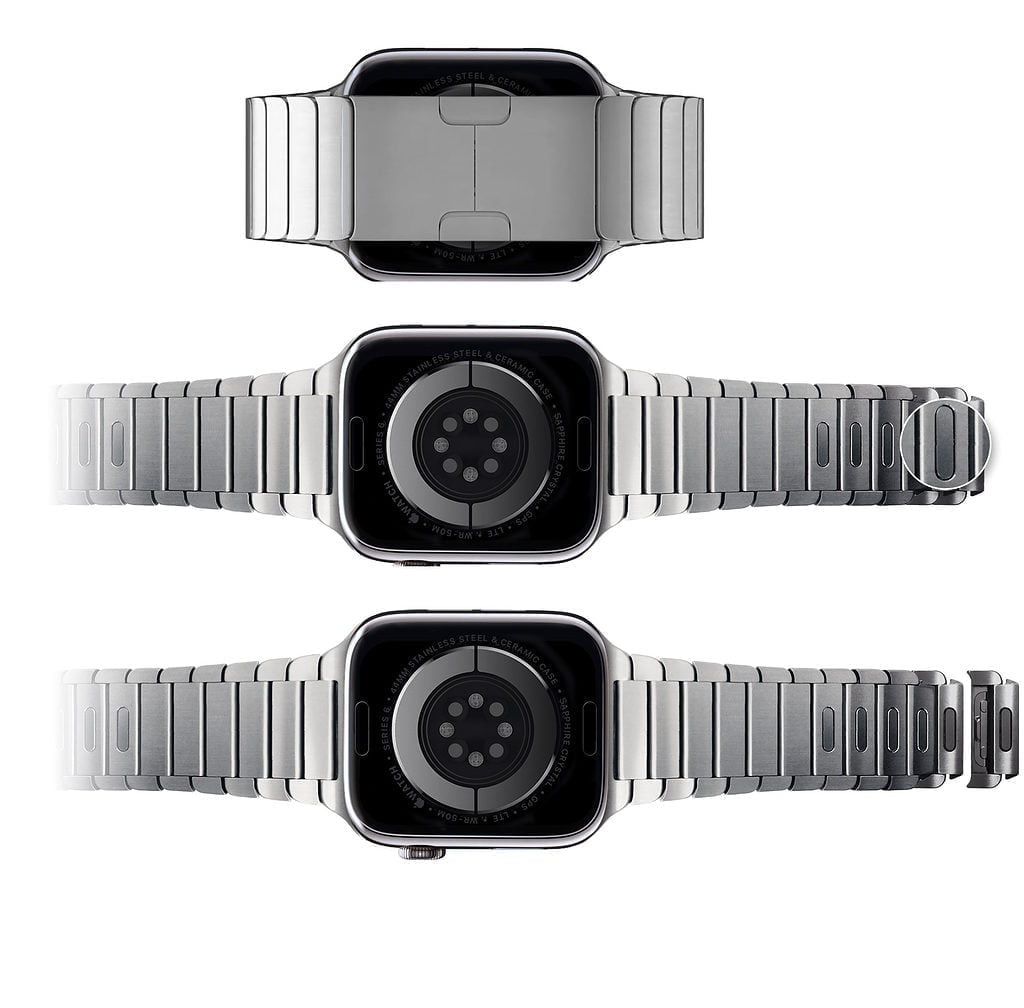
It is worth noting that the link bracelet is a little different from the other bands. With this, before you can remove it, you need to first separate the bracelet into two sections. Hold down one of the quick release buttons and gently pull the band off.
Slide a new link bracelet on. The soft click will tell you the band is snugly fit.
I am James, a UK-based tech enthusiast and the Editor and Owner of Mighty Gadget, which I’ve proudly run since 2007. Passionate about all things technology, my expertise spans from computers and networking to mobile, wearables, and smart home devices.
As a fitness fanatic who loves running and cycling, I also have a keen interest in fitness-related technology, and I take every opportunity to cover this niche on my blog. My diverse interests allow me to bring a unique perspective to tech blogging, merging lifestyle, fitness, and the latest tech trends.
In my academic pursuits, I earned a BSc in Information Systems Design from UCLAN, before advancing my learning with a Master’s Degree in Computing. This advanced study also included Cisco CCNA accreditation, further demonstrating my commitment to understanding and staying ahead of the technology curve.
I’m proud to share that Vuelio has consistently ranked Mighty Gadget as one of the top technology blogs in the UK. With my dedication to technology and drive to share my insights, I aim to continue providing my readers with engaging and informative content.


