Any links to online stores should be assumed to be affiliates. The company or PR agency provides all or most review samples. They have no control over my content, and I provide my honest opinion.
Following on from the excellent Toughpower Grand 750W PSU, I have also been testing out the latest all in one water cooling CPU cooler from Thermaltake.
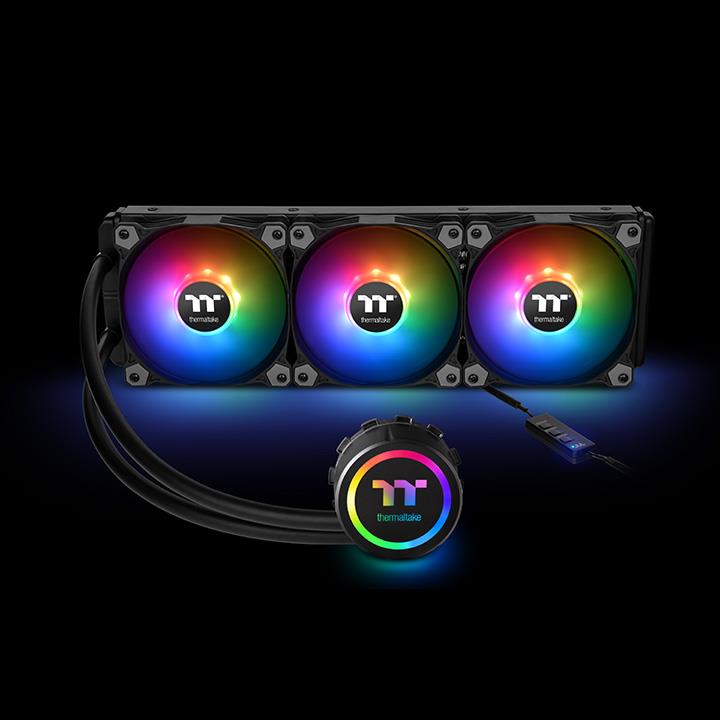
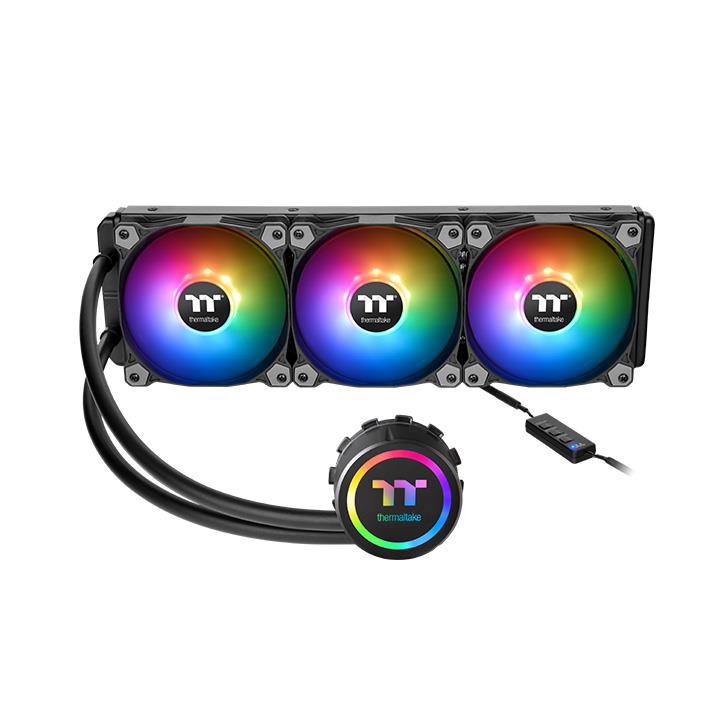
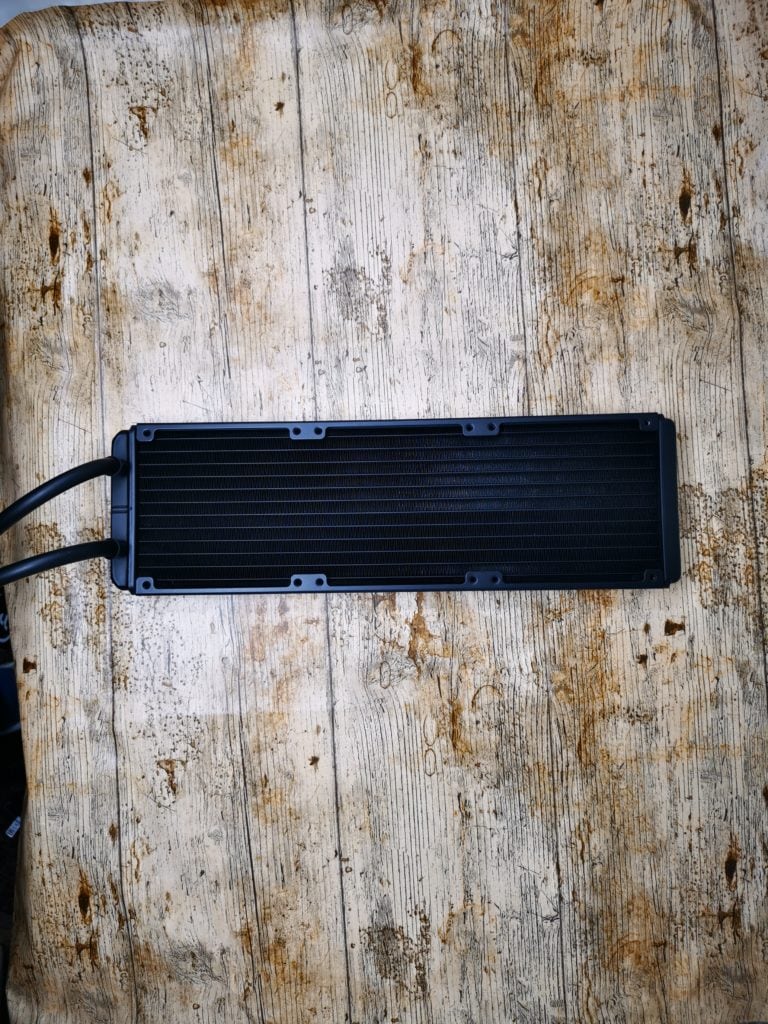
The Thermaltake Water 3.0 360 ARGB Sync edition, as the name suggests, is the 360mm version making it one of the largest AIO options on the market and one of the most expensive too. Looking on Scan it is the fourth most expensive choice, around £23 cheaper than the superb Thermaltake Floe Riing RGB 360 I previously reviewed.
The 360mm model will set you back around £155, and if your case can not accommodate that there is the 120mm model at around £80 and the 240mm model for around £120.
[content-egg module=Amazon template=list]
This AIO cooler is compatible with the majority of CPUs from recent years, with one notable exception, there is currently no official support for the AMD Threadripper TR4 socket. Possibly due to its size.
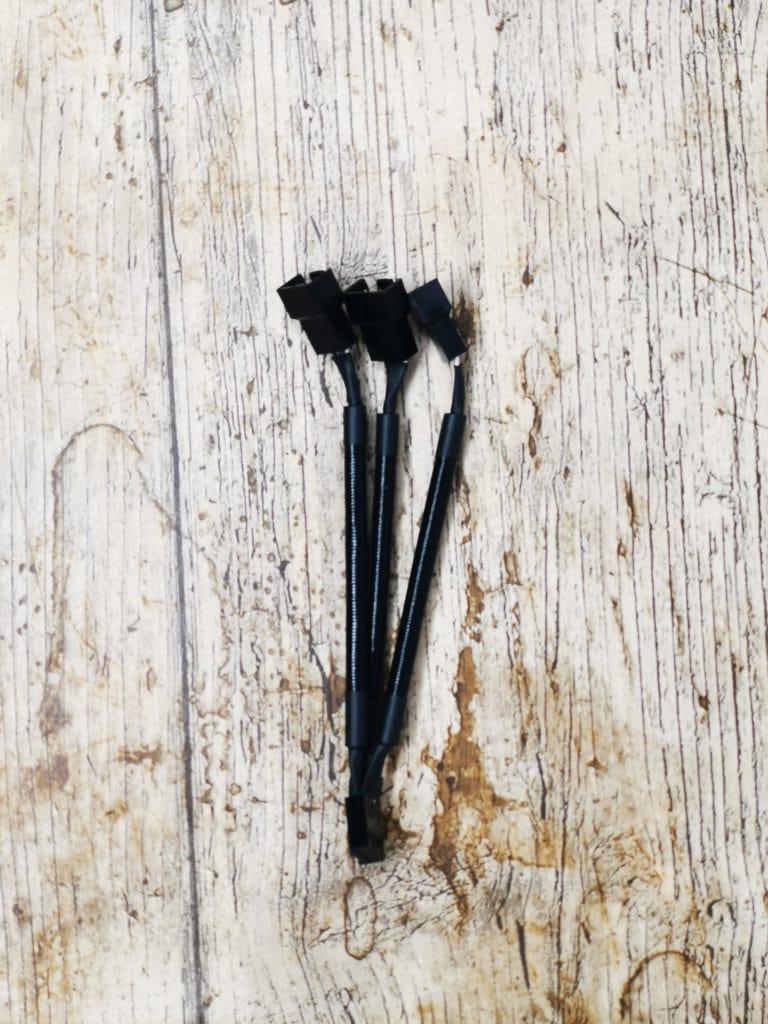
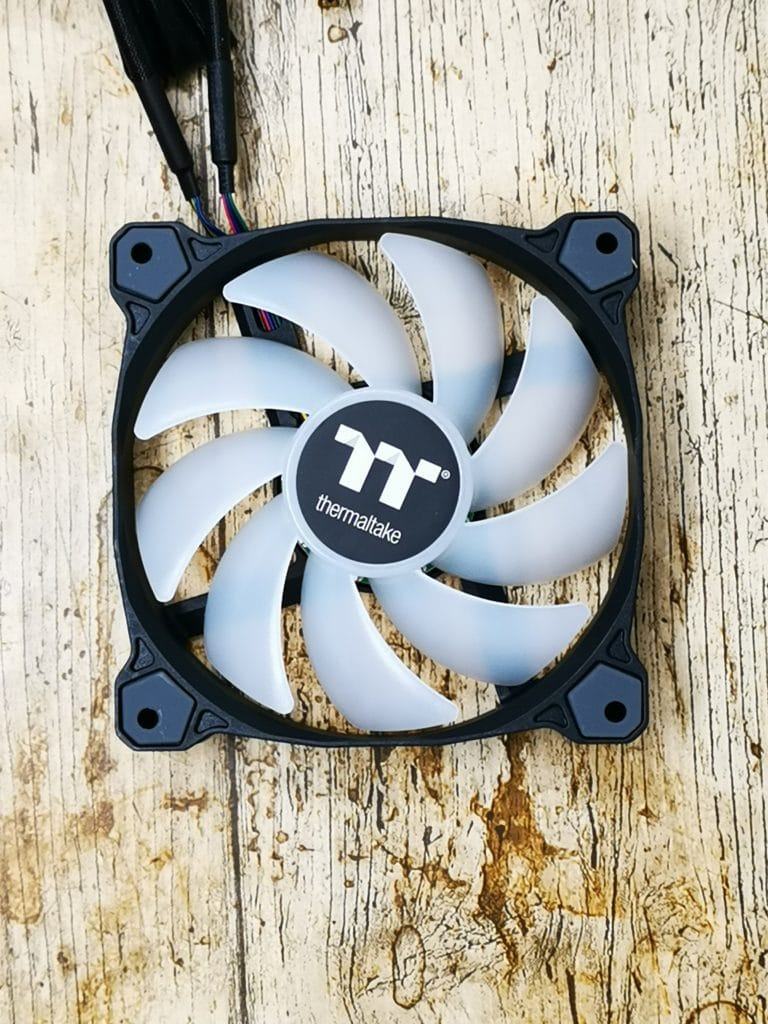
With this model, Thermaltake has dropped the Riing fans which use USB headers and a hub for control and replace them with something more traditional in the form of the Pure 12 ARGB Sync radiator fans. These are the same as the Pure 14 ARGB Sync I have previously reviewed albeit in 120mm format. These fans are PWM fans with a 4-pin motherboard header plus an additional cable for the ARGB control.
For me, the appealing prospect of these fans is the ability to control everything via the motherboard. The Riing fans are superb, but I prefer to have as little software running on Windows as possible, I also have some issues daisy chaining the hubs together so I could control more than 5 fans, with four pin PWM fans this is never an issue.
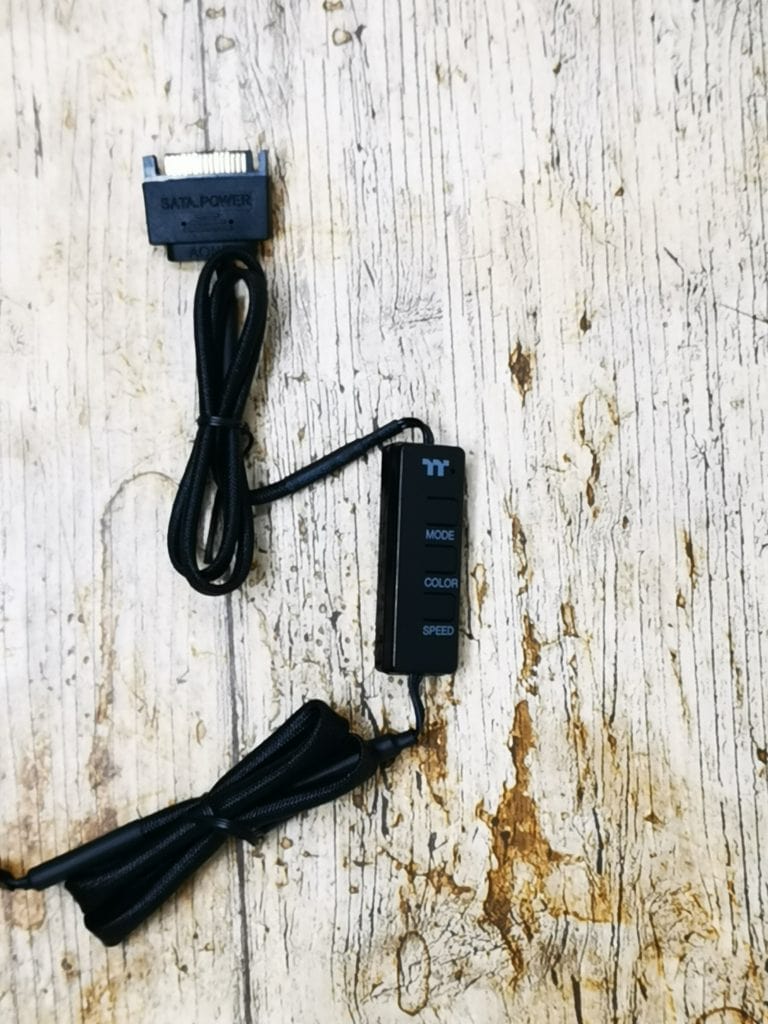
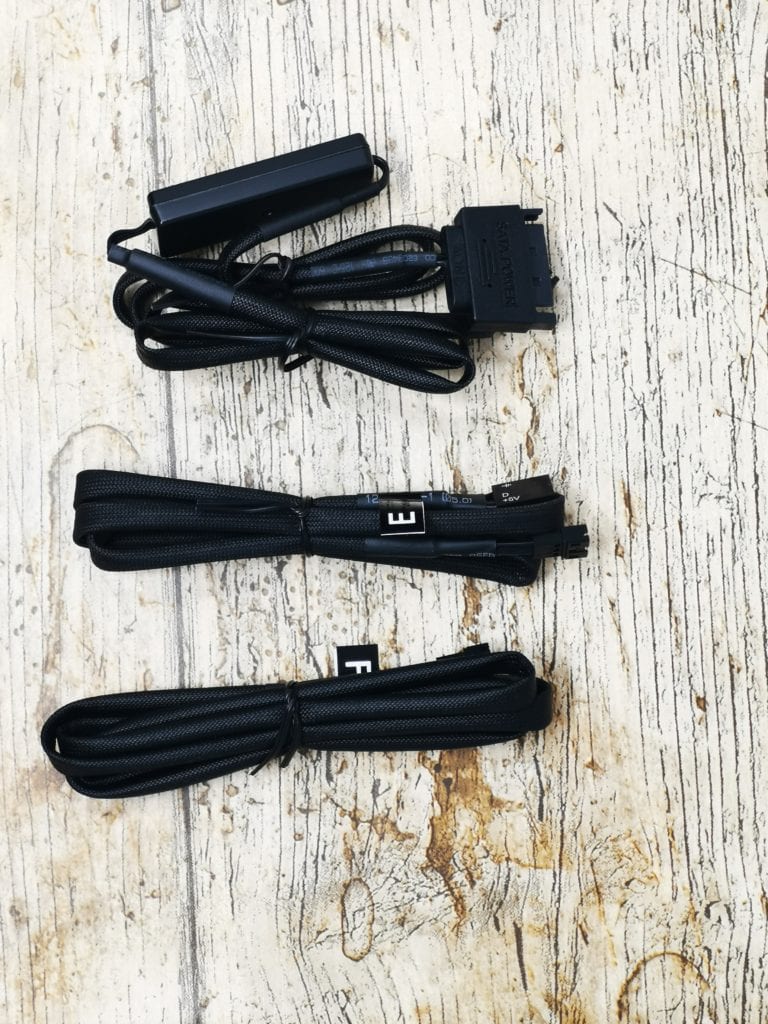
The big downside to these fans is the fact you have an additional cable, and it is yet more cable management for me to do poorly. It is also worth noting, which I didn’t realise when I did this build, that not all motherboards have universally compatible RGB headers. There are two formats, either 5v or 12v, with the 5v option using three pins and 12v four pins. These ARGB fans require 5v, my motherboard has 12v, some motherboards have both. Not to worry though, Thermaltake includes a manual control hub that allows you to switch through all the settings, this works perfectly well, but it does take away some of the excitement of syncing all the RGB between peripherals.
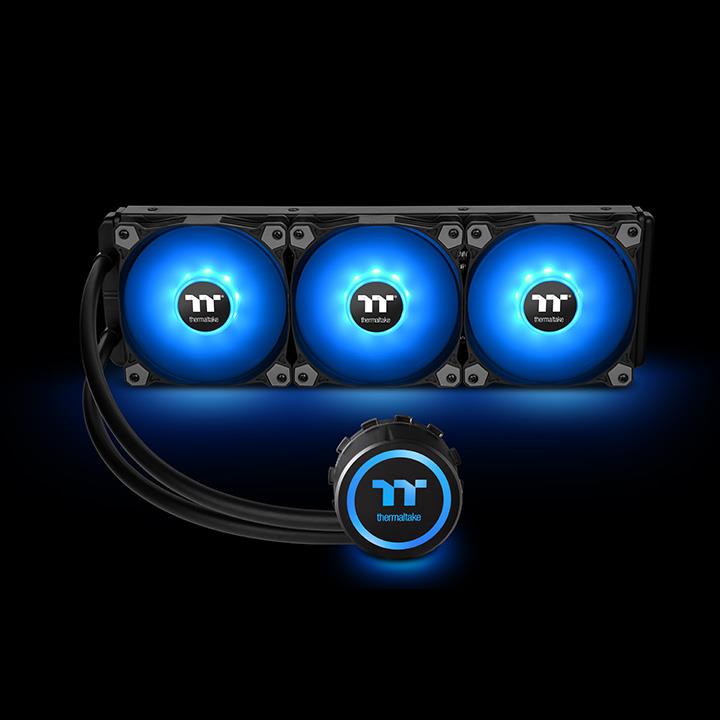
The ARGB controller allows users to switch LED modes, LED colours, and LED Speeds when using a motherboard without a 5V addressable RGB header. Users can switch between flow, ripple, pulse, blink, wave, full light, RGB spectrum, and off modes with various colours and LED speeds options.
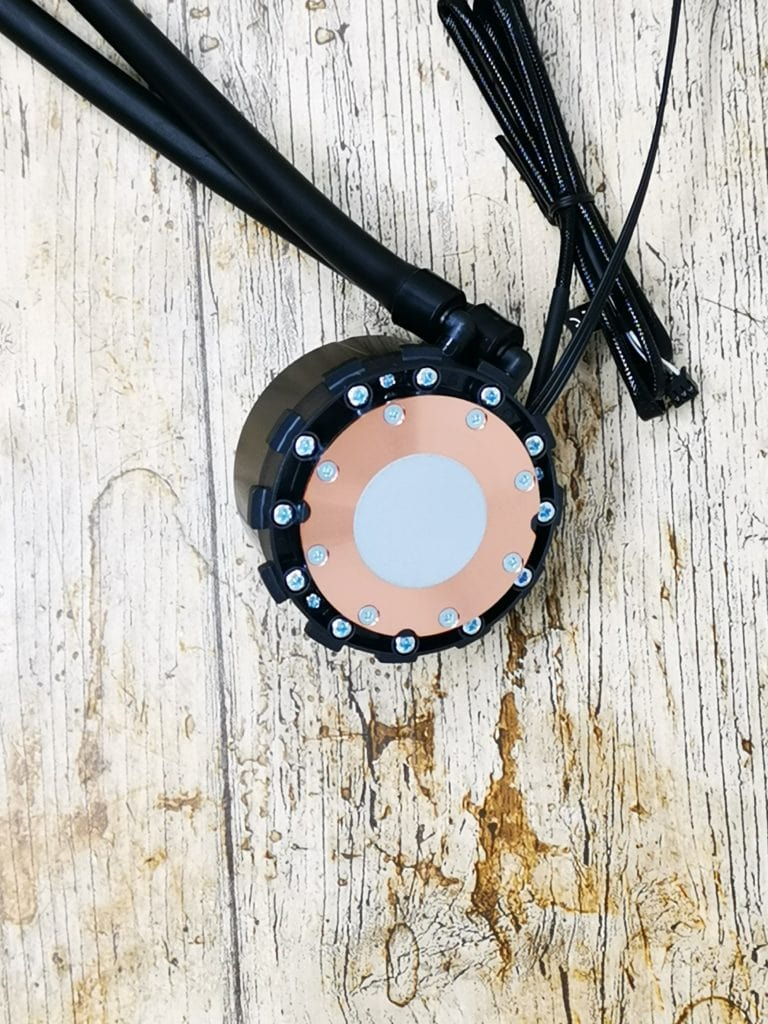
Moving beyond the fans, there are some subtle tweaks to the radiator components themselves. The tubes are now a smooth plastic rather than braided, I feel this doesn’t look quite as premium, but it is a minor difference and hardly noticeable when inside your PC. The water block now has a new method of mounting, which is possibly the easiest installation I have ever experienced.
Set up
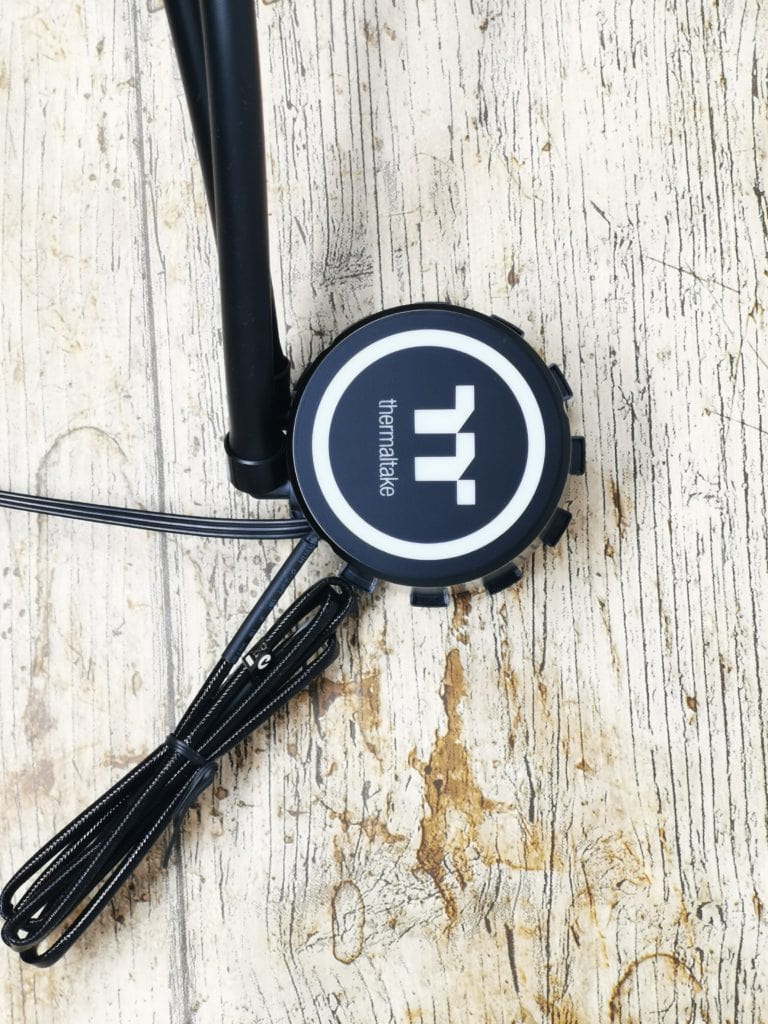
This is quite an intimidating CPU to install, it is not like old none RGB air coolers where you have one cable to plug in. With this there are a total of 8 cables that are required to be plugged into something, then optional fan extenders, and the ARGB controller which also needs SATA power. There are also 12 fan screws, plus however many you use to fix the radiator to the case. However, it is not particularly challenging to work out what to do, the hardest part is trying to plan cable management. It is worth noting that the cables are exceptionally long, while this can make cable management a little harder, it means you should easily be able to route these cables wherever you want.
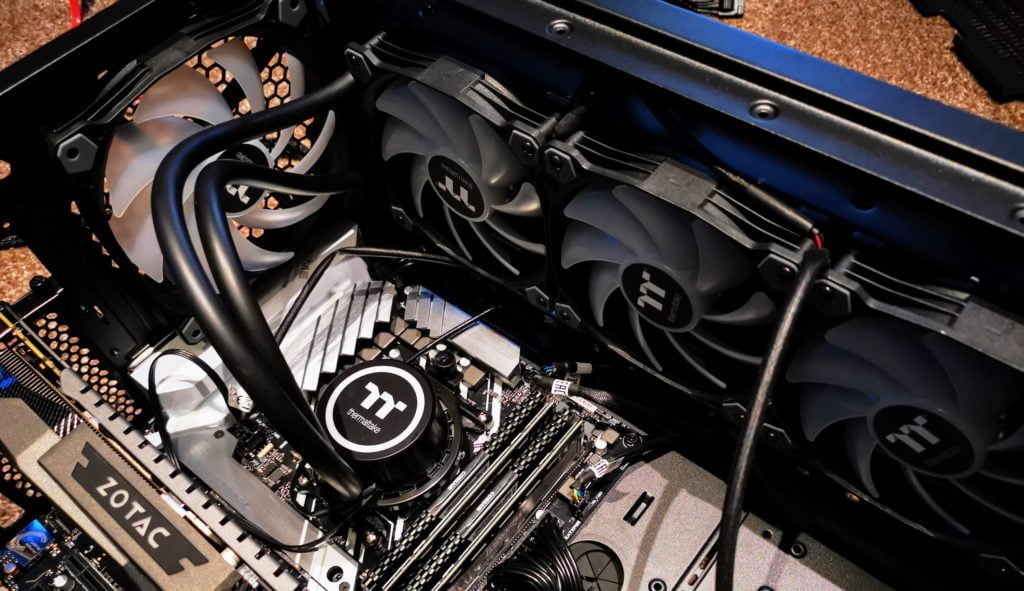
The water block has thermal paste pre-applied, but if you are spending £150+ on a CPU cooler, I think it is worth investing in something a little fancier. I personally like Thermal Grizzly Kryonaut as it has the best performance of the none metallic thermal pastes, and it doesn’t cost that much.
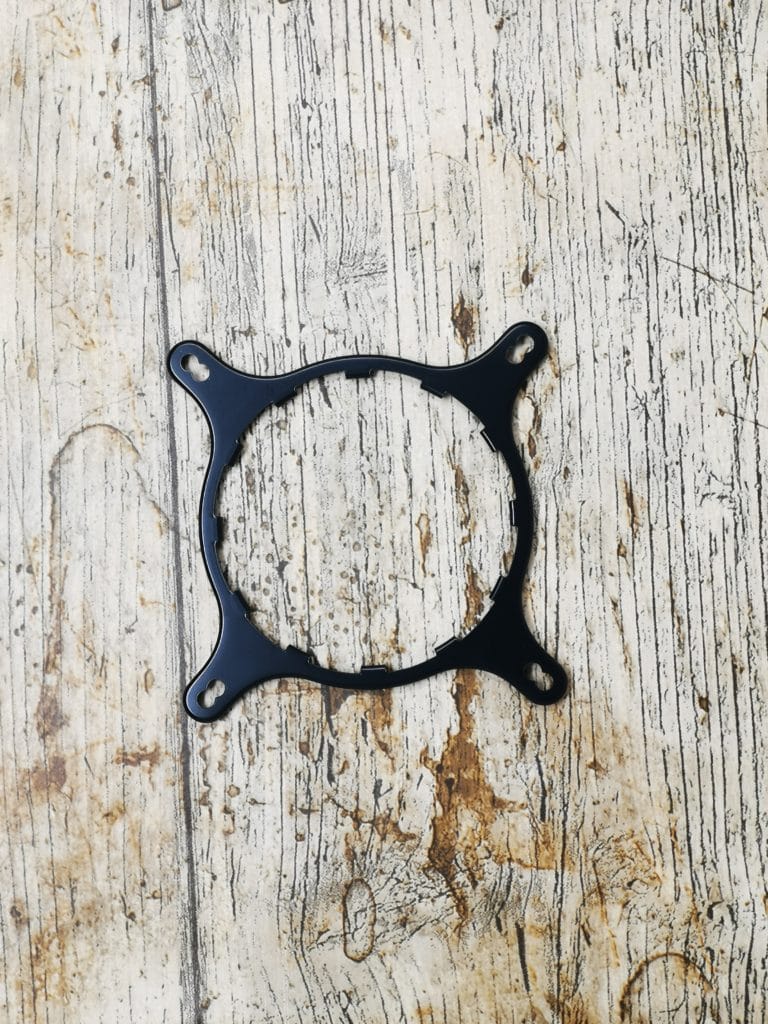
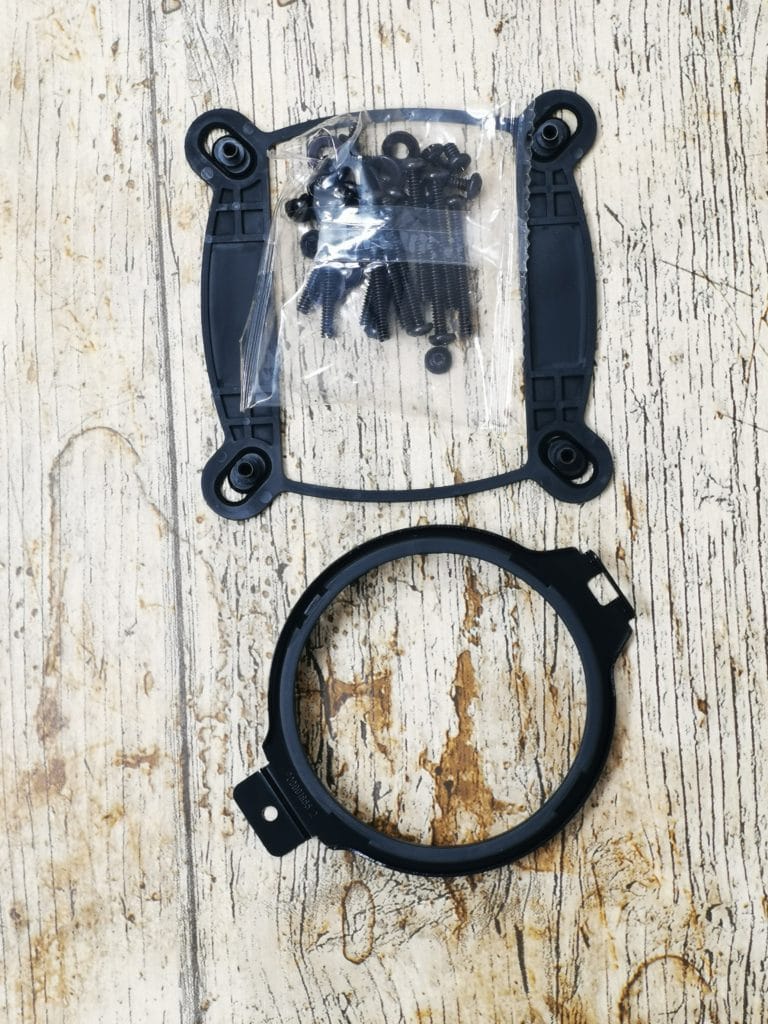
When it comes to mounting the CPU, it is about as easy as it gets. However, the instructions are not particularly easy to follow. For the AM4 socket you need to affix the bracket to the water block, and then attach a sort of screw and latch to one side of it. The water block uses all the standard CPU mounting brackets on the motherboard so there is no messing around swapping things over. All you need to do is latch on the left side with the clip and use the loosened screw latch to hook under the bracken and tighten up. I am not explaining it well, but it is very simple and there is literally one screw to tighten rather than the typical four screws that you need to tighten with most CPU coolers carefully.
Performance
As I have not reviewed a huge number of coolers, I don’t have a big graph of comparisons, but this cooler performs exceptionally well, as you would expect based on its size and price.
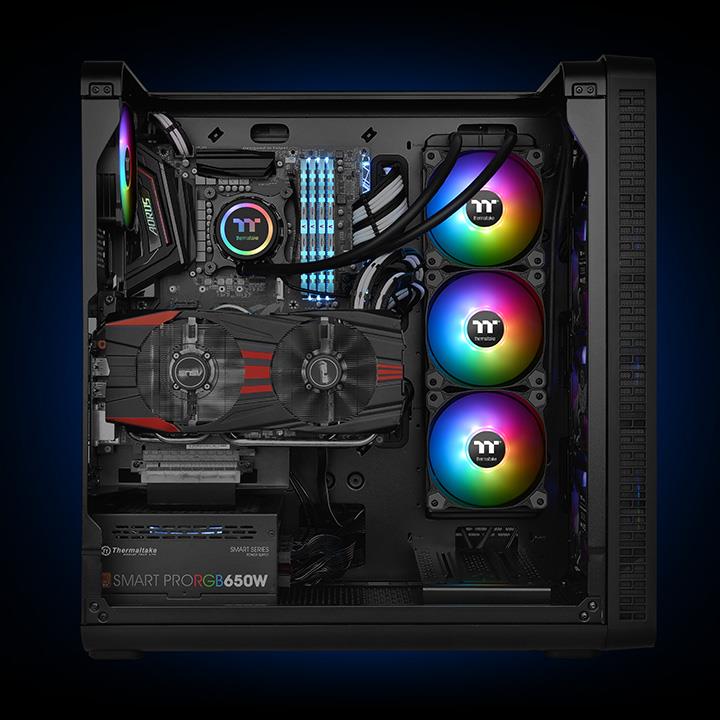
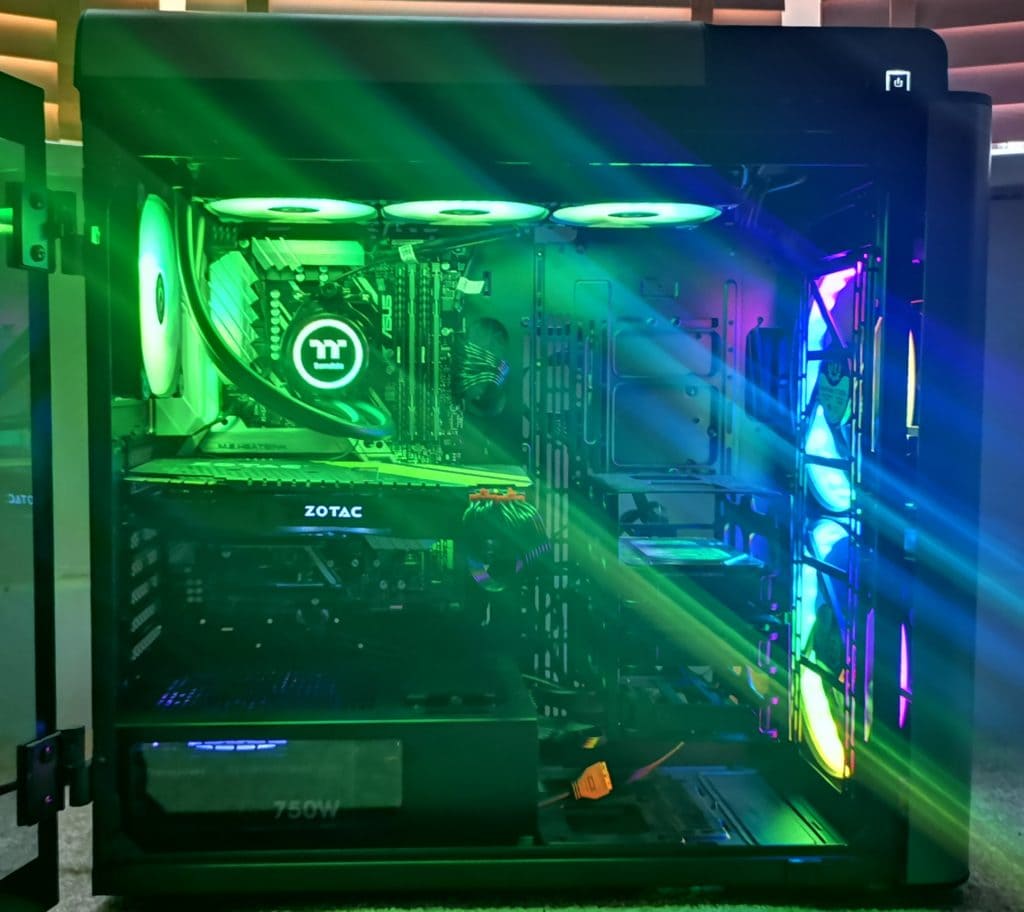
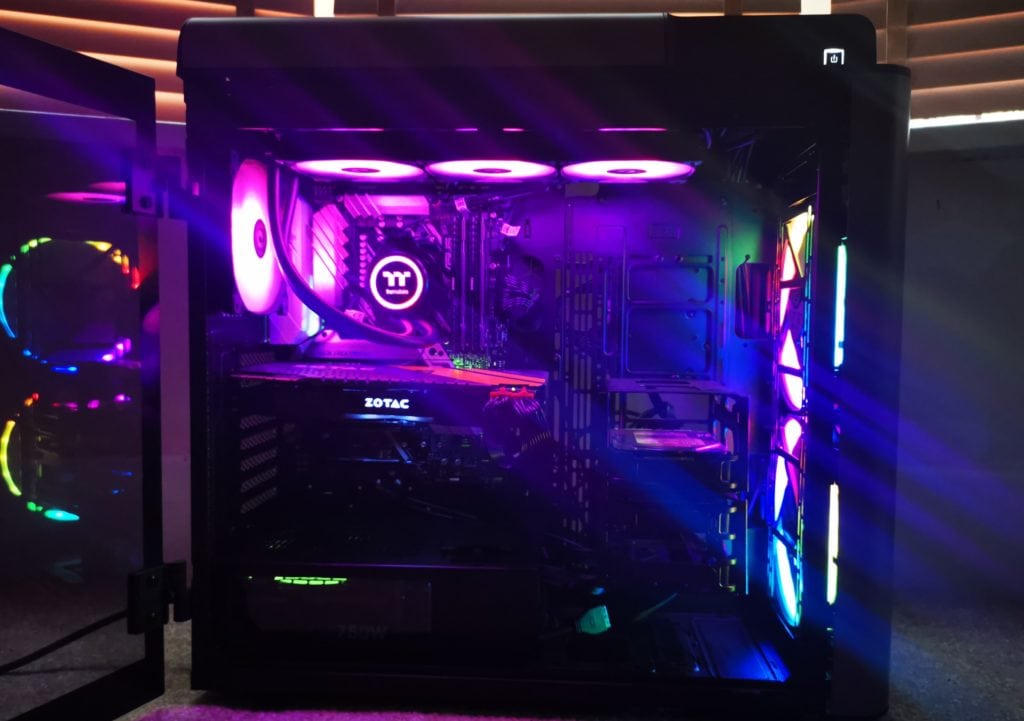
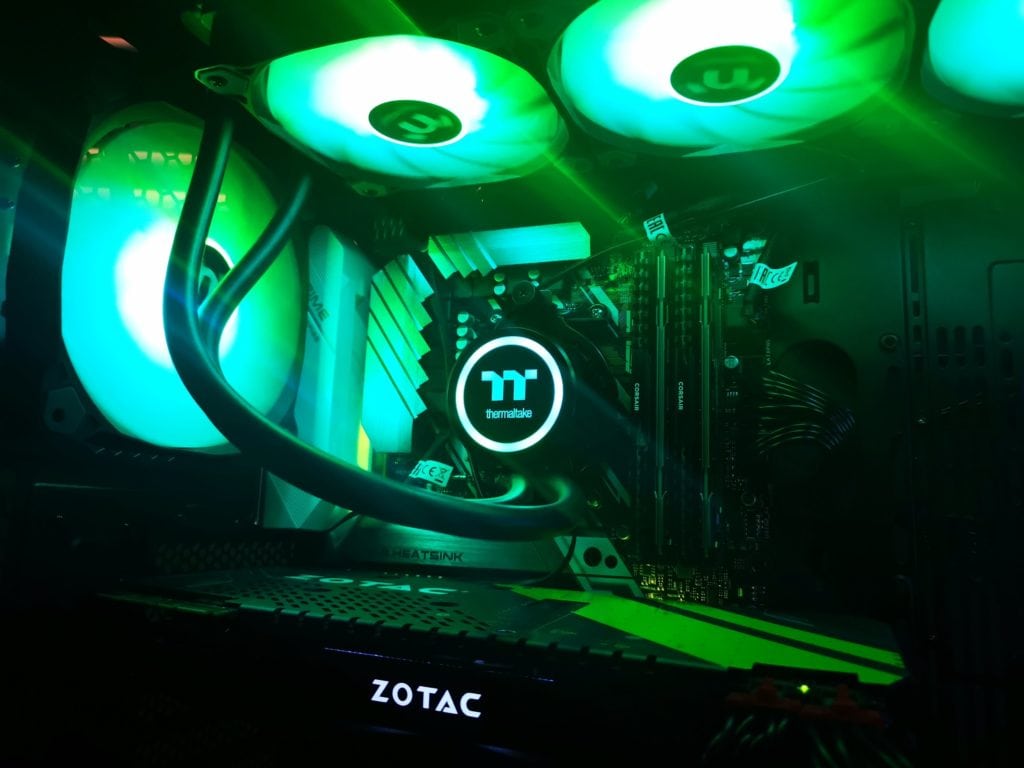
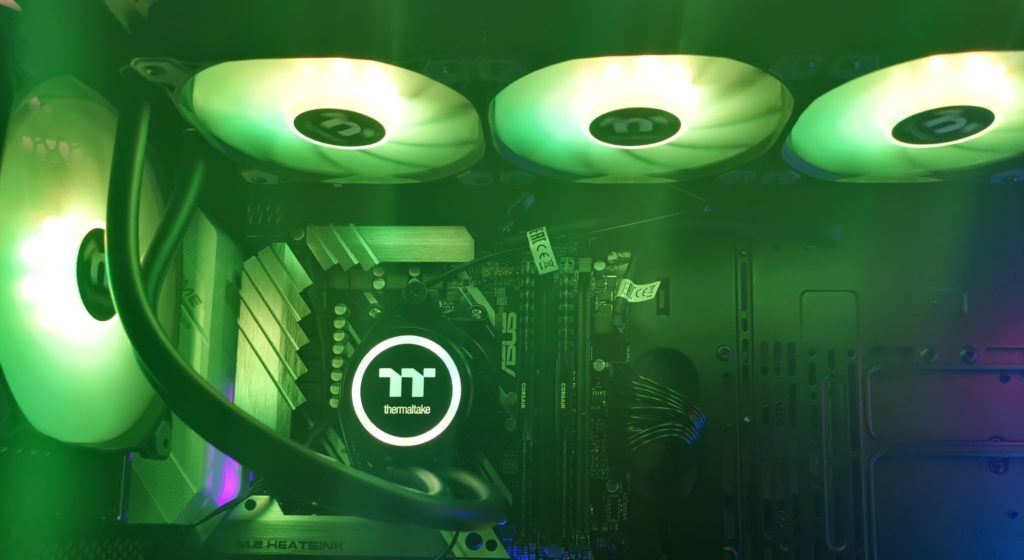
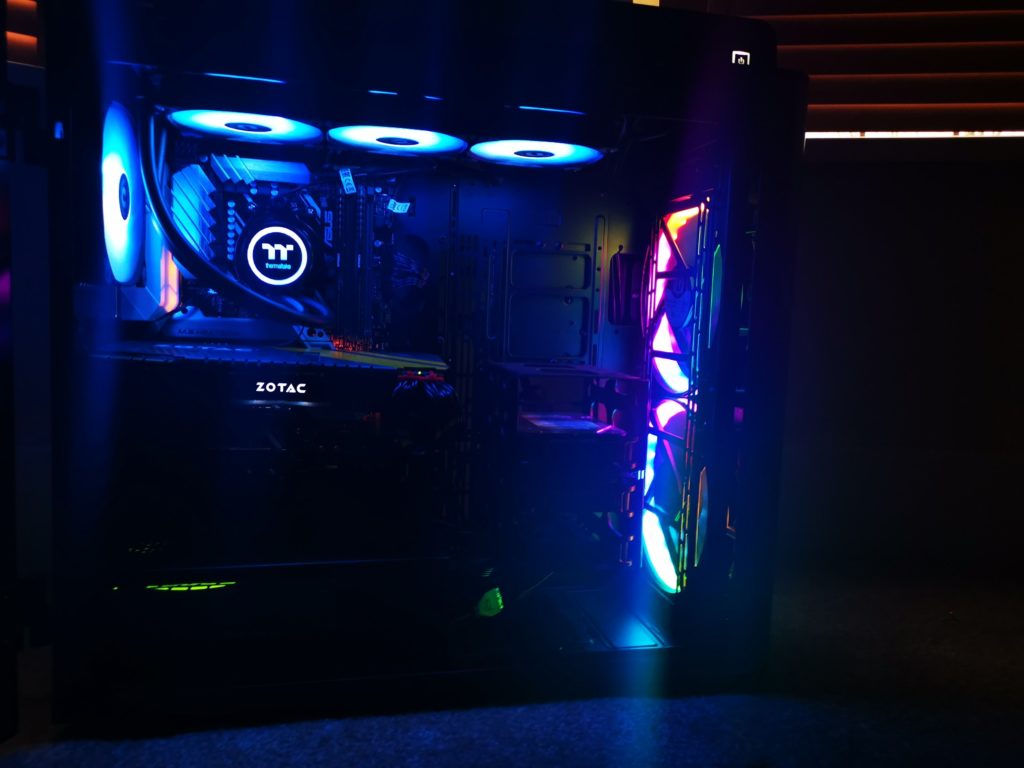
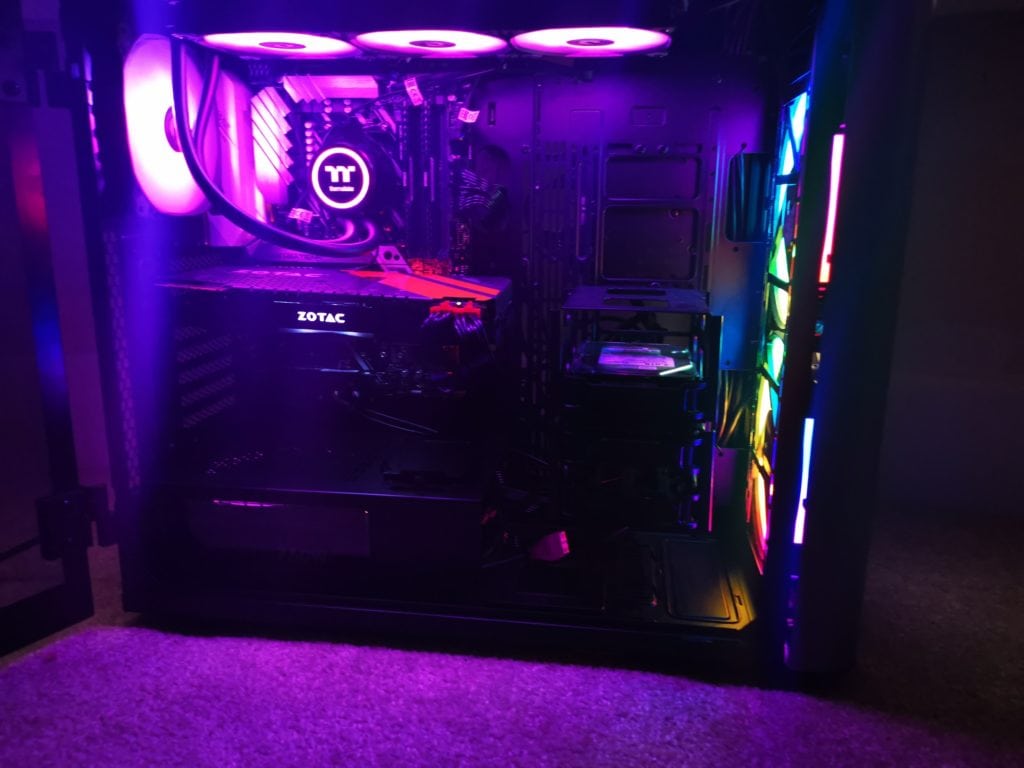
I was unable to use the motherboard to control the RGB elements, but the manual controls work well and with a little fiddling around I managed to get a similar colour scheme to my front fans. The ThermalTake logo will also match the fan colours and the overall effect is impressive if you are a fan of RGB. ThermalTake appears to be making themselves the market leader with RGB products, and if this is something you like, then their products should always be on your shortlist.
My current system is an AMD Ryzen 5 3600 with an ASUS PRIME X470-PRO and some not very fast 4x8GB 2400 MHz Corsair RAM. The GPU is the GTX 1070 and PSU is the ToughArmour 750w I reviewed recently.
My office is generally cool to cold at this time of the year, and the ambient temperature sits at around 15-16 degrees. I use CPUID HW Monitor to keep an eye on the temperatures and Prime95 for stress testing.
At stock the CPU will sit around 22-degrees at idle, this will then increase to 55-degrees after about 40 mins running Prime95.
Overclocked to 4Ghz, the CPU will hit 28-degree minimum but idle around 32-degrees, and the fans will generally stick at about 600 RPM. After 20 mins of full load, the temperature hits 65-degrees with fan speeds sitting at 1147 RPM. Then after 40 mins, the temperatures appear to cap out at 72-degrees with the fan speeds at around 1500 RPM.
With the fan speeds sitting at 1200 RPM or below noise levels were not an issue at all, I could hear the PC but the sound profile was pleasant enough, there were not high-pitched noises and music or TV at a very low level easily drowned it out. At 15000 RPM it was very audible, with the fan noise being loud enough to hear over quiet music. Even at full speed, I would say that the noise is less than my GPU when it spins up at full speed. Subjectively speaking I feel like the idle noise is marginally louder than the Riing Plus 12 RGB Radiator Fans on the previous AIO cooler review I did. The specifications do differ slightly these ARGB fans are rated at 25.8 dBA which is louder than the 24.7 dBA of the Riing, it is not a lot, but it could make a difference. The Pure 12 ARGB have a higher max air flow of 56.45 CFM vs 48.34 CFM so this AIO should be able to outperform the other cooler under load.
Overall
I loved the Thermaltake 360mm Floe Riing RGB and have continued to use it as my main cooler ever since. The Water 3.0 360 ARGB is a very similar, offering exceptional performance that should handle big overclocks with ease, and it does this while being over £20 cheaper than the Floe Riing.
I would say both products are too similar to objectively say which is best, apart from the price. If you have 5v RGB headers on your motherboard, you may as well make the most of them opting for this AIO cooler and save some money in the process. In comparison, if you love RGB but lack the motherboard compatibility it is probably worth spending that little extra on the Floe Riing so you can get proper software control over the RGB elements of the fans.
Thermaltake Water 3.0 360 ARGB Sync AIO Liquid Cooling Kit Review
Summary
An absolute monster of an AIO cooler, capable of keeping aggressive overclocks cool and quiet under load.
Overall
92%-
Overall - 92%92%
I am James, a UK-based tech enthusiast and the Editor and Owner of Mighty Gadget, which I’ve proudly run since 2007. Passionate about all things technology, my expertise spans from computers and networking to mobile, wearables, and smart home devices.
As a fitness fanatic who loves running and cycling, I also have a keen interest in fitness-related technology, and I take every opportunity to cover this niche on my blog. My diverse interests allow me to bring a unique perspective to tech blogging, merging lifestyle, fitness, and the latest tech trends.
In my academic pursuits, I earned a BSc in Information Systems Design from UCLAN, before advancing my learning with a Master’s Degree in Computing. This advanced study also included Cisco CCNA accreditation, further demonstrating my commitment to understanding and staying ahead of the technology curve.
I’m proud to share that Vuelio has consistently ranked Mighty Gadget as one of the top technology blogs in the UK. With my dedication to technology and drive to share my insights, I aim to continue providing my readers with engaging and informative content.


