Any links to online stores should be assumed to be affiliates. The company or PR agency provides all or most review samples. They have no control over my content, and I provide my honest opinion.
In recent weeks Thermaltake has been busy releasing a selection of ARGB based products with my most recent review being the Water 3.0 360 ARGB. For the most part, these new products are refreshed versions of existing models, and this is exactly the case with the new Thermaltake Level 20 GT ARGB.
I previously reviewed the Thermaltake Level 20 GT RGB back in August, and it has been one of my favourite cases to date. There are some caveats with it though, it is absolutely massive and at £250+ it is expensive, but if you are building a high-end rig with elaborate water cooling it is an excellent investment and the case I use personally.
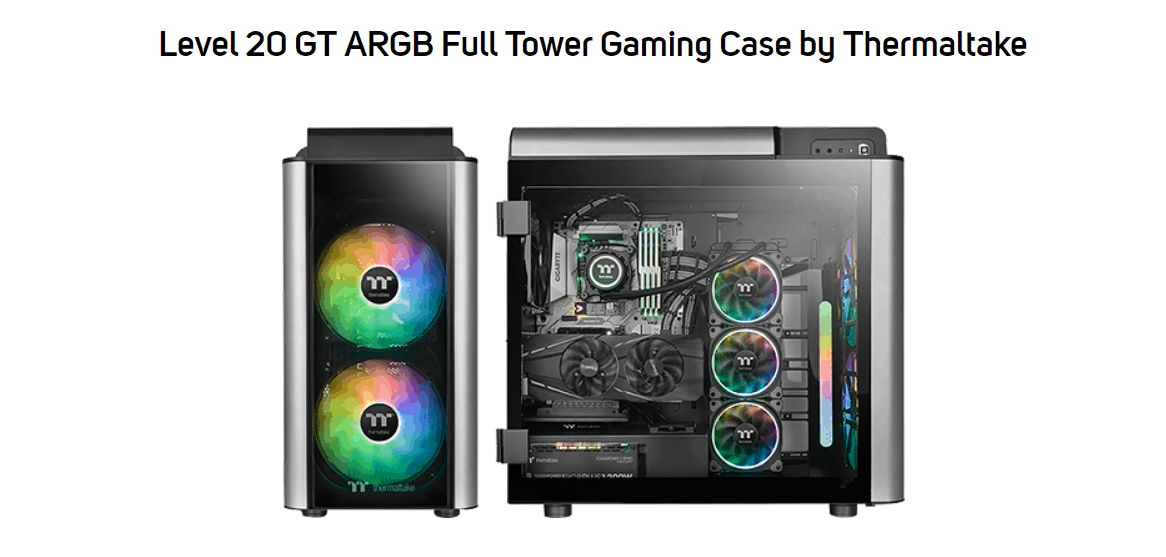
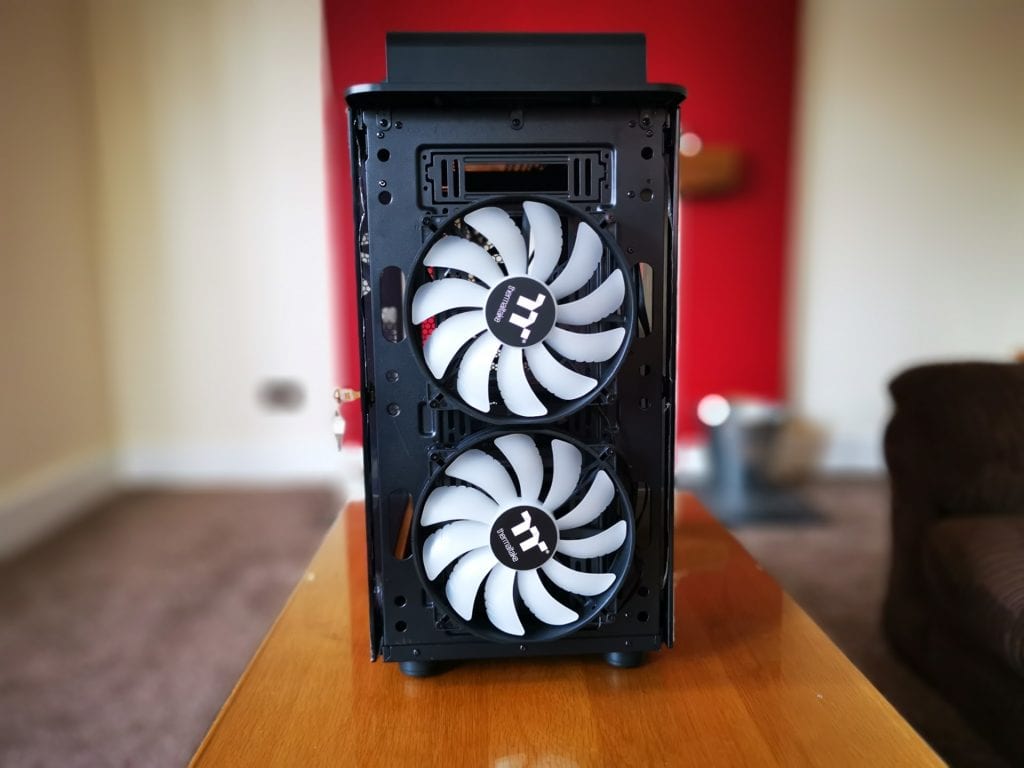
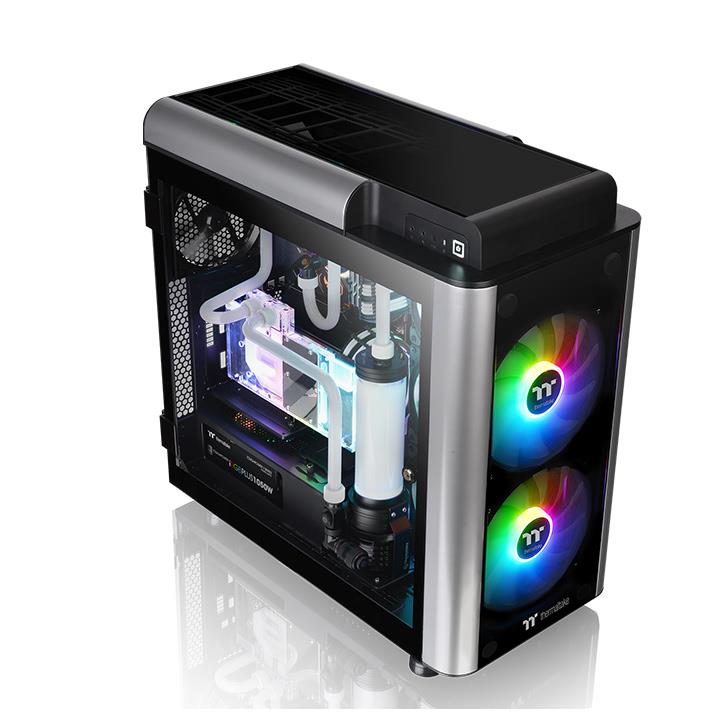
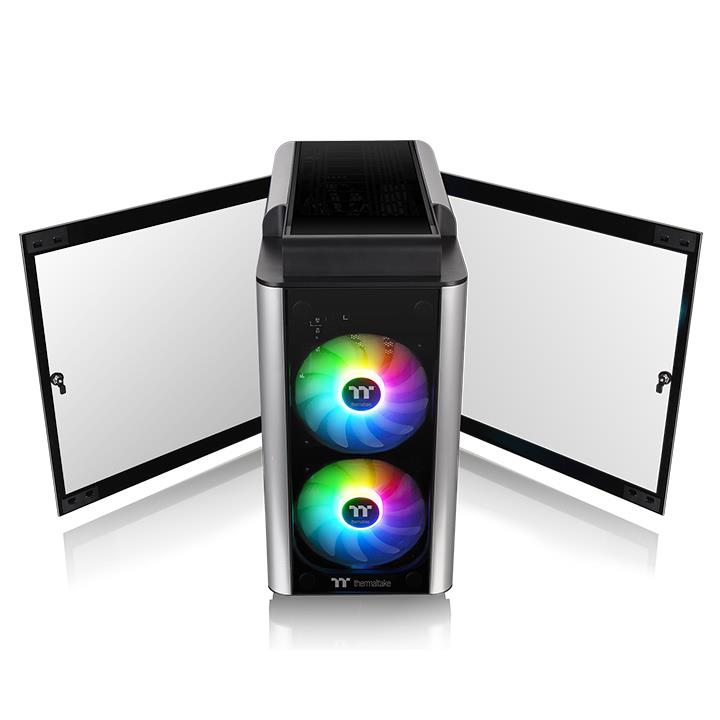
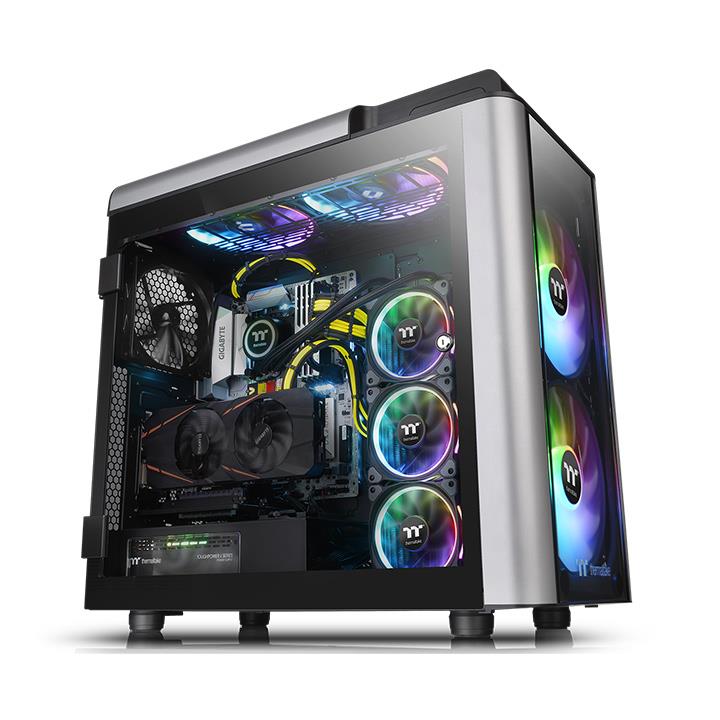
The Level 20 GT Tempered Glass ARGB, from what I can tell, is an identical chassis but Thermaltake have swapped out the Ring Plus fans and fitted it with two 200mm 5V ARGB LED front fans and one 140mm rear fan. It is worth noting that the Level 20 GT RGB Plus had an RGB fan on its exhaust as well as the two front fans, while this one no
The change in fans has brought a lower price point of £220, so around a 12% saving which is not to be sniffed at. You can buy the chassis with no front fans for just £175, however, if you want RGB and went for two 200mm Thermaltake Pure 20 Fans this would set you back £74 so it is cheaper to go with this model.
[content-egg module=Amazon template=list]
Features
Apart from the fans and fan hub, I am not aware of any difference between the Level 20 GT models.
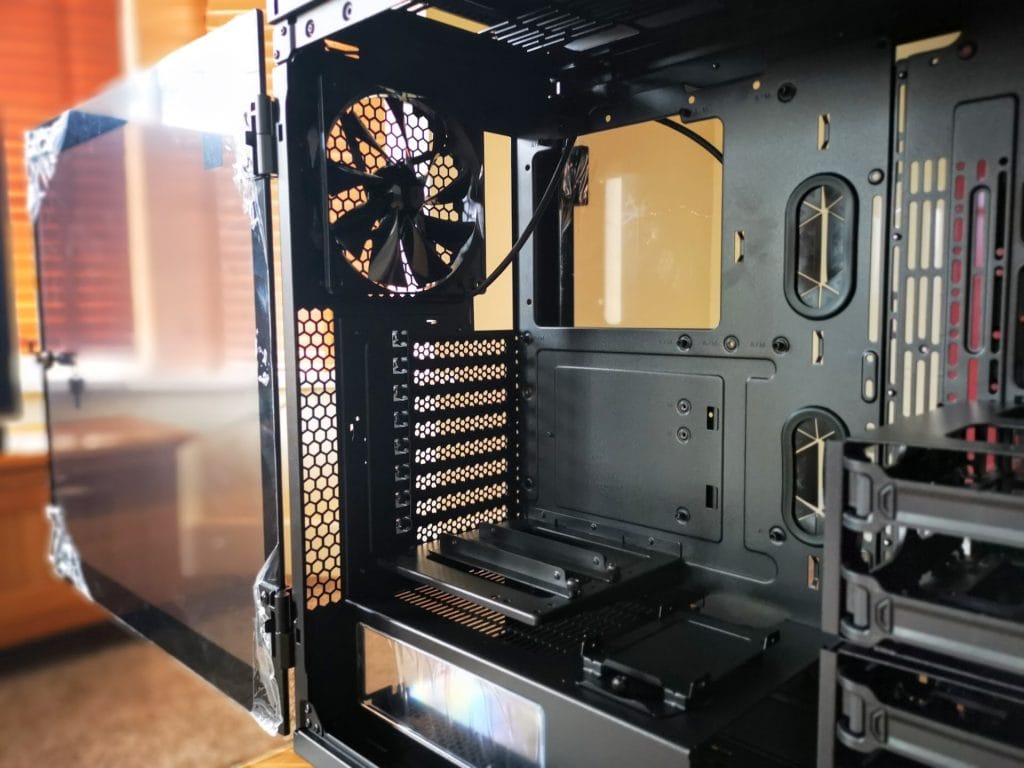
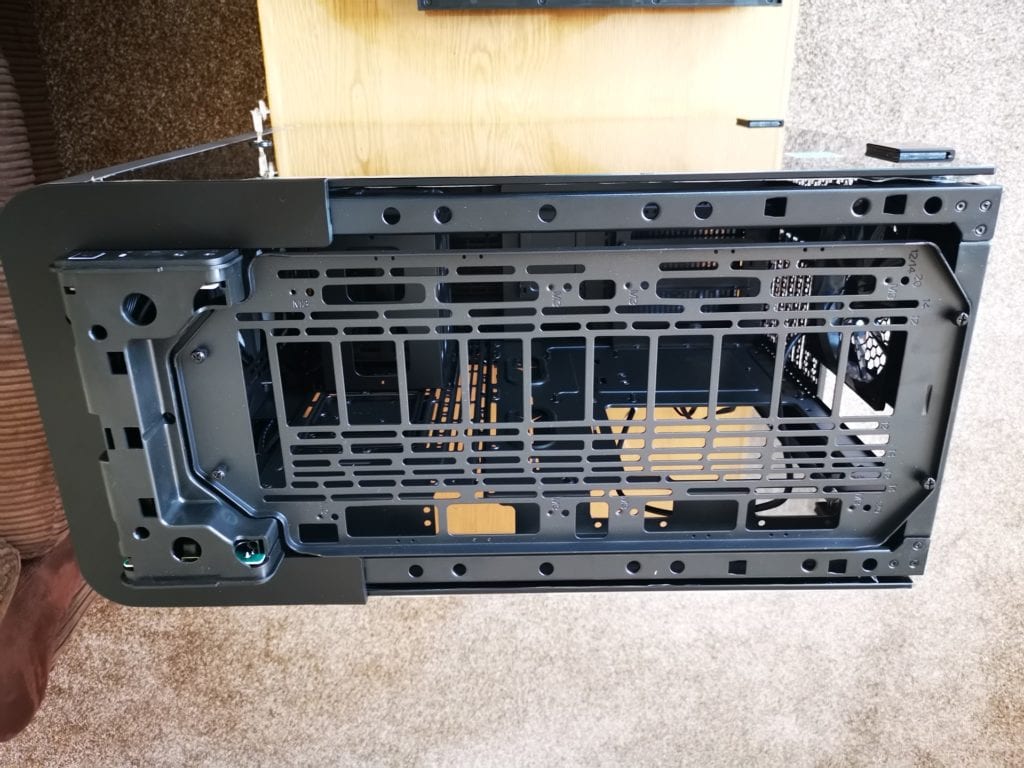
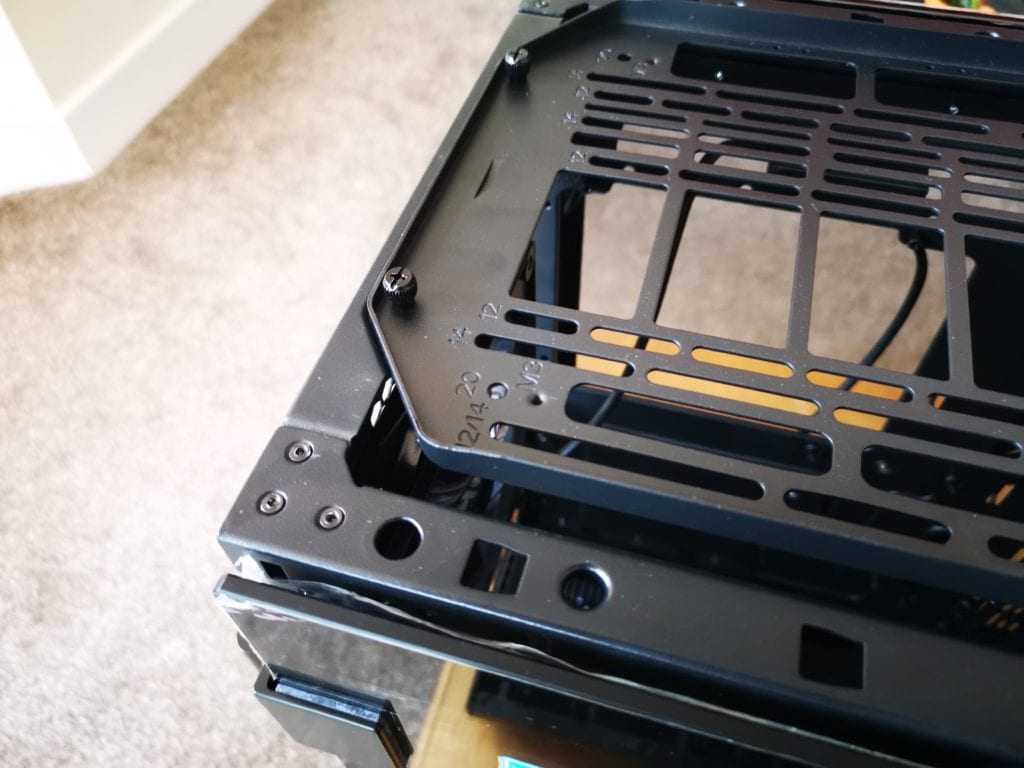
This case is constructed from steel and tempered glass so it is a hefty 20KG and equally massive dimensions of 580 x 294 x 592 mm. Similar to many of the Thermaltake cases, this uses their Dismantlable Modular Design, so you can strip the case down to the bare bones if you are a keen modder, or take out all the unused features providing increased airflow. This makes building and maintanence easier too as gaining access to the ceiling radiator mounts very easy as well as accessing the front fan area.
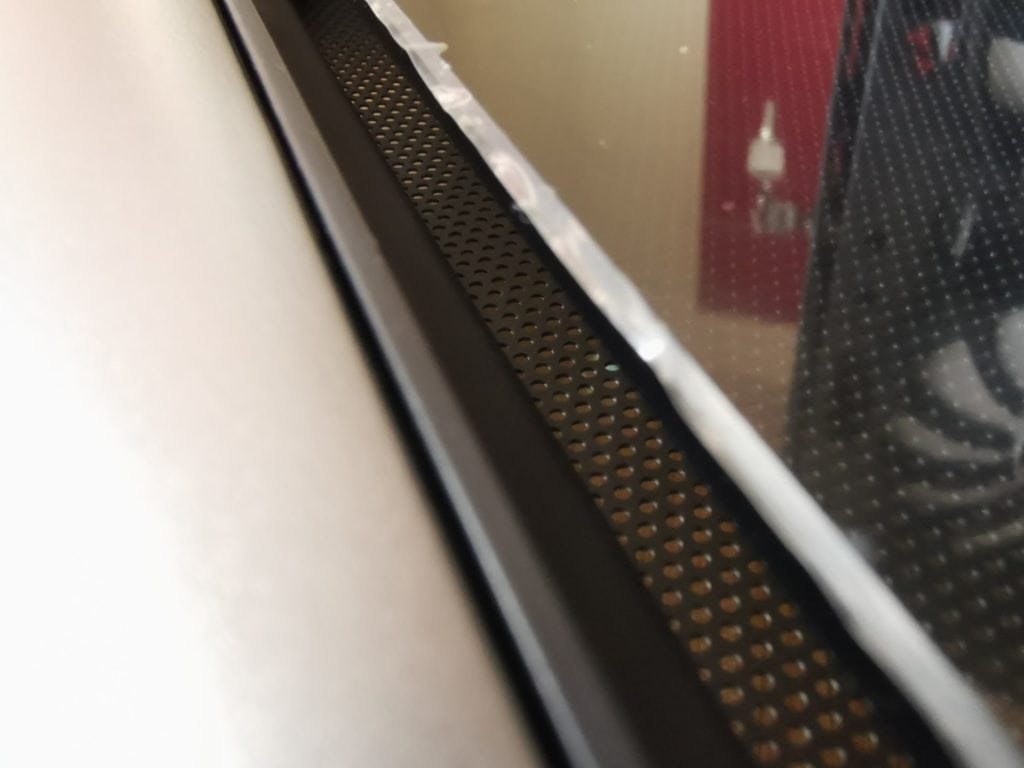
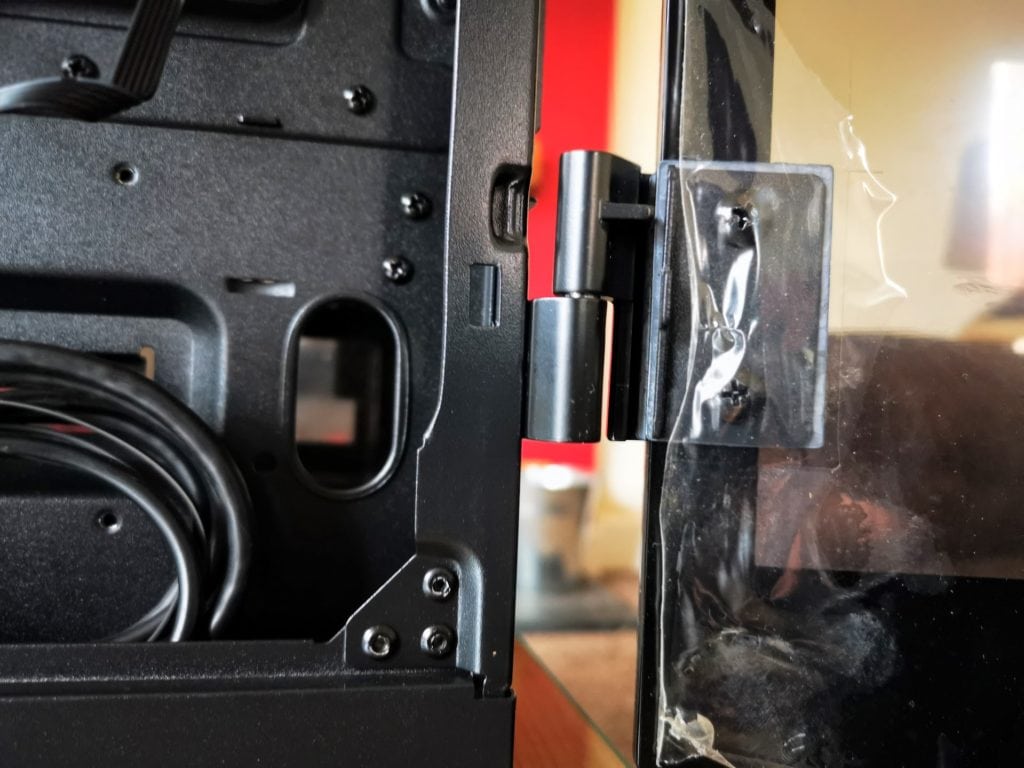
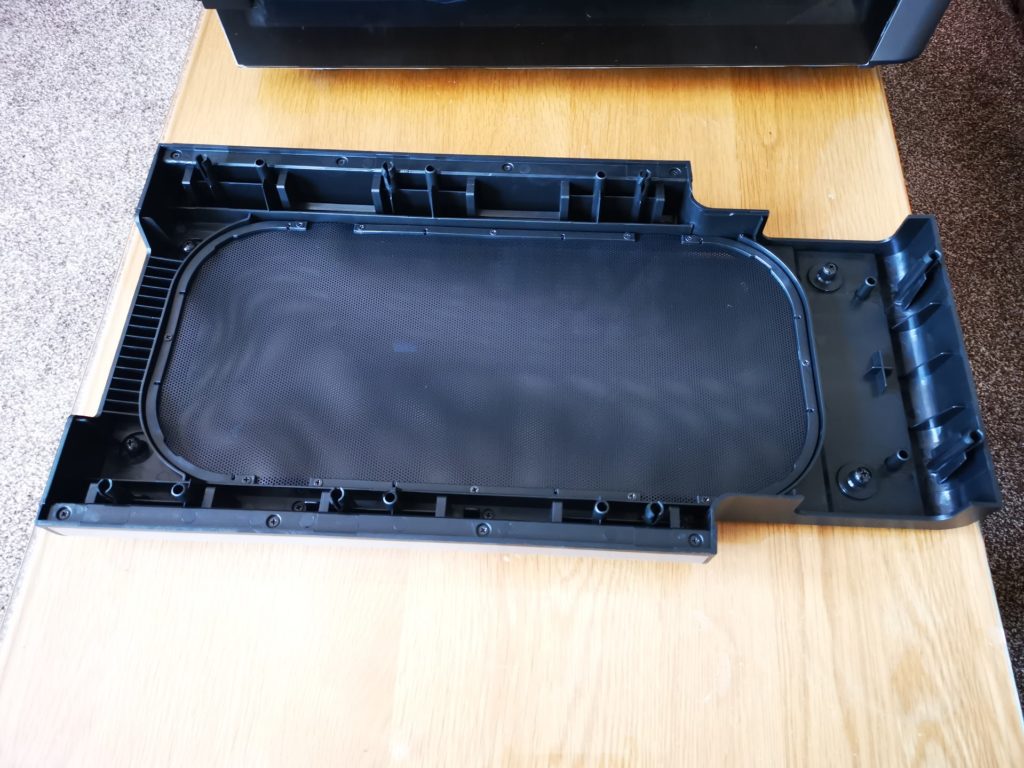
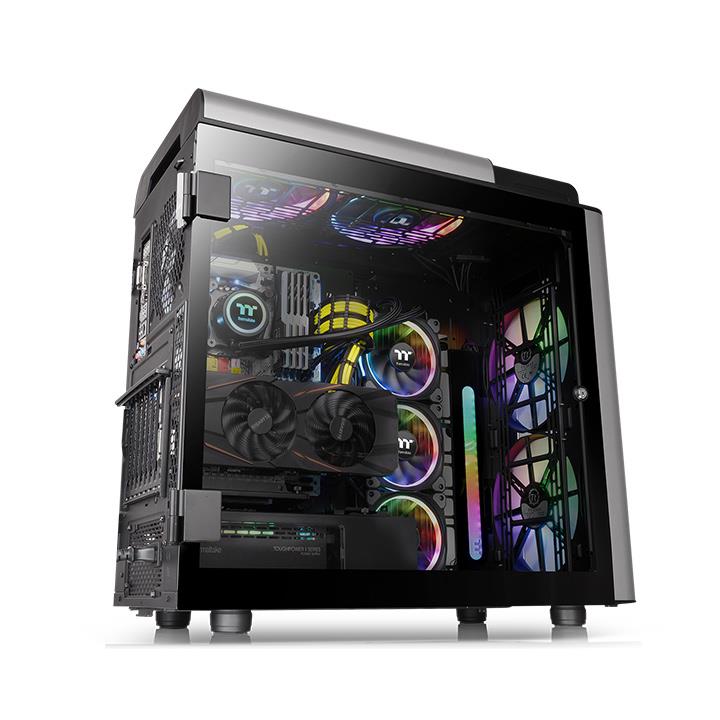
It features four tempered glass panels with locking hinged doors with each panel being 5mm thick. Airflow has been thought of, and both the top and front panel sit slightly raised from the mesh dust guard, with decent sized vent holes around the edges. On the case I reviewed back in August which I still use, I have cleaned the front filters twice, so it is clearly pulling in enough air to trap quite a bit of dust.
The two pre-installed 200mm 5V ARGB LED front fans featuring hydraulic bearing, 9 addressable LEDs and 16.8 million-colour illumination to guarantee high airflow and custom system designs to show off your PC design skills.
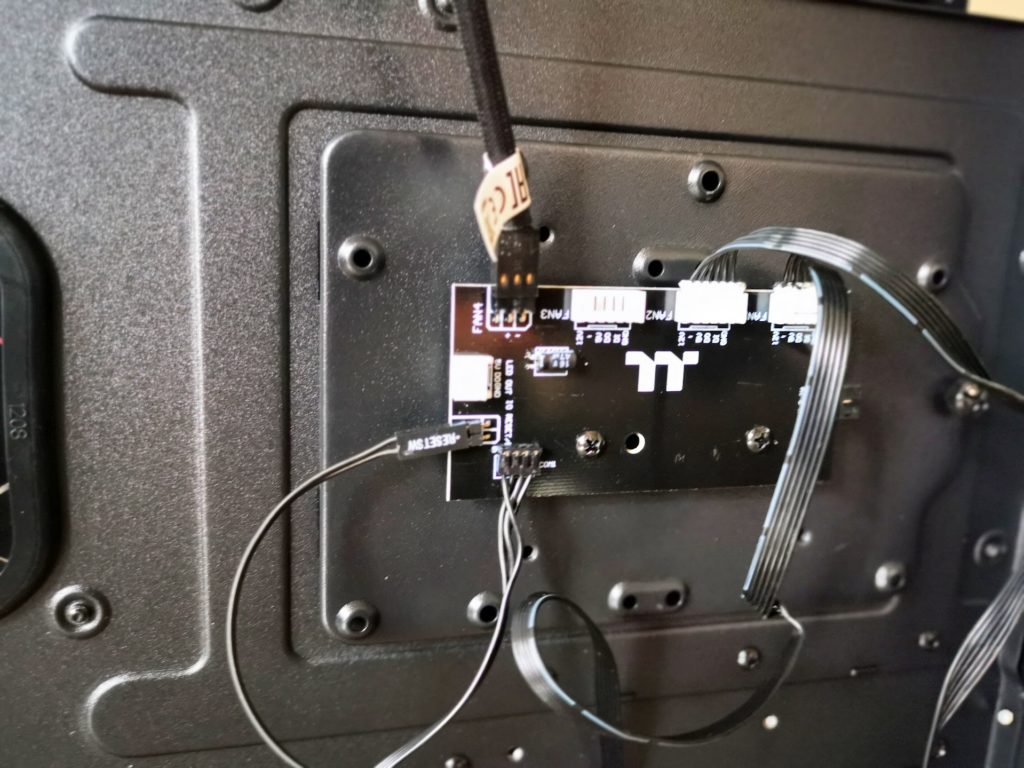
The 5V ARGB LED fans can be controlled using a simple interface built into the I/O panel that cycles through 7 different lighting modes and a range of different colour options. This is something that is worth considering if you want to control the ARGB fans, your motherboard will need a 5v 3-pin connector, mine only had a 12v four-pin connector.
Assuming you can connect the RGB header you can sync the fans with almost any motherboard software including SUS Aura Sync, GIGABYTE RGB Fusion, MSI Mystic Light Sync and AsRock Polychrome.
The Level 20 GT ARGB supports up to E-ATX motherboards, CPU coolers up to 200mm in height, VGA lengths up to 310mm and PSU sizes up to 220mm in length.
The case features a patented rotational PCI-E system allowing you to stack multiple GPUs either vertically or horizontally, depending on how you want to build your system. However, just like the previous model, you will need to invest in a PCIe riser cable if you want to mount your GPU vertically.
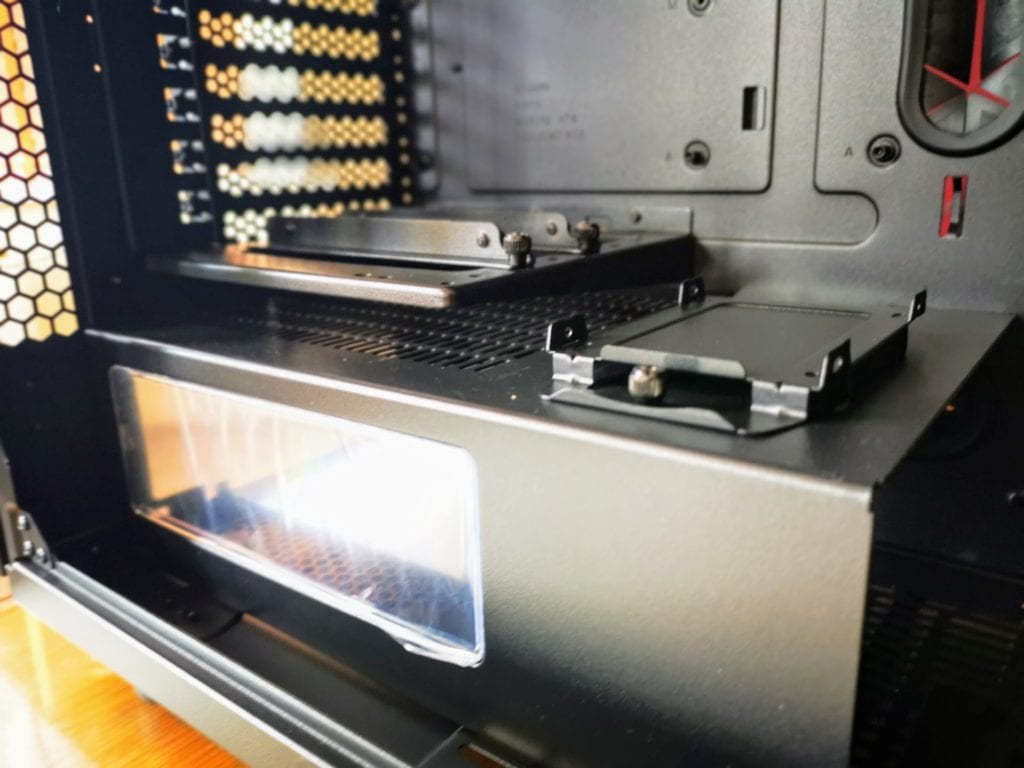
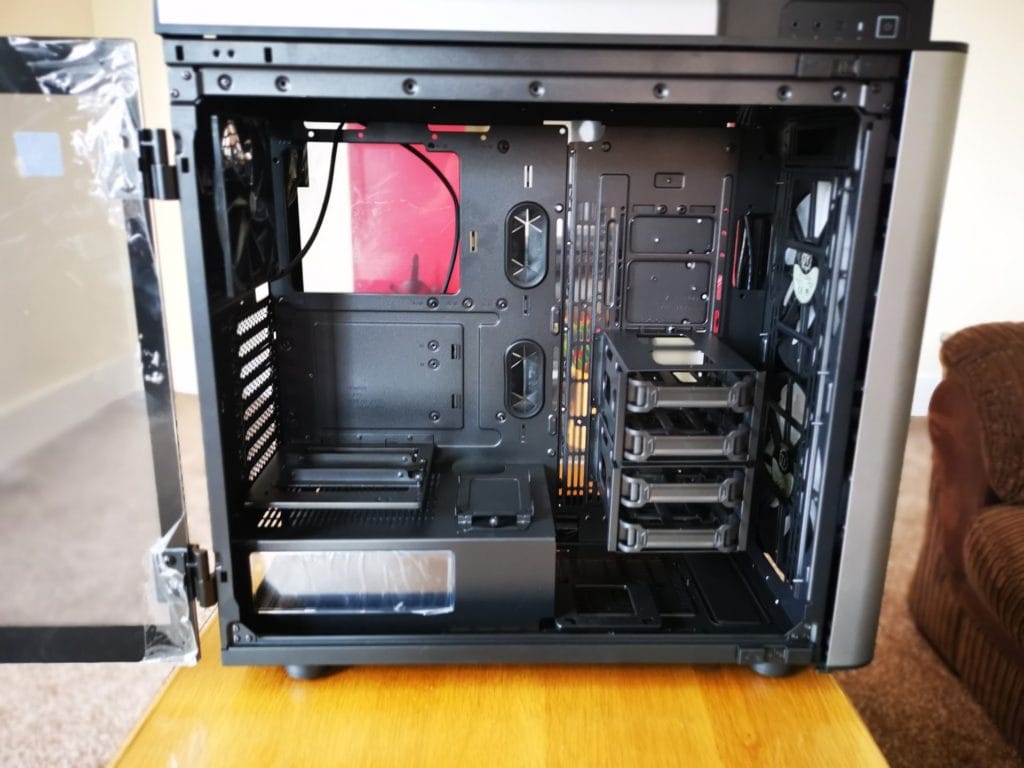
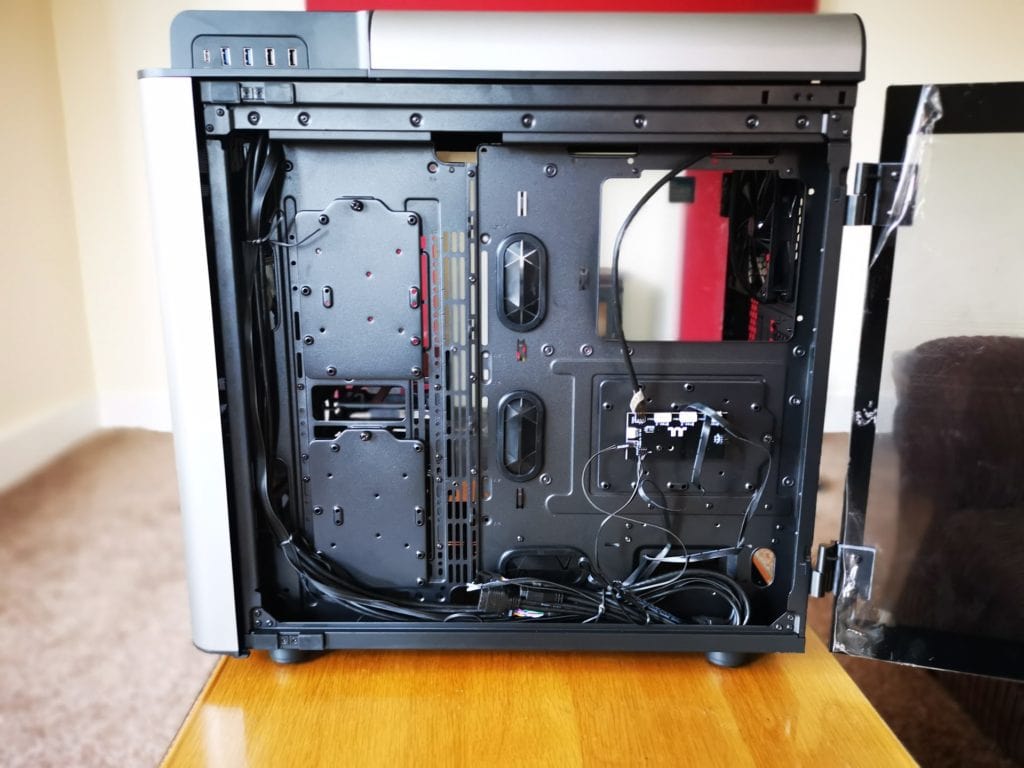
On the bottom of the case is a removable PSU shroud which is screwed into place. You also get a decent amount of storage options with a rack in the front for four 3.5inch drives plus two brackets for SSDs, one on the PSU shroud the other just next to it. Then on the rear side of the case are three mount plates which can accept either two 2.5-inch or one 3.5-inch drive. So in total, you could have ten SSDs or seven 3.5-inch drives.
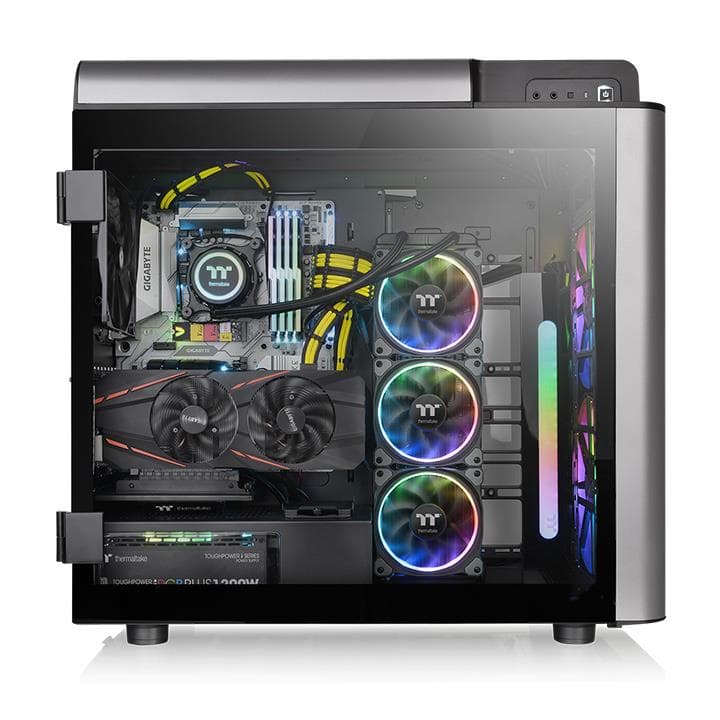
As you would hope for a case of this size, it is an absolute beast for water cooling options. The Level 20 GT ARGB lets you mount your radiator against the back panel to show off your RGB fans. The back panel provides adequate exhaust while putting your fans on display, with support for up to a 420mm radiator.
The front of the case can accommodate up to 420mm radiators which us 140mm fans, or 360mm radiators for 120mm fans, this also includes AIO coolers. The top can accept everything up to 360mm
The rear of the case can accept fans and radiators up to 140mm, and you can even install up to 240mm on the bottom.
You already have 200mm fans in the front of the case, but the top also accepts up to two 200m fans or alternative 3×120/140mm.
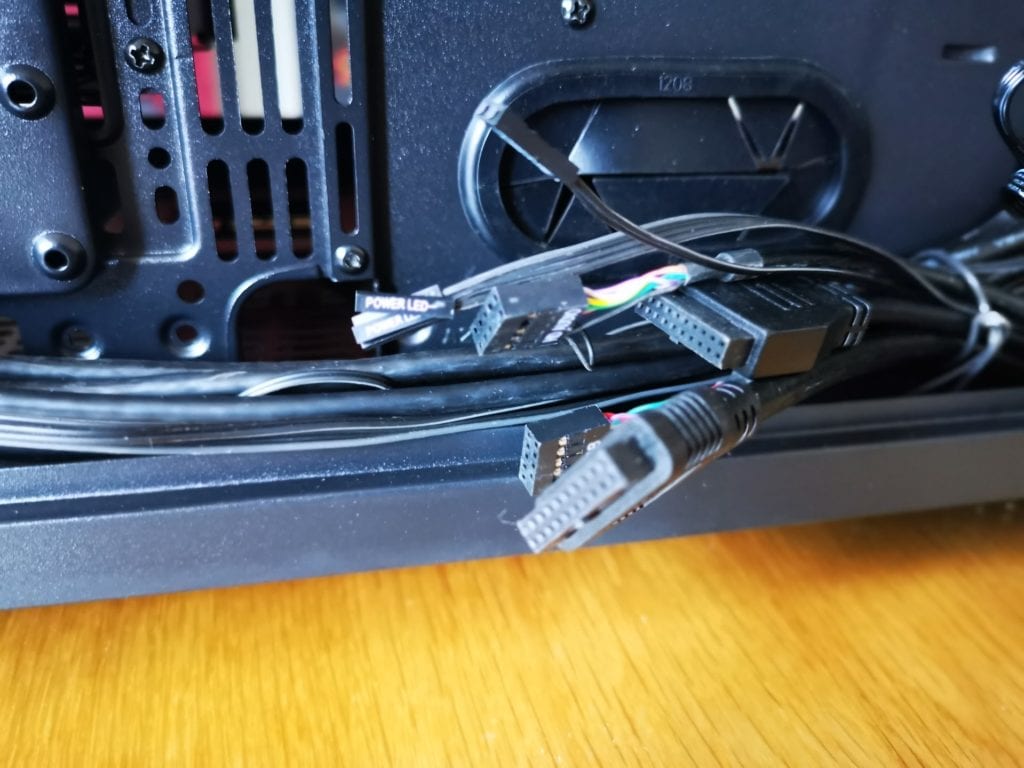
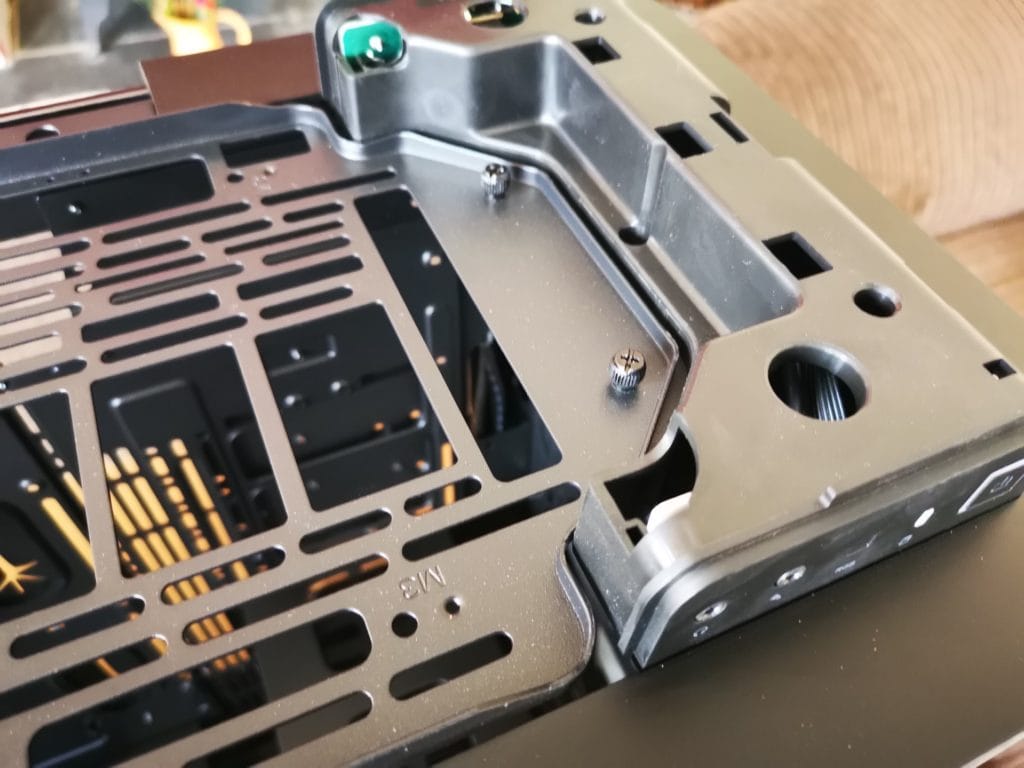
At the leading edge of the top panel are two USB 2.0 ports, two USB 3.0 ports and a single USB 3.1 Gen 2 Type-C header on the right side. Headphone and microphone jacks, power and reset buttons and a hard drive activity light are on the left side.
Build
Just like the last build, this case is a pleasure to work with, mainly because it is so large you are never too cramped when doing anything. The hinged doors feel super premium, and they are easy to slot off. The fact there are four tempered glass panels means your cable management skills need to be decent, I honestly don’t know how it is possible to have the under-side panel neat with all the fan cables and PSU cables. I did find the hinged door was quite forgiving when it came to closing it, unlike slide on panels which can be problematic when you have a lot of cables.
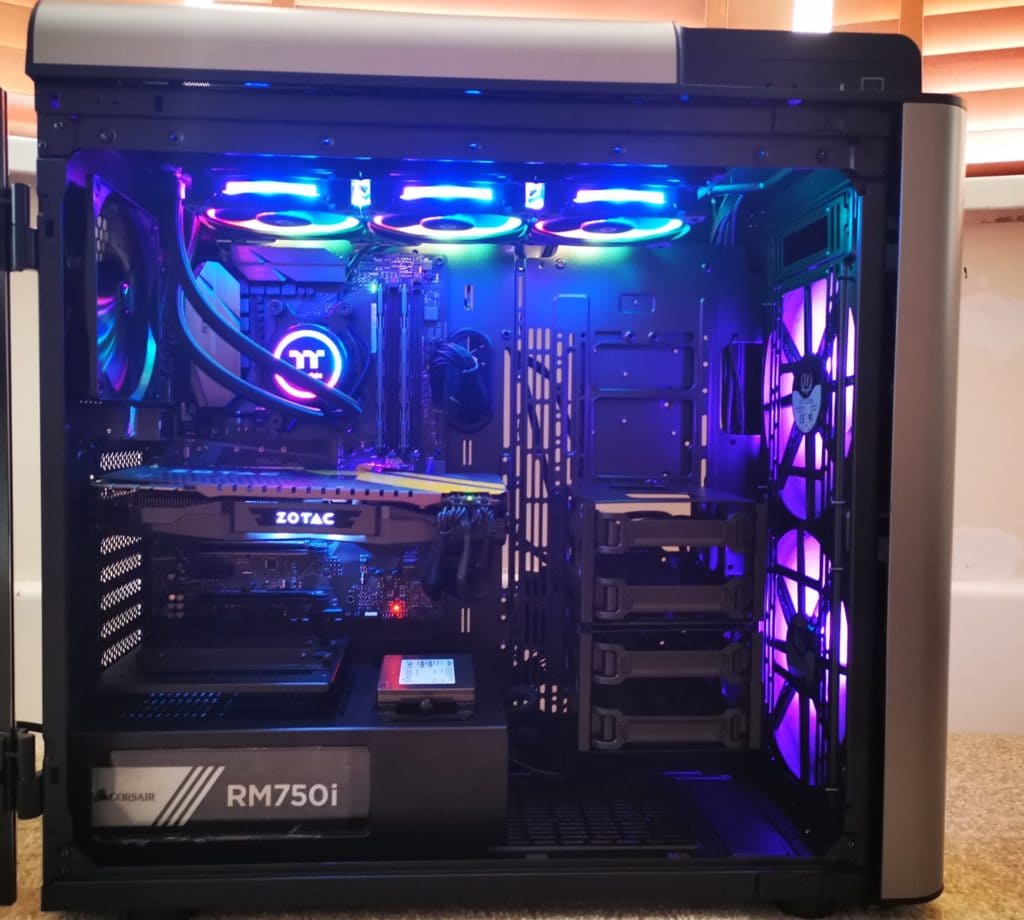
One of the particular highlights of this case is being able to remove the plastic cover on the top of the case, and then remove the entire radiator mounting section. This allows you to mount a radiator outside of the case and install it when done. With the roof mount out of the way you also have easy access to all the fan ports and CPU power socket at the top of the motherboard.
On the flip side, the most awkward part of the build is the PSU shroud, you need to remove it to install the PSU and cables, and this then requires you to unscrew it at various places. It is not a significant problem, and being able to remove the cover is arguably better than having one fixed in place. You just need to remember where all the little screw holes are when you are done.
With my build, I installed the 360mm Floe Riing RGB Premium Edition into the roof of the case. Unfortunately, this case arrives after I did the Water 3.0 ARGB review.
With the ARGB fans on this case, it is technically an easier build overall, as the fans are all pre-wired into the controller, so you only have the SATA power cable and RGB header to plug in.
Overall, I think this is one of the easiest cases I have worked with, and for the more adventurous it has an exceptional level of modability.
Performance
I don’t have a dedicated test build or review enough cases to be able to objectively test a cases cooling ability against other cases. The fact that I am using a 360mm AIO radiator skews the cooling results somewhat. However, the case runs both cool and quiet, I have a moderate overclock on my Ryzen 2600, running at 4Ghz and this happily sits at around 34-degrees for general office use. Similarly, the motherboard temperatures all site at approximately 28-degrees and my GTX 1070 which I keep at stock speeds stays in passive mode at 50-degrees.
Subjectively I would say this runs fractionally louder than the RGB model, but I don’t have any hardware accurate enough to test this. The specification of the front fans states the same noise level of 29.2dBA. Even if it is louder, it is still very quiet, first thing in the morning when there is no traffic noise, and I have no other background noise on, I can just about hear the fans gently spinning, and it is likely that it is the 120mm fans of the radiator that are the loudest component, not the 200mm front fans.
Overall
I loved the Level 20 GT RGB Plus back in August, but at the time it was priced at £300 making it only suitable for extravagant high-end builds. Since then it has dropped in price by about 20% down to £250 making it much more appealing. The Level 20 GT ARGB is even cheaper at £220, and in some respects, it is a slighter better case.
The ARGB fans have a nicer lighting appearance with the colours seamlessly integrating into each other emanating out from the centre of the fan. With the RGB fans, the LEDs runs around the edge with each LED being clearly visible. It’s an aesthetic difference I didn’t realise I cared about until running these cases side by side, but I can now see why ARGB is a popular option.
The installation is arguably easier with this build, and I think many people will prefer the option to control the ARGB with the motherboard software rather than the TT RGB Plus software.
The only downside will be if you don’t have the 5v 3-pin header on your motherboard, this will mean you are forced to use the manual controls. For me, that is not an issue, but if you want everything to sync up then the previous Level 20 GT RGB Plus case will probably be worth the extra cash.
Overall then, assuming your motherboard is compatible, this will be a superior case primarily because it is about £30 cheaper which is a 12% saving.
Thermaltake Level 20 GT Tempered Glass ARGB Full Tower PC Case Review
Product Name: Thermaltake Level 20 GT Tempered Glass ARGB Full Tower PC Case
Offer price: 220
Currency: GBP
Availability: InStock
Summary
I loved this case when I originally reviewed it, and now it is significantly cheaper and arguable better.
Overall
92%-
Overall - 92%92%
I am James, a UK-based tech enthusiast and the Editor and Owner of Mighty Gadget, which I’ve proudly run since 2007. Passionate about all things technology, my expertise spans from computers and networking to mobile, wearables, and smart home devices.
As a fitness fanatic who loves running and cycling, I also have a keen interest in fitness-related technology, and I take every opportunity to cover this niche on my blog. My diverse interests allow me to bring a unique perspective to tech blogging, merging lifestyle, fitness, and the latest tech trends.
In my academic pursuits, I earned a BSc in Information Systems Design from UCLAN, before advancing my learning with a Master’s Degree in Computing. This advanced study also included Cisco CCNA accreditation, further demonstrating my commitment to understanding and staying ahead of the technology curve.
I’m proud to share that Vuelio has consistently ranked Mighty Gadget as one of the top technology blogs in the UK. With my dedication to technology and drive to share my insights, I aim to continue providing my readers with engaging and informative content.

