Any links to online stores should be assumed to be affiliates. The company or PR agency provides all or most review samples. They have no control over my content, and I provide my honest opinion.
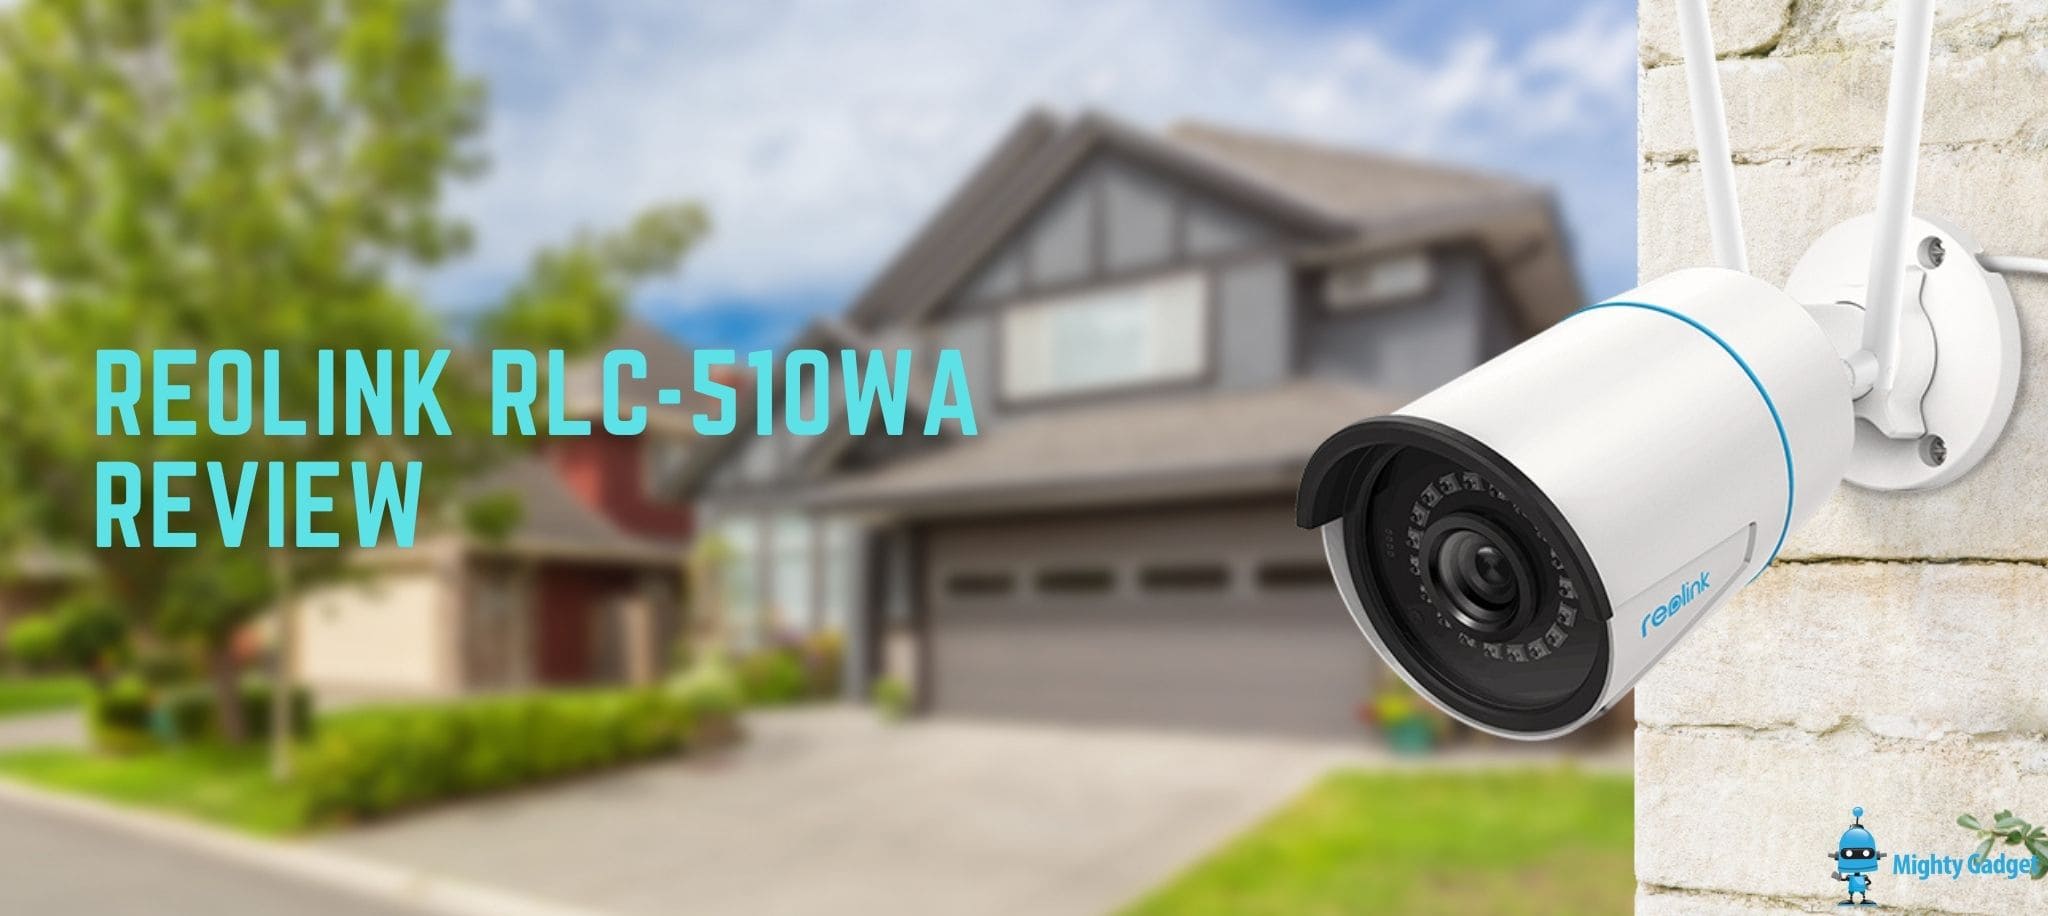
The Reolink RLC-510WA was announced back in March. Similar to most of the recent Reolink launches, the main feature upgrade here is the new smart object detection for people and vehicles, allowing you to minimise notifications and make it easier to find recorded events.
The RLC-410W would be the likely camera this replaces, so you also get a bump in resolution from 4MP(2560×1440) to 5MP (2560×1920).
Page 2 has sample footage, price and alternative and the overall review rating
Reolink RLC-510WA Review Rating
Summary
As usual from Reolink, this is a superb option, offering 5MP resolution, Wi-Fi connectivity and advanced object detection.
Reolink RLC-510WA Specification
| Preview | Product | Rating | Price | |
|---|---|---|---|---|

| Reolink 5MP WiFi Security Camera Outdoor, 2.4/5GHz WiFi CCTV... |
£69.99 | Buy on Amazon |
- Image Sensor : 1/2.7″ CMOS Sensor
- Video Resolution: 2560 x 1920 (5.0 Megapixels) at 20 frames/sec
- Lens: f=4.0mm fixed, F=2.0, with IR cutf=2.7-13.5mm F=1.6-3.3, with IR cut
- Video Format :H.264
- Field of View
- Horizontal: 80°
- Vertical: 42°
- Day & Night: IR-cut filter with auto-switching
- Infrared Night Vision: Up to 30 meters (LED: 4pcs/28mil/850nm)
- Power: DC 12.0V⎓1A, <12W
- Connectivity: 2.4GHz/5GHz
- Snart Detection: Motion detection/human detection/vehicle detection
- Recording options: MicroSD, Cloud, NVR/Onvif
- Dimensions: 67 x 67 x 186mm
- Weight: 415g
Set-Up
I am not sure if this is the formal way of setting up the Reolink Wi-Fi cameras, but I plugged it into the DC power, wired it up to Ethernet, added the camera to the app via the QR code then provided the Wi-Fi credentials afterwards. Once added to the system, you can remove the Ethernet cable.
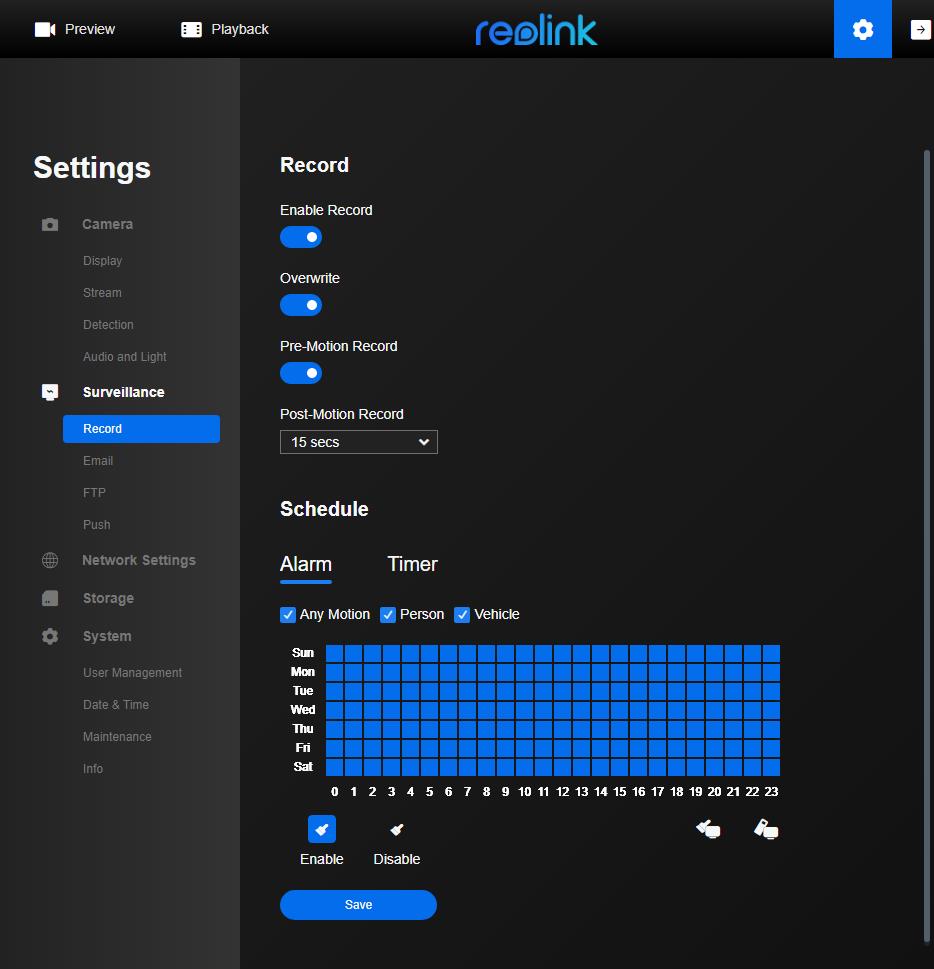
You have options to record to microSD, a Reolink NVR, any ONVIF NVR, or Reolink cloud. I currently use the Reolink NVR.
While I much prefer using Ethernet, the Wi-Fi performance is good. Obviously, this will depend on the strength of your Wi-Fi signal, but I haven’t experienced any slowness in connecting to the camera or glitchiness with the recordings.
Web Browser Settings
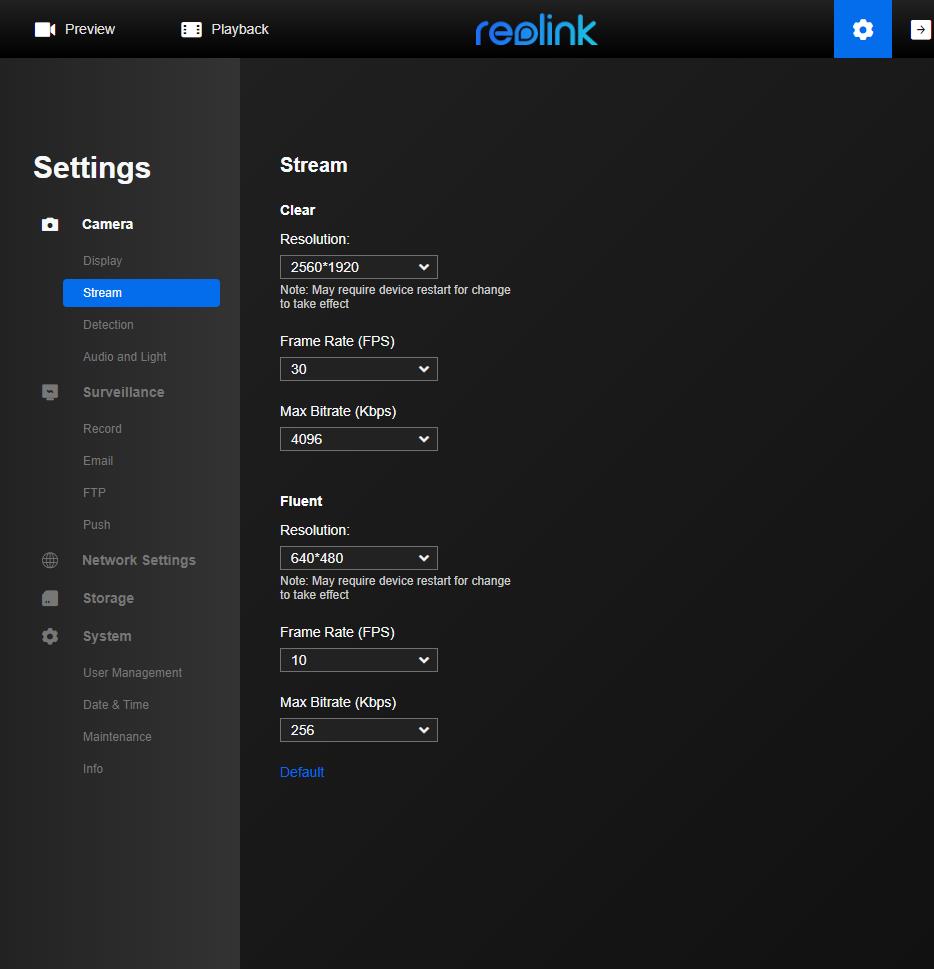
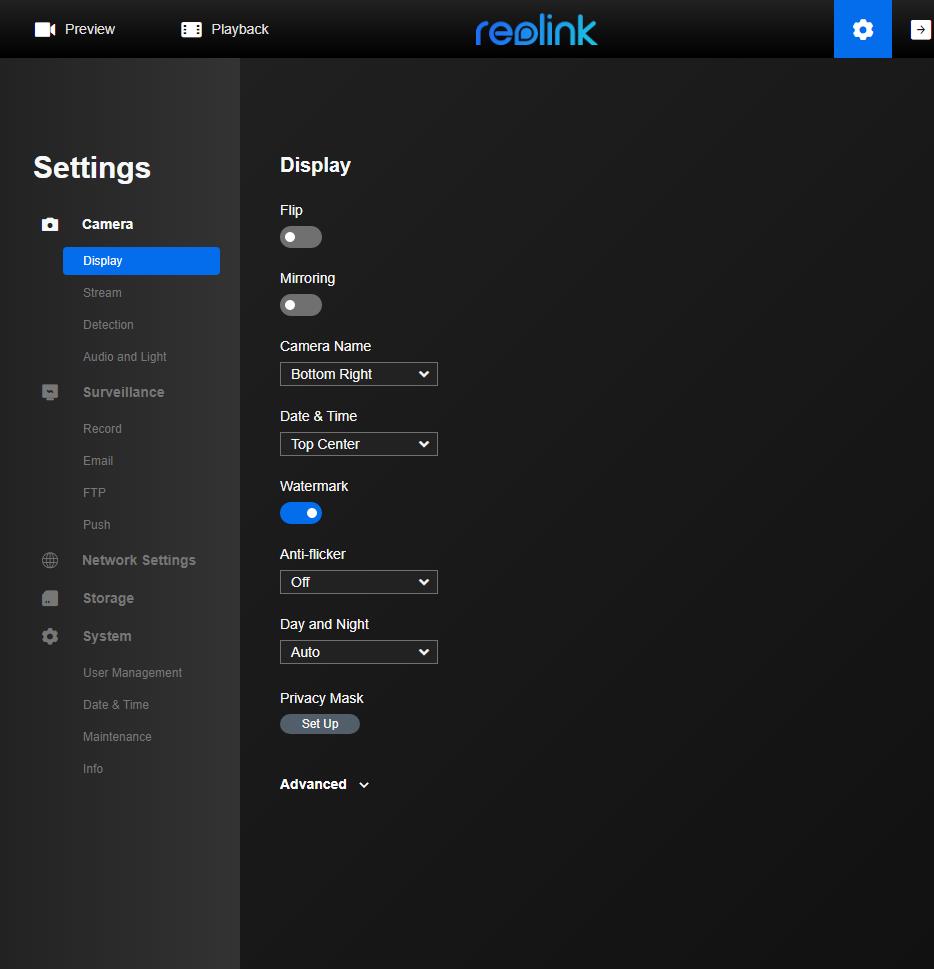
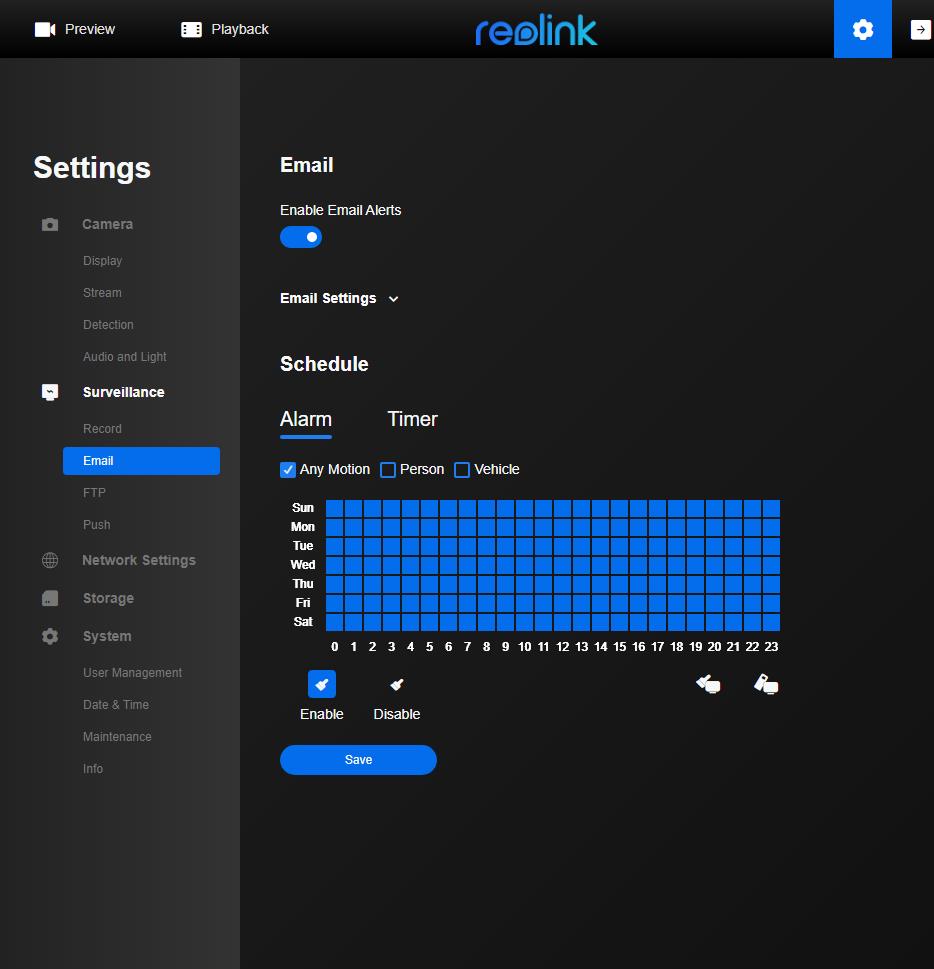
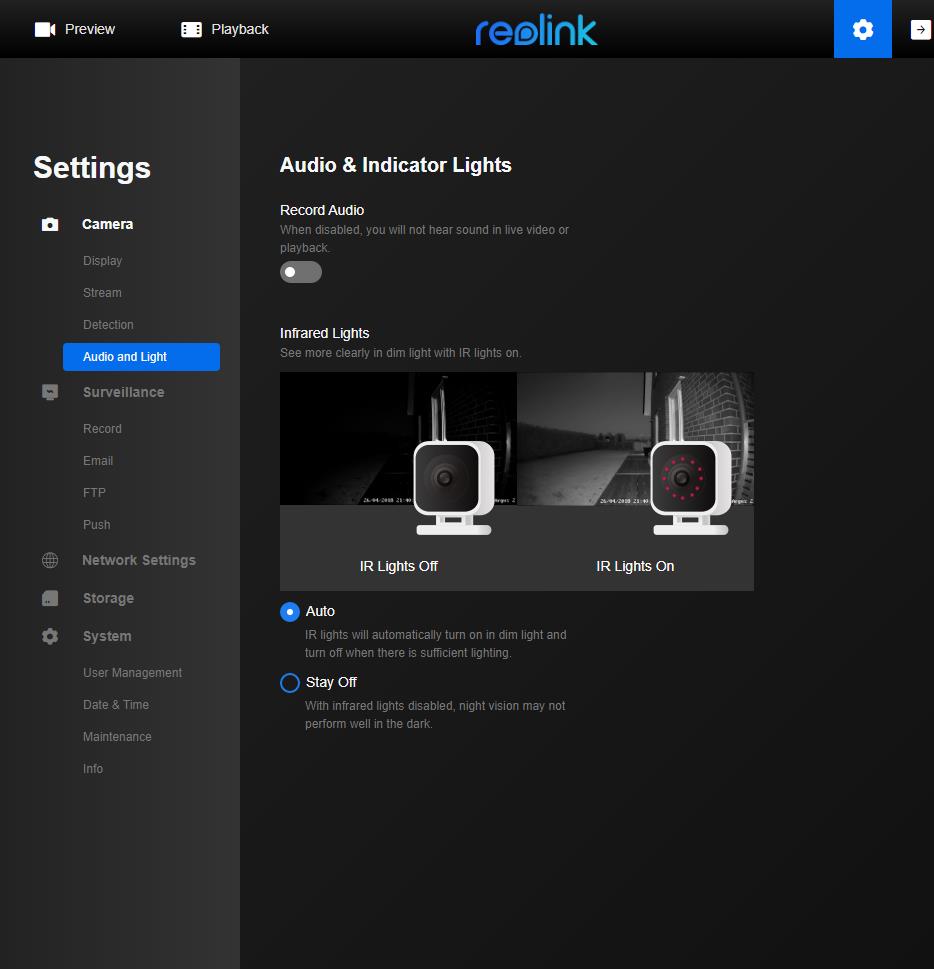
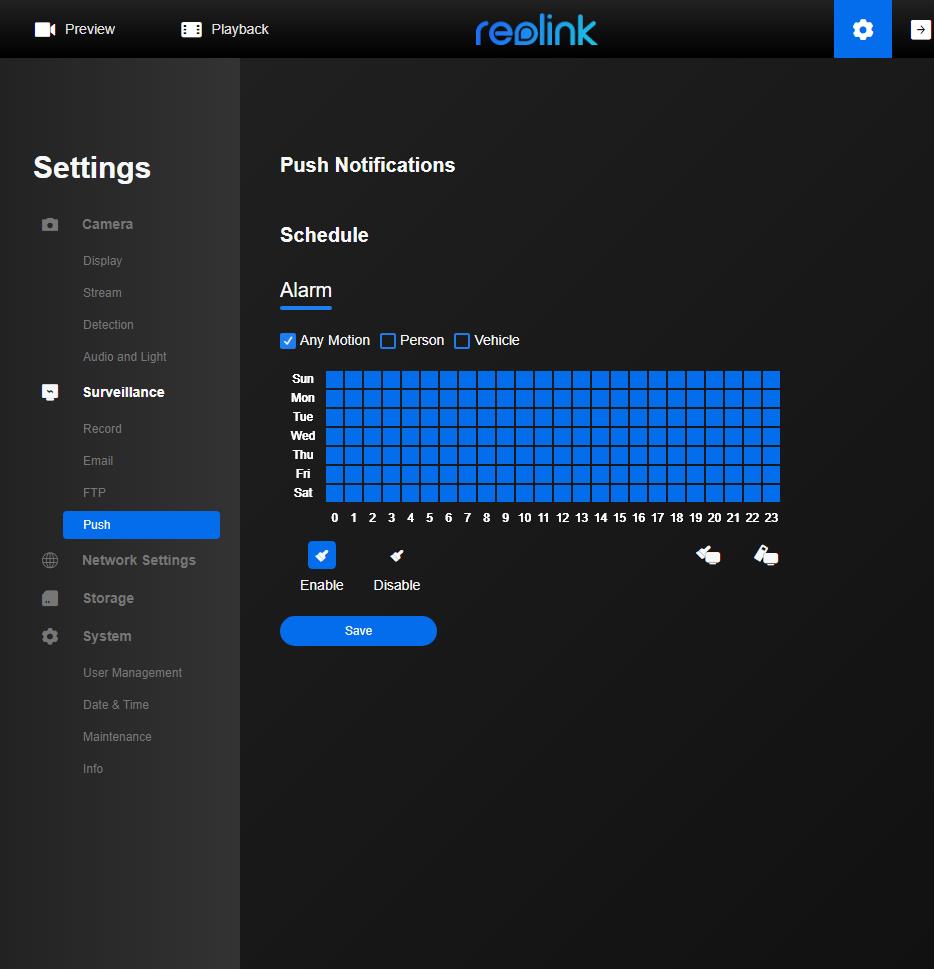
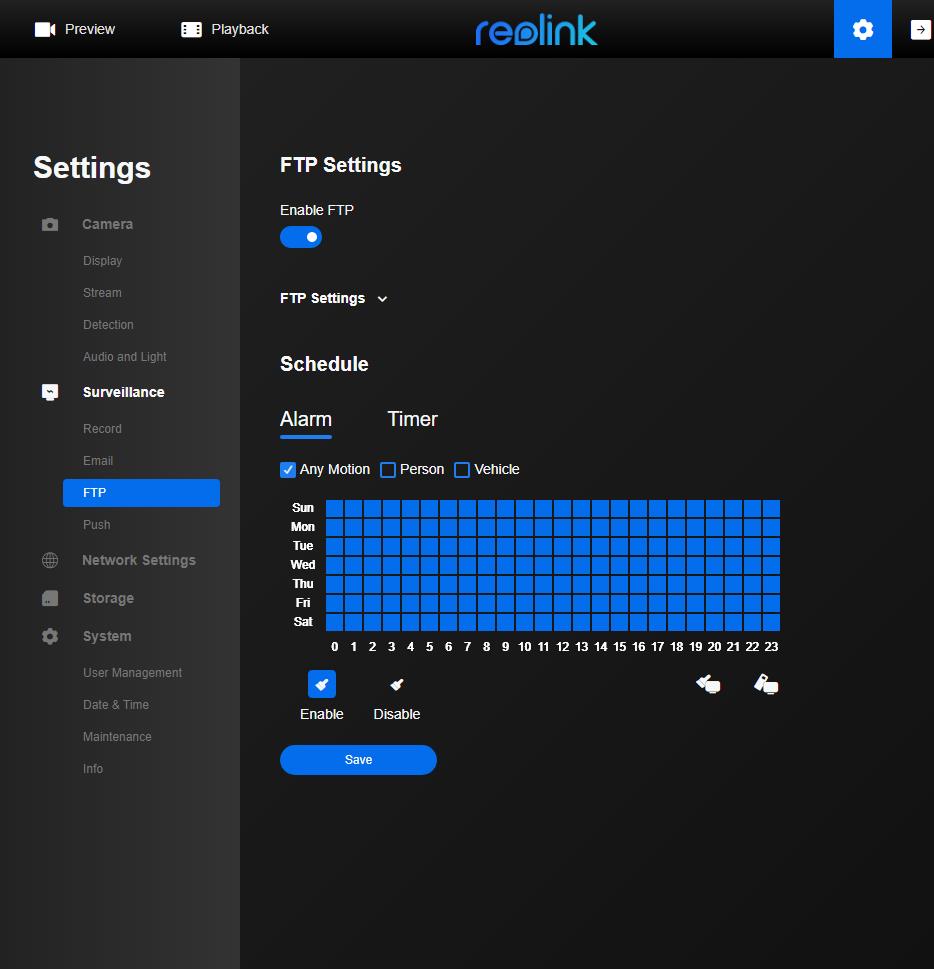
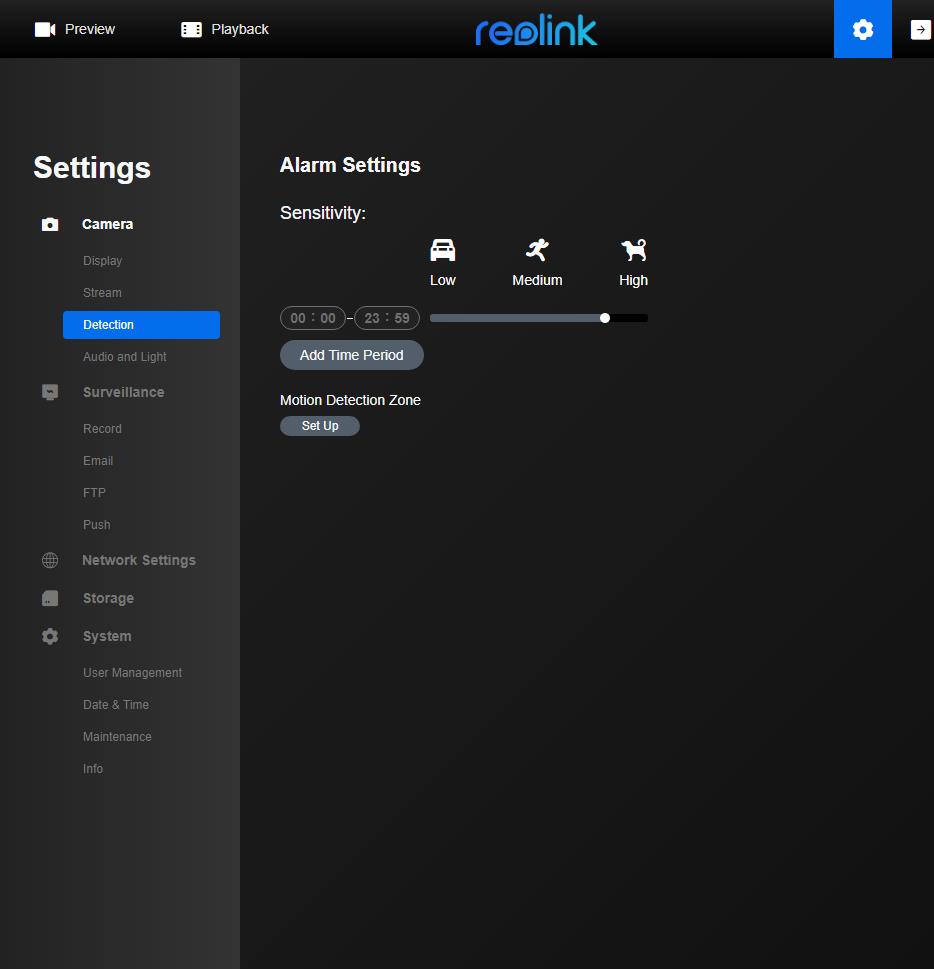
You can also manage the camera via its IP on a browser. I prefer this method as I am always sat in front of my computer. I find this is the best way to tweak the image settings to your liking.
Reolink RLC-510WA Set Up with Blue Iris and Reolink NVR
Setting up the RLC-510WA is identical to every other Reolink camera. With it being POE, there is no faffing around with Wi-Fi. With the app, scan in the QR code to add it to the system and initialise; you will then need to define an admin password.
If you have a Reolink NVR, it should auto-recognise the camera, so you will just need to type in the admin password.
With Blue Iris (or ONVIF compatible products like Synology), I normally get the IP address from the app by clicking the product name at the top of the device settings in the app, then network info. With the correct IP, I also add the username and password, then hit scan, and Blue Iris does everything for me.
Similar to other reviews, setting the sub-stream will reduce CPU load.
Performance
As usual, performance is superb for the price you pay. It offers good quality footage for home users providing enough clarity to make out peoples features and car number plates (when parked at least).
You get a decent field of view, reducing the need for a lot of cameras.
Night time recording is black and white and good quality. I have annoyingly bright street lighting, so visibility is generally good. Due to this lighting, I can get away with reducing the backlight from the camera, which then reduces glare on registration plates. With the DNR setting on it is possible to read registration plates.
I am James, a UK-based tech enthusiast and the Editor and Owner of Mighty Gadget, which I’ve proudly run since 2007. Passionate about all things technology, my expertise spans from computers and networking to mobile, wearables, and smart home devices.
As a fitness fanatic who loves running and cycling, I also have a keen interest in fitness-related technology, and I take every opportunity to cover this niche on my blog. My diverse interests allow me to bring a unique perspective to tech blogging, merging lifestyle, fitness, and the latest tech trends.
In my academic pursuits, I earned a BSc in Information Systems Design from UCLAN, before advancing my learning with a Master’s Degree in Computing. This advanced study also included Cisco CCNA accreditation, further demonstrating my commitment to understanding and staying ahead of the technology curve.
I’m proud to share that Vuelio has consistently ranked Mighty Gadget as one of the top technology blogs in the UK. With my dedication to technology and drive to share my insights, I aim to continue providing my readers with engaging and informative content.
Last update on 2025-07-18 / Affiliate links / Images from Amazon Product Advertising API


Awesome post, thanks for sharing.