Any links to online stores should be assumed to be affiliates. The company or PR agency provides all or most review samples. They have no control over my content, and I provide my honest opinion.
I am fortunate enough to be on a fixed contract from 2019 and have until October 2023 before I get hit with the massive increase in energy costs. I have been on a quest to reduce our electricity and gas usage with the hope of offsetting the price rise next year.
So far, I have looked at:
- Running Cost of Fridges & Freezers
- Best Smart Thermostatic Radiator Valves
- Cost of Running a Desiccant vs Compressor Dehumidifier
- Heated Clothes Rack vs Dehumidifier Electricity Running Costs
- Cost of Running a Tumble Dryer
- Cost to run a portable air conditioner
This review is a bit more on the extreme side of things. While it is quite logical to use a thermal imaging camera to try and identify poorly insulated parts of your home, the problem is that these devices cost a lot of money. The HT-19 Infrared Thermal Imaging Camera I used for this experiment costs well over £400. I’d need to be able to make some significant savings on my heating bill to justify this. Even the popular FLIR cameras for your phone will set you back over £200.
| Preview | Product | Rating | Price | |
|---|---|---|---|---|

| New Higher Resolution 320 x 240 IR Infrared Thermal Imaging... | Buy on Amazon |
Specification
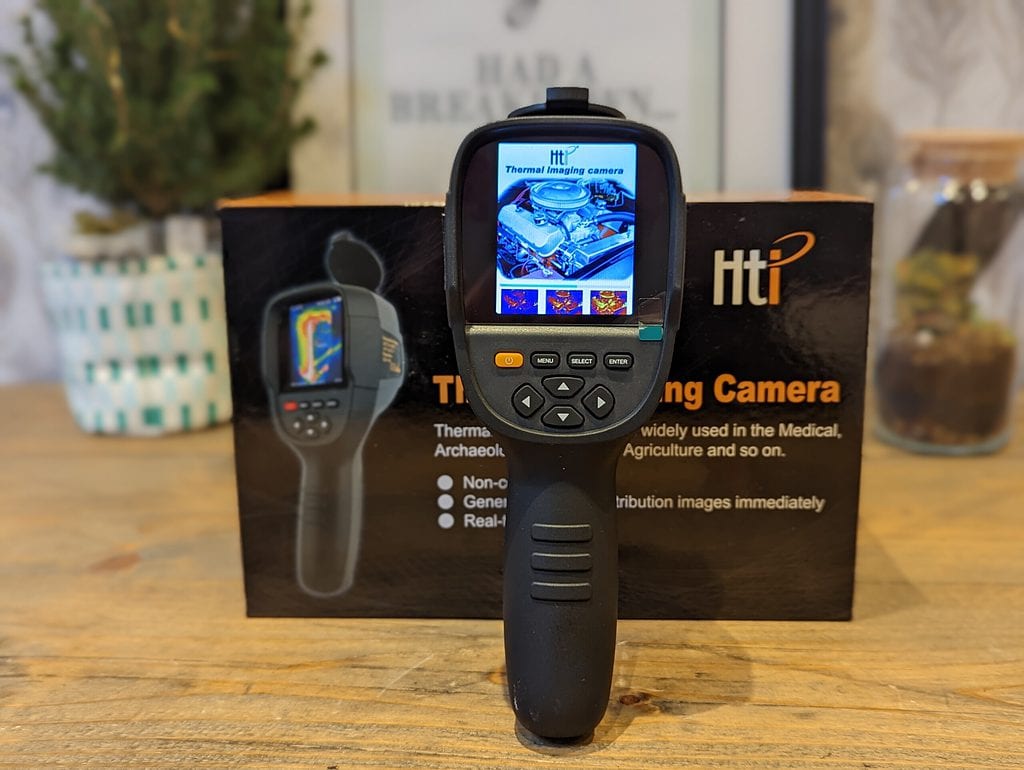
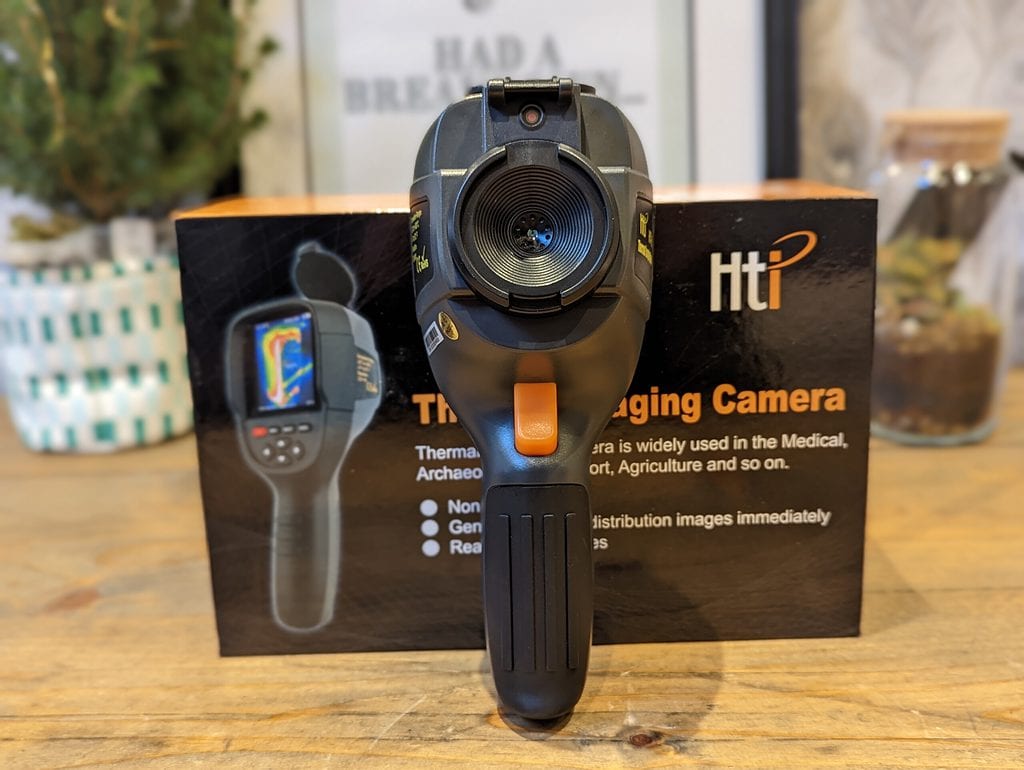
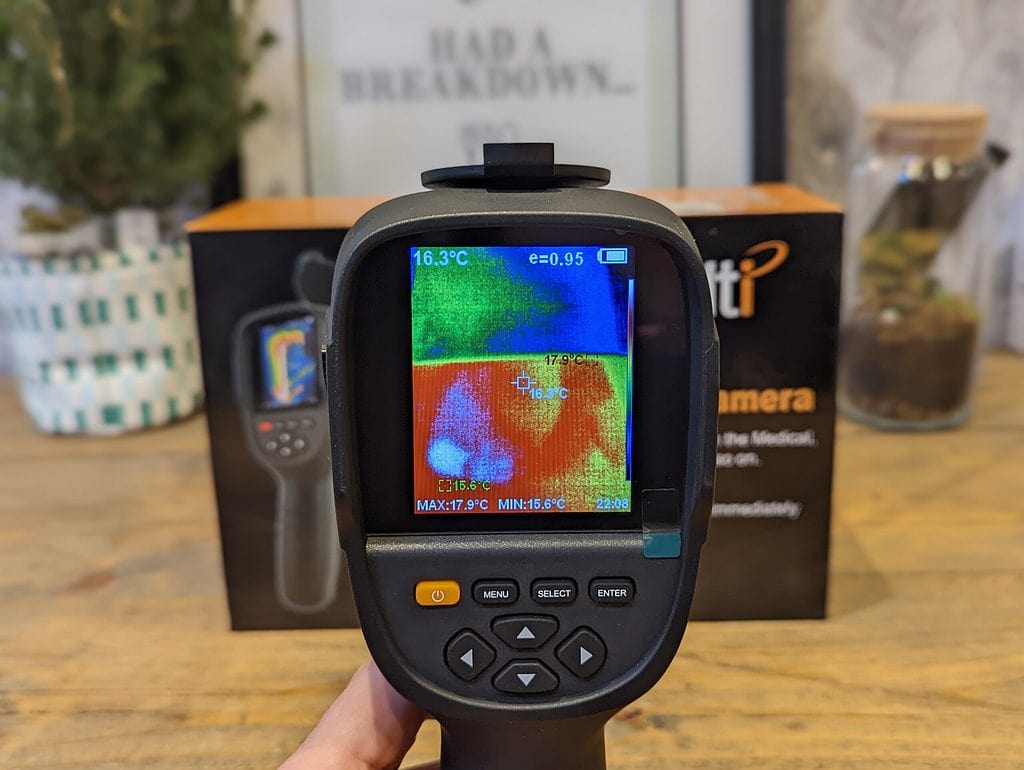
- Display: 3.2 ″ full-angle TFT display screen
- Resolution: 320×240
- Temperature measurement range: -20℃ to 300℃ (-4°F to 572°F)
- Field angle/shortest focus length: 56°x42°/0.15mm
- Thermal sensitivity: 0.07℃
- Measurement accuracy: ±2% / ±2℃
- Emissivity: Adjustable from 0.01 to 1.0
- Frame rate of thermal images: 9Hz
- Wavelength coverage: 8-14um
- Storage medium: Built-in 3GB (20+ thousand images stored)
My home
For some context, my home is typical UK brick-built semi-detached property. It is approaching 100 years old. It had triple glazing installed about 20 years ago, and the walls have been insulated. I also recently had a reroof going from a very draughty cold roof to a warm roof design.
Even though the home has had a lot of things done to improve insulation and efficiency, it is still a draughty old home with insufficient insulation.
Using the camera outdoors to identify hot spots
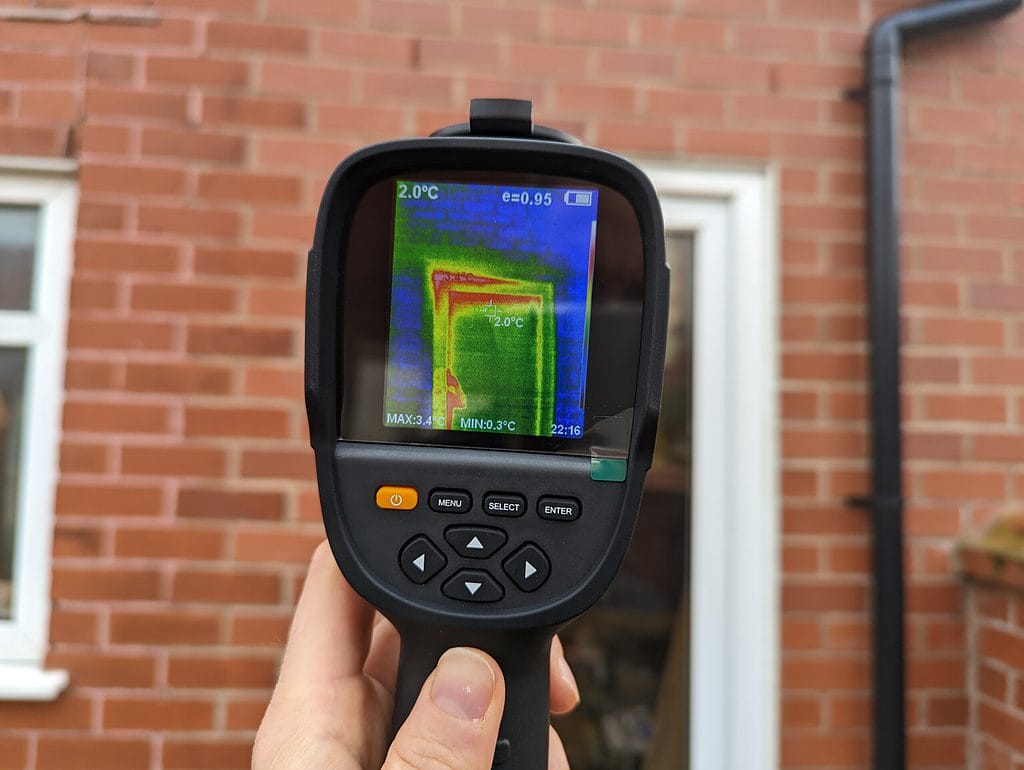
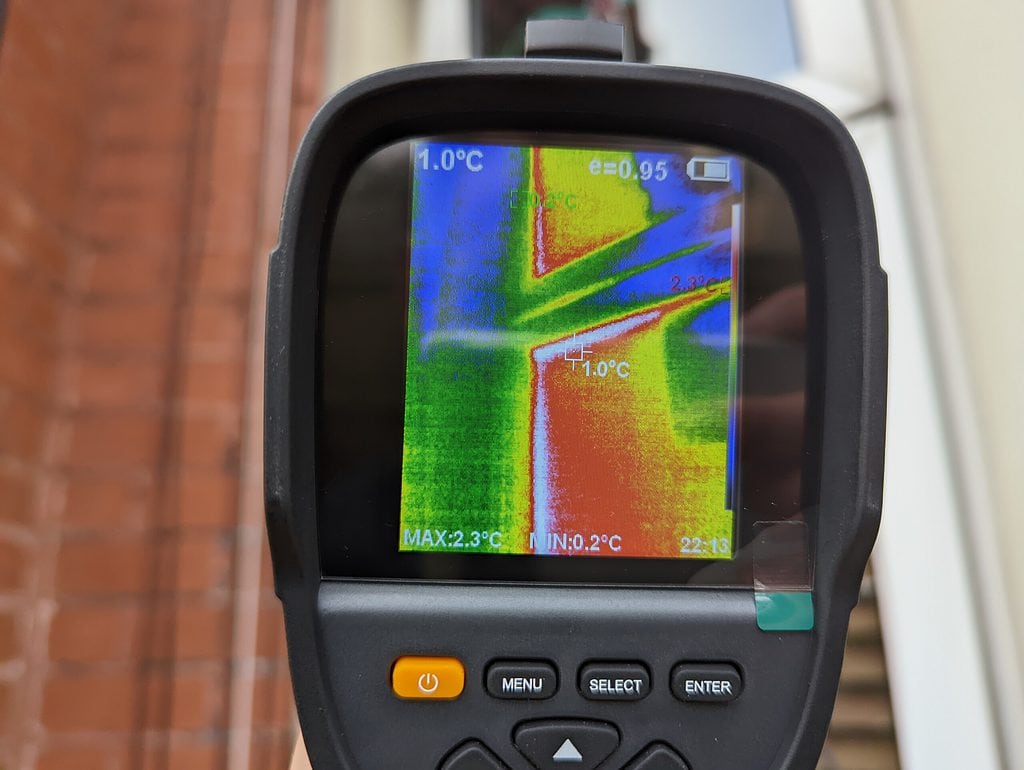
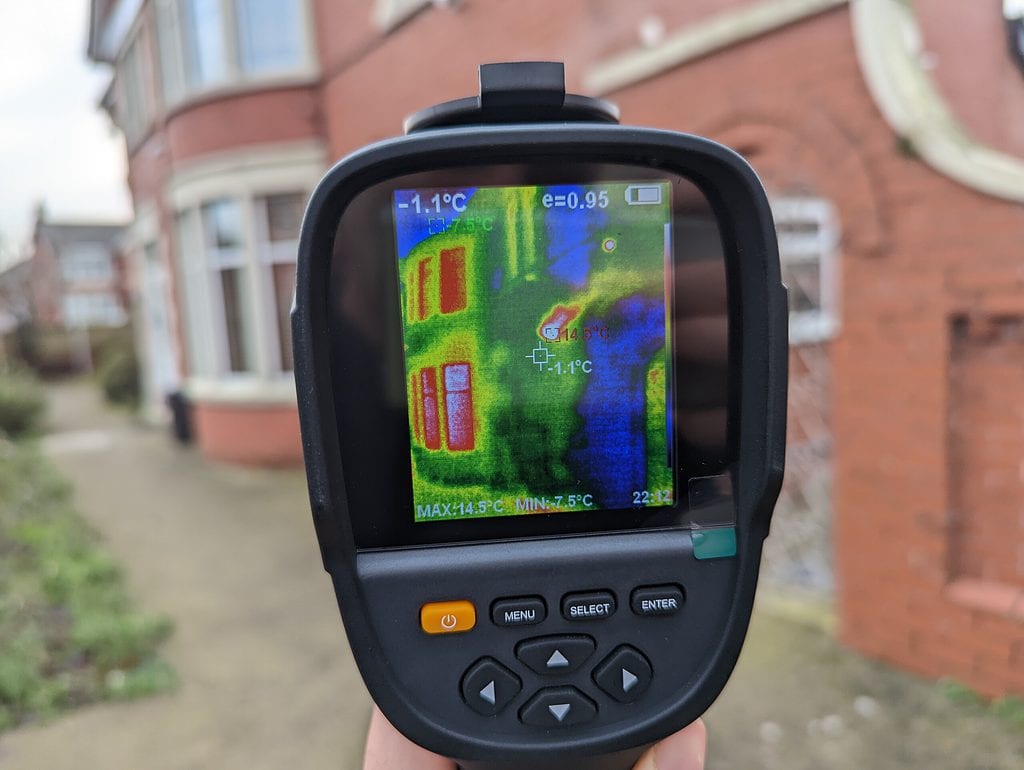
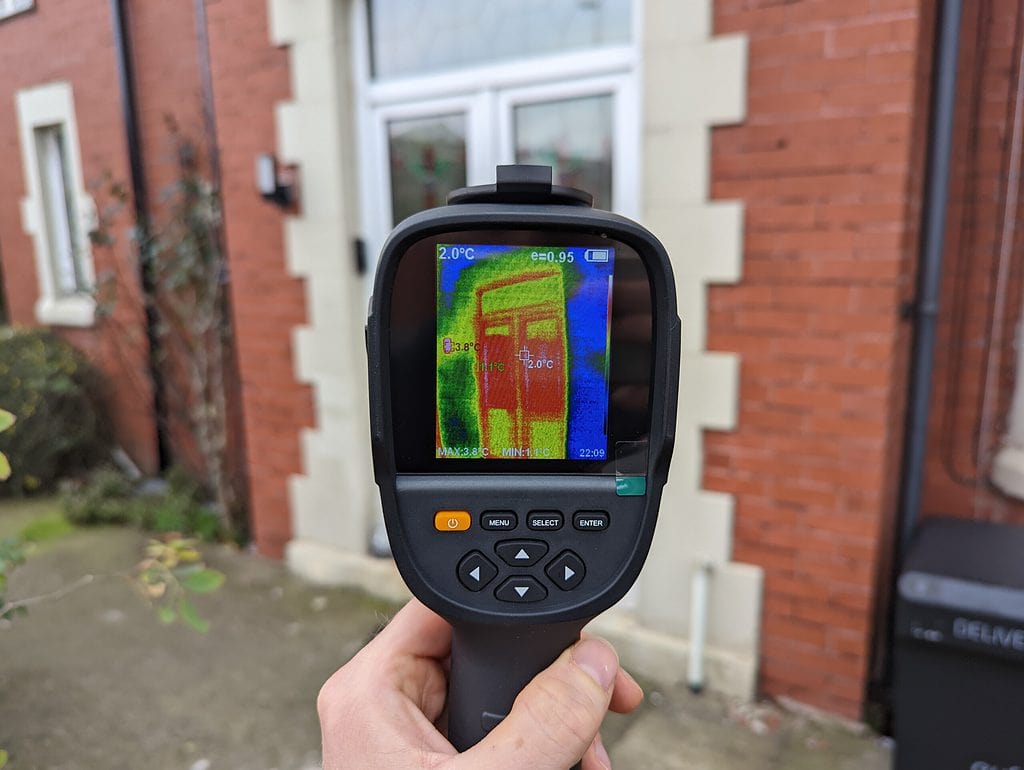
Using the camera outdoors didn’t reveal anything that wasn’t already obvious. Windows and doors were all hot spots. Edges of windows are the main hot spots. You can even identify the CCTV cameras that I have dotted around the house.
There were a couple of spots where the red hot spots extended further away from doorframes or windows than I’d expected. My back door is one likely problem area, I think the door has dropped from the frame a little bit. It is not something I was aware of personally, but one of my friends that fits doors immediately noticed it when he came around and didn’t need a camera to confirm it.
Using the camera indoors to identify draughts
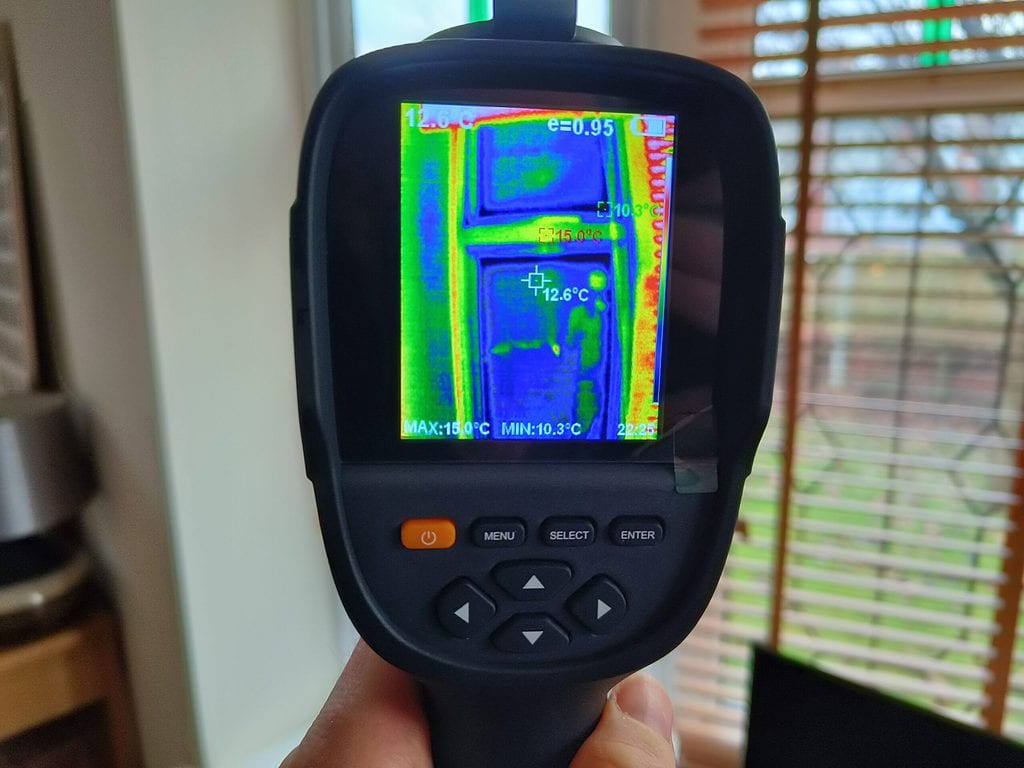
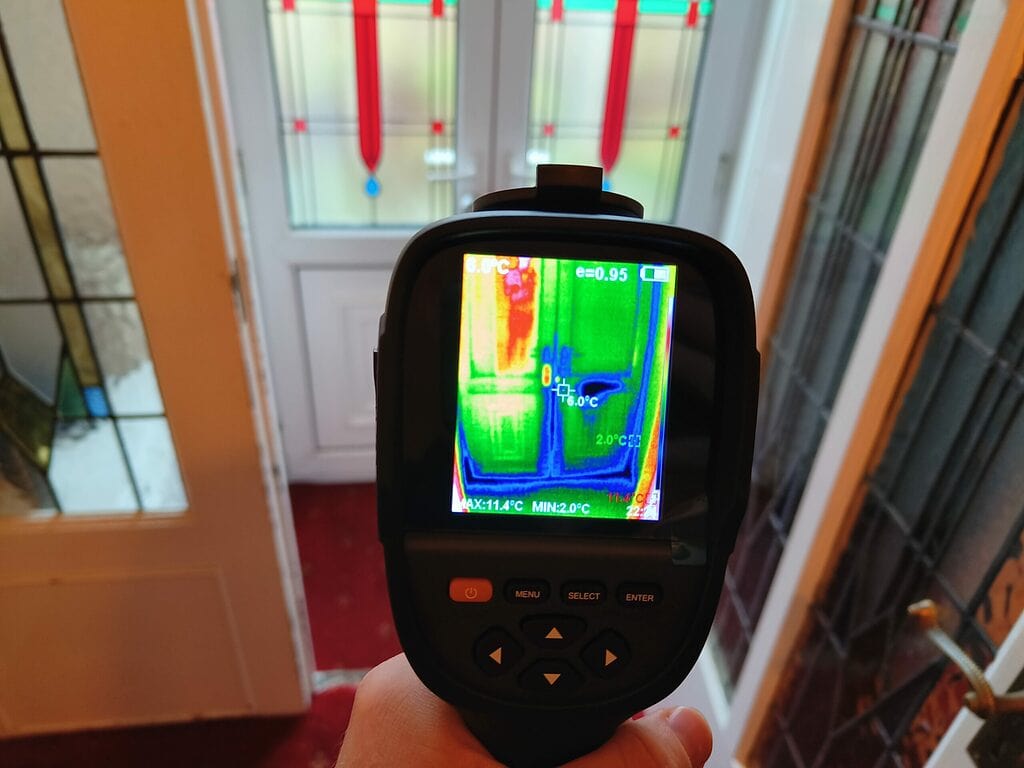
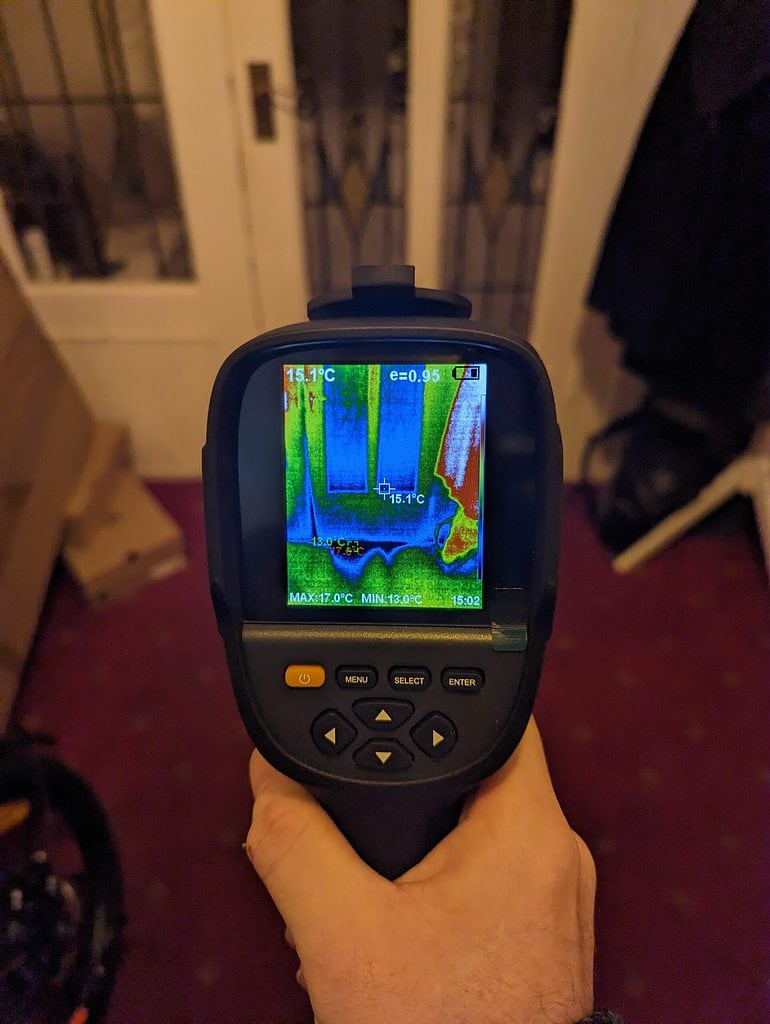
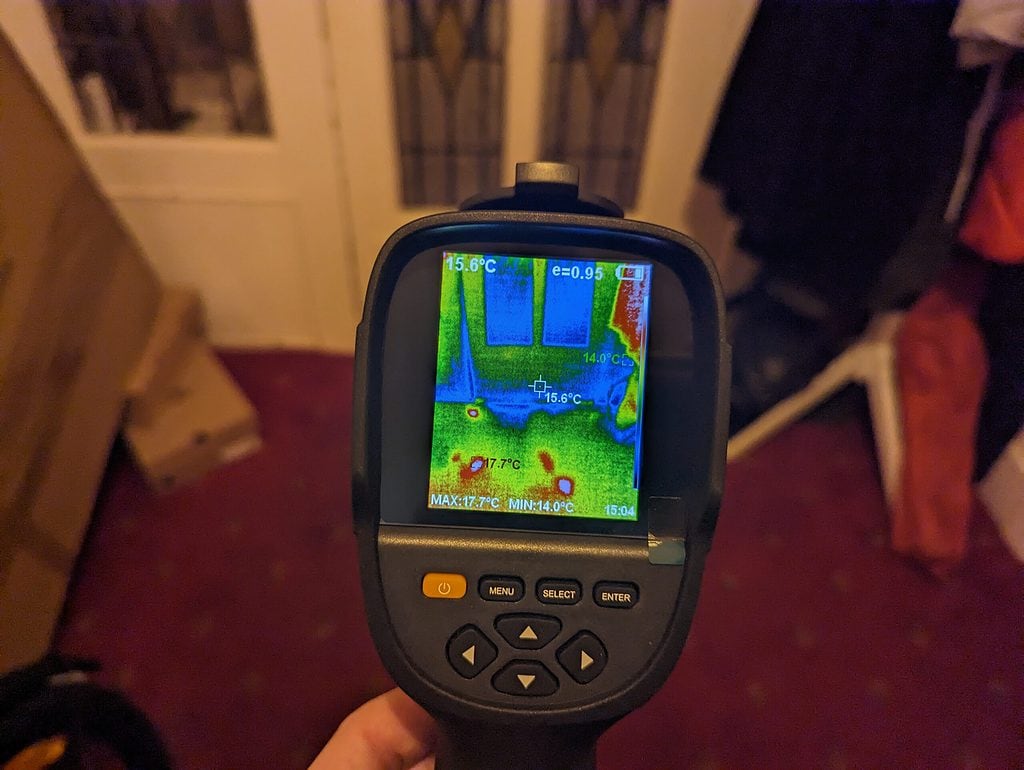
Using the camera indoors to identify cold air coming in via draughts is by far the most effective way to use this camera (in my opinion).
Even though I have found it useful in this scenario, I wouldn’t say spending £400+ on a thermal imaging camera yields significantly better results than using some common sense, which should be free of charge.
The best example I found was the inner door we have that opens up to where the front door is. This is a common design in UK homes, acting as a buffer between the colder outer door. The windows on this inner door are decorative and single-glazed, and that’s not something I am likely to fix any time soon.
All doors have cold spots around the edges and windows, but this door quite clearly has a draughty spot to the left-hand side of the door. For this, I applied a draught excluding silicone bottom seal, which I bought from Amazon for around £8. Due to the door design, I am not convinced that it will stay in place, but it clearly has beneficial results. The dark blue spot which extended away from the door is significantly reduced. The red spots you see are where I briefly knelt down to apply the seal.
Price and Alternative Options
| Preview | Product | Rating | Price | |
|---|---|---|---|---|

| New Higher Resolution 320 x 240 IR Infrared Thermal Imaging... | Buy on Amazon |
I paid £480 for the HTI-19 thermal imaging camera, which is an awful lot of money. That’s more than two months’ worth of gas and electricity and probably several months of just gas alone. So it would take a very long time to see a return on investment for this.
Most competing handheld thermal imaging cameras are £400+. Anything below this price seems to have quite poor reviews.
The competing option is the mobile phone cameras. FLIR is by far the best brand for this option you can get the FLIR ONE for as low as £207 or the Pro model for £428. I was put off because there are a lot of mixed reviews and the FLIR ONE app for Android has quite poor reviews.
Overall
My results haven’t been quite as revelationary as I had hoped, but I am not ruling out the benefits of using a thermal imaging camera to improve the efficiency of your home.
In my case, it obviously identified areas that let out heat or let in a draught, but these were all easy to guess. Even when I applied solutions to improve the insulation, the results were quite obvious.
I suppose the camera would have been more useful if there was a specific problem area within my home that was immediately obvious. Perhaps a poorly fitted window could have been fixed, and the resulting cost savings justified the cost of the camera.
For home users, I think you can feel confident that you are not missing out on a great deal by not using a thermal camera to identify problem areas within your home.
Obviously, I have only viewed this as a homeowner using it on my single house. If you plan to use this regularly on multiple properties for a business, then the cost of the device is less of an issue.
I’d say something like this is well worth borrowing if you have the option too, or perhaps you could do some sort of group buy between friends or family. I’d happily split the cost with ten people.
Hti-Xintai HTI-19 infrared thermal imaging camera review rating
Overall
75%-
Overall - 75%75%
Pros
- Works out of the box, no app
- Higher resolution than competing options
Cons
- Expensive for personal use
I am James, a UK-based tech enthusiast and the Editor and Owner of Mighty Gadget, which I’ve proudly run since 2007. Passionate about all things technology, my expertise spans from computers and networking to mobile, wearables, and smart home devices.
As a fitness fanatic who loves running and cycling, I also have a keen interest in fitness-related technology, and I take every opportunity to cover this niche on my blog. My diverse interests allow me to bring a unique perspective to tech blogging, merging lifestyle, fitness, and the latest tech trends.
In my academic pursuits, I earned a BSc in Information Systems Design from UCLAN, before advancing my learning with a Master’s Degree in Computing. This advanced study also included Cisco CCNA accreditation, further demonstrating my commitment to understanding and staying ahead of the technology curve.
I’m proud to share that Vuelio has consistently ranked Mighty Gadget as one of the top technology blogs in the UK. With my dedication to technology and drive to share my insights, I aim to continue providing my readers with engaging and informative content.
Last update on 2025-07-13 / Affiliate links / Images from Amazon Product Advertising API




An interesting article and thank you for writing this review. Could you please post photos of using the camera indoors to identify the draughts? You say “The dark blue spot which extended away from the door is significantly reduced. The red spots you see are where I briefly knelt down to apply the seal.”
But there is no photo to accompany this.
Thank you very much.
Apologies, it would have been useful for me to upload them! I have added some now
What I like best about the Fluke TiS75+ is that it can be linked to a smartphone or tablet and used as a second screen to view, measure, and log results.