Any links to online stores should be assumed to be affiliates. The company or PR agency provides all or most review samples. They have no control over my content, and I provide my honest opinion.
The need for secure and easy file storage is always there in our digital world, where everyone is looking for better ways to manage their data across different platforms. Google Drive and Amazon S3 (Simple Storage Service) are two popular cloud solutions that you can use for this purpose.
However, transferring files from Google Drive to Amazon S3 can be a bit complicated. This is where CloudMounter comes in. This article will walk you through the steps of using this site to manage file transfers easily and securely. We’ll also share key considerations you need to keep in mind.
Step 1: Install and Set Up CloudMounter
Your transferring process starts off by installing CloudMounter on your Windows or Mac system. Head over to the official website and download the latest version of the app. If you’ve owned a previous version, you can upgrade your software for 50% off!
Once you’ve installed the .exe file, run the installer and wait for a moment. You’ll soon be greeted with a clean, sleek user interface where you can connect your cloud storage services.
Step 2: Connect Your Google Drive Account
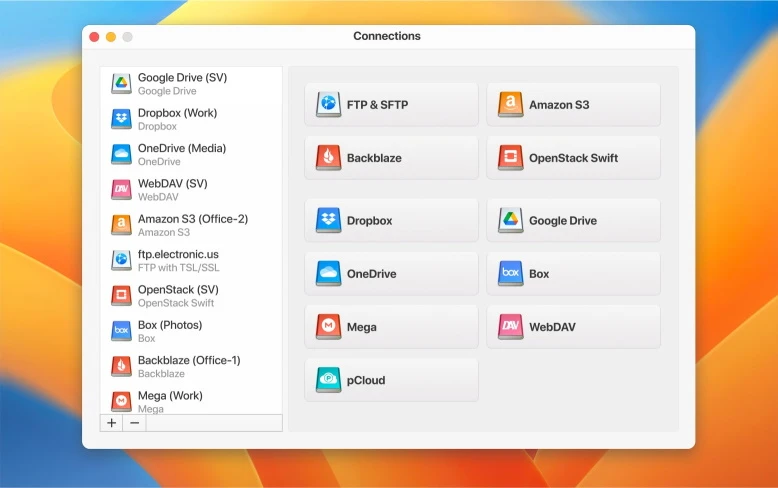
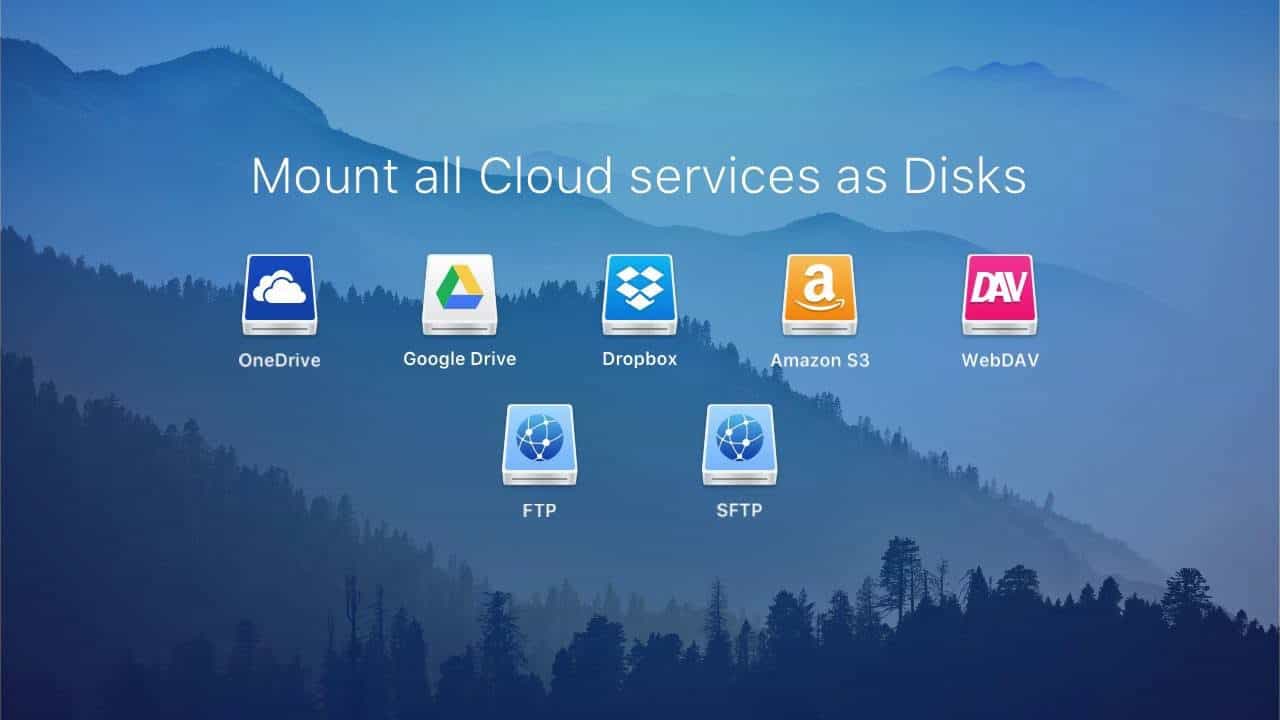
In the CloudMounter application, you’ll have access to various services. Click the “Google Drive” option and sign in with your Google account credentials. You’ll need to give the app permission to access your Drive files so that you can begin the transfer process.
With the permissions out of the way, your Google Drive will be added as a mounted drive on your computer, appearing as if it were another local hard drive.
Step 3: Connect Your Amazon S3 Account
After that, you’ll need to set up Amazon S3. This step is similar to the one above where all you need to do is to click on the “Amazon S3” option from the list of services. Enter your AWS credentials (Access Key and Secret Key) which you can find in your AWS console under “My Security Credentials.”
You can also select the region where your S3 bucket is located. Once this is connected, your Amazon S3 bucket will also appear as a local drive on your system.
Step 4: Organize and Prepare Files for Transfer
Now that both your Google Drive and Amazon S3 are mounted as local drives, transferring your files is only a couple of steps away! Before you start the transfer, make sure that your files on Google Drive are already organized. This is especially important if you have larger data sets.
Group similar files into relevant named folders based on categories like file type, project, or date. You can also create a hierarchical folder system for better clarity—such as grouping files into broader folders and then further organizing them into subfolders. These organization tips will help speed up the transfer, make the process more manageable and make it easier to locate each file once they’re moved to the S2.
If you find any duplicates or unnecessary files in these folders, make sure to delete them before starting the transfer to save time and space.
Step 5: Drag and Drop Files Between Google Drive and Amazon S3
With all your files being organized, what’s left is to drag and drop files or folders between your Google Drive and Amazon S3 drives, just as you would between two folders on your computer. There’s no need for you to download files from Google Drive and then upload them to S3—all this work is simplified with CloudMounter.
Step 6: Verify Your File Transfer
Before you sign off, make sure to check the objects in your S3 bucket through the AWS Management Console. This will make sure that the files have been properly transferred, and that the metadata and folder structure are intact.
Key Considerations
There are various factors you need to consider to make sure that your file transfer process is smooth, secure, and efficient, minimizing potential risks while maximizing productivity.
- Make sure you have a stable and high-speed connection so that you don’t have to deal with disruptions during large transfers.
- Back up files before transfer to avoid data loss and corruption.
- Check and adjust file permissions on S3 to maintain appropriate access control.
- Implement encryption and comply with industry regulations to protect personal data. This is especially important if your file transfer involves confidential and sensitive information, such as for your job.
- Conduct a few tests and monitor the S3 environment to check if all files have transferred correctly without any complications.
Simplify File Transfer with CloudMounter
CloudMounter is an all-in-one solution to transfer files between Google Drive and Amazon S3 in a convenient, secure, and time-saving way. You can move your data for long-term on S3, free up space on Google Drive, and streamline your cloud-based workflows. Give this valuable app a try and transfer your files whenever needed with greater ease.
I am James, a UK-based tech enthusiast and the Editor and Owner of Mighty Gadget, which I’ve proudly run since 2007. Passionate about all things technology, my expertise spans from computers and networking to mobile, wearables, and smart home devices.
As a fitness fanatic who loves running and cycling, I also have a keen interest in fitness-related technology, and I take every opportunity to cover this niche on my blog. My diverse interests allow me to bring a unique perspective to tech blogging, merging lifestyle, fitness, and the latest tech trends.
In my academic pursuits, I earned a BSc in Information Systems Design from UCLAN, before advancing my learning with a Master’s Degree in Computing. This advanced study also included Cisco CCNA accreditation, further demonstrating my commitment to understanding and staying ahead of the technology curve.
I’m proud to share that Vuelio has consistently ranked Mighty Gadget as one of the top technology blogs in the UK. With my dedication to technology and drive to share my insights, I aim to continue providing my readers with engaging and informative content.

