Any links to online stores should be assumed to be affiliates. The company or PR agency provides all or most review samples. They have no control over my content, and I provide my honest opinion.
I have previously reviewed the TerraMaster F4-421 and F4-422 10GbE 4-Bay NAS enclosures and have been impressed with the well-specced but affordable nature of TerraMaster devices.
While they were very good, they both used the ageing Intel Celeron J3455. They were also limited to DDR3 and lacked NVMe slots.
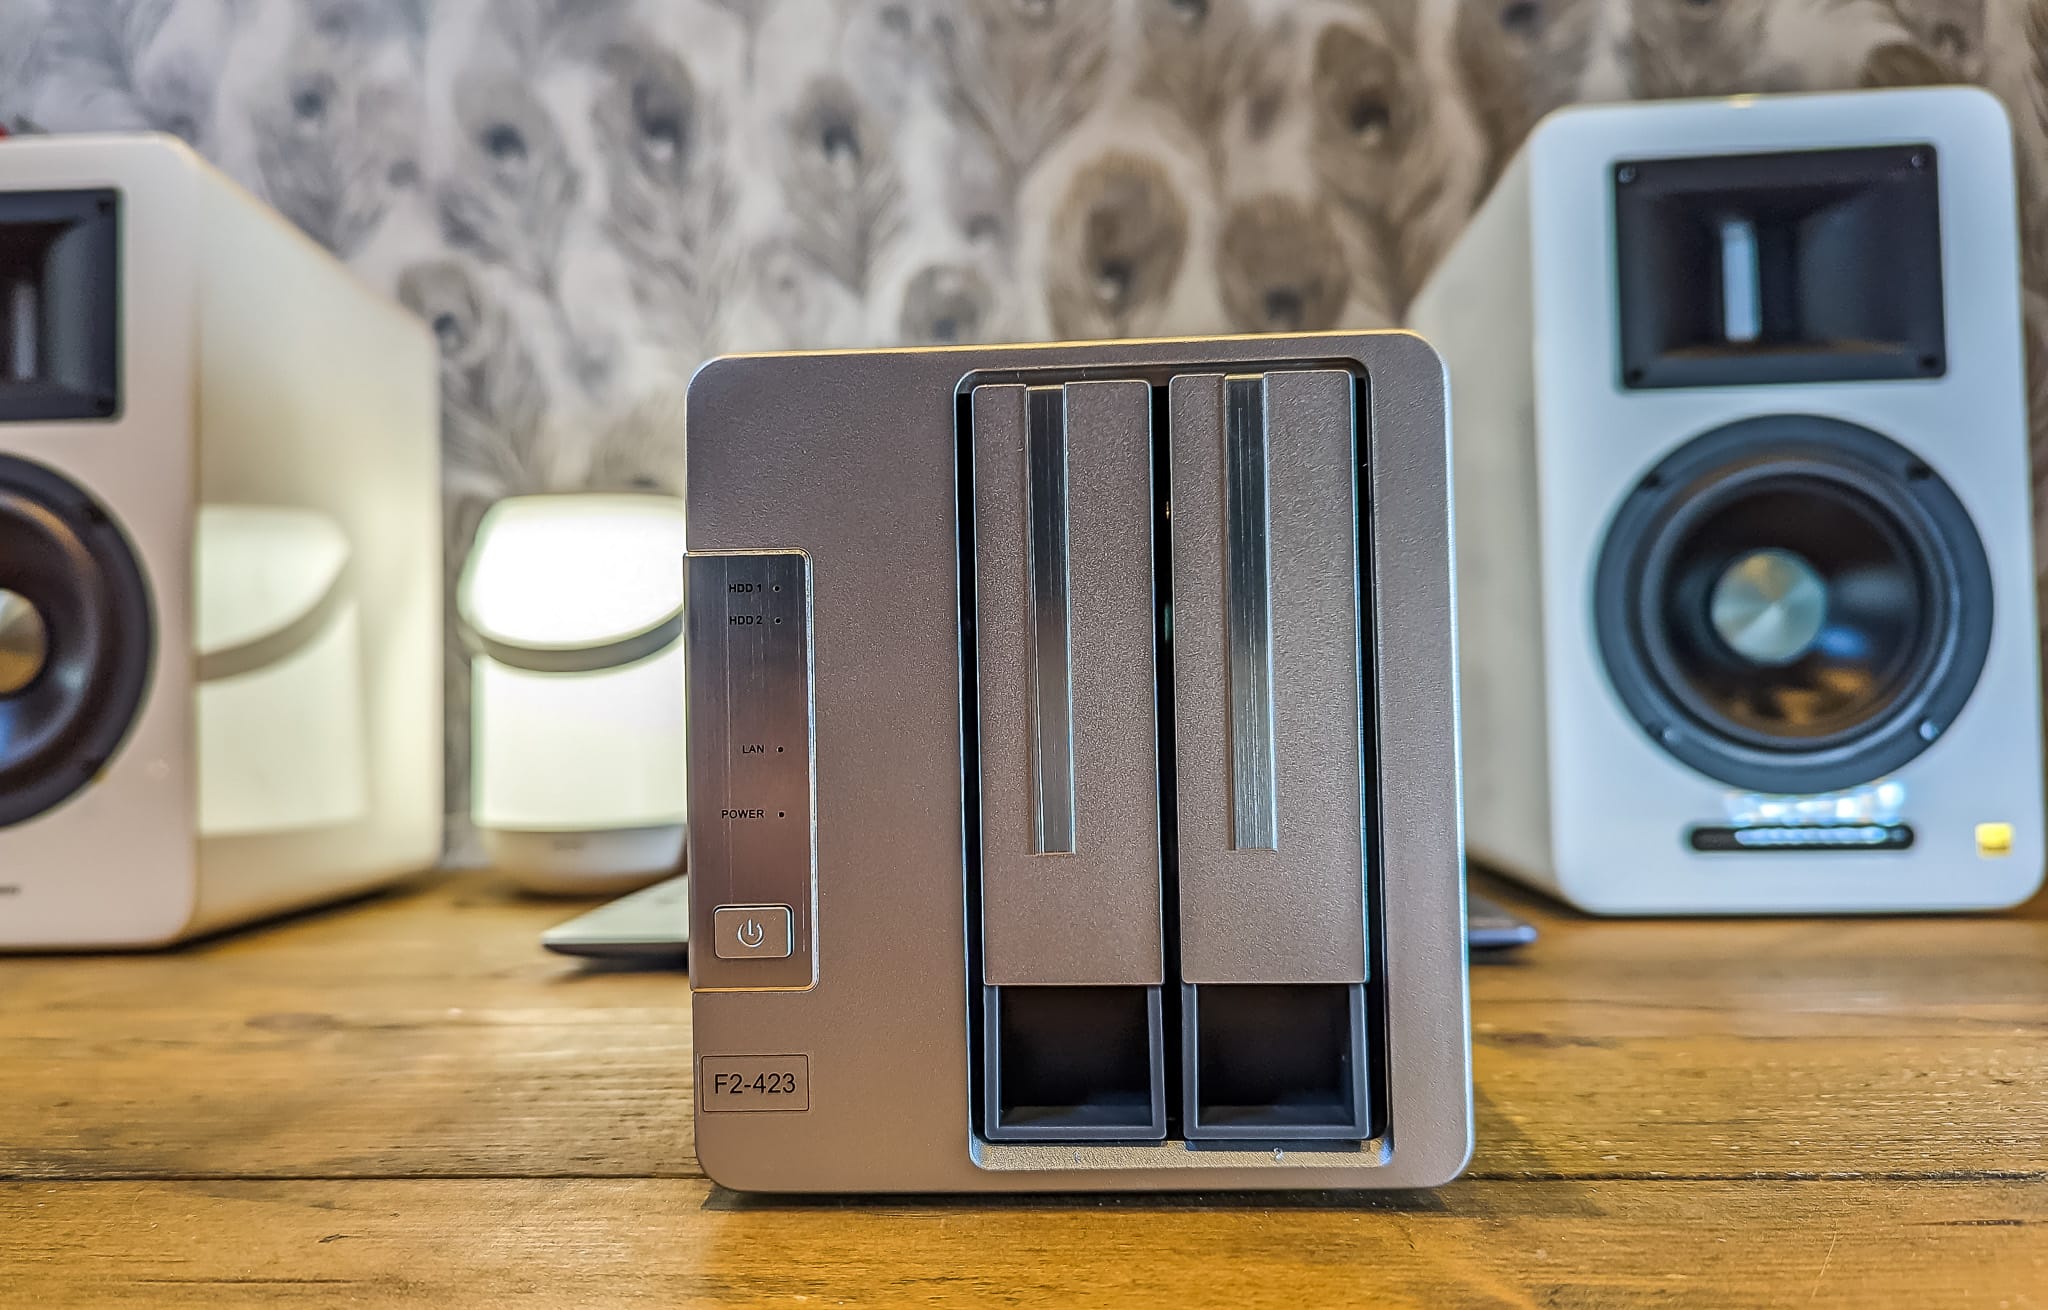
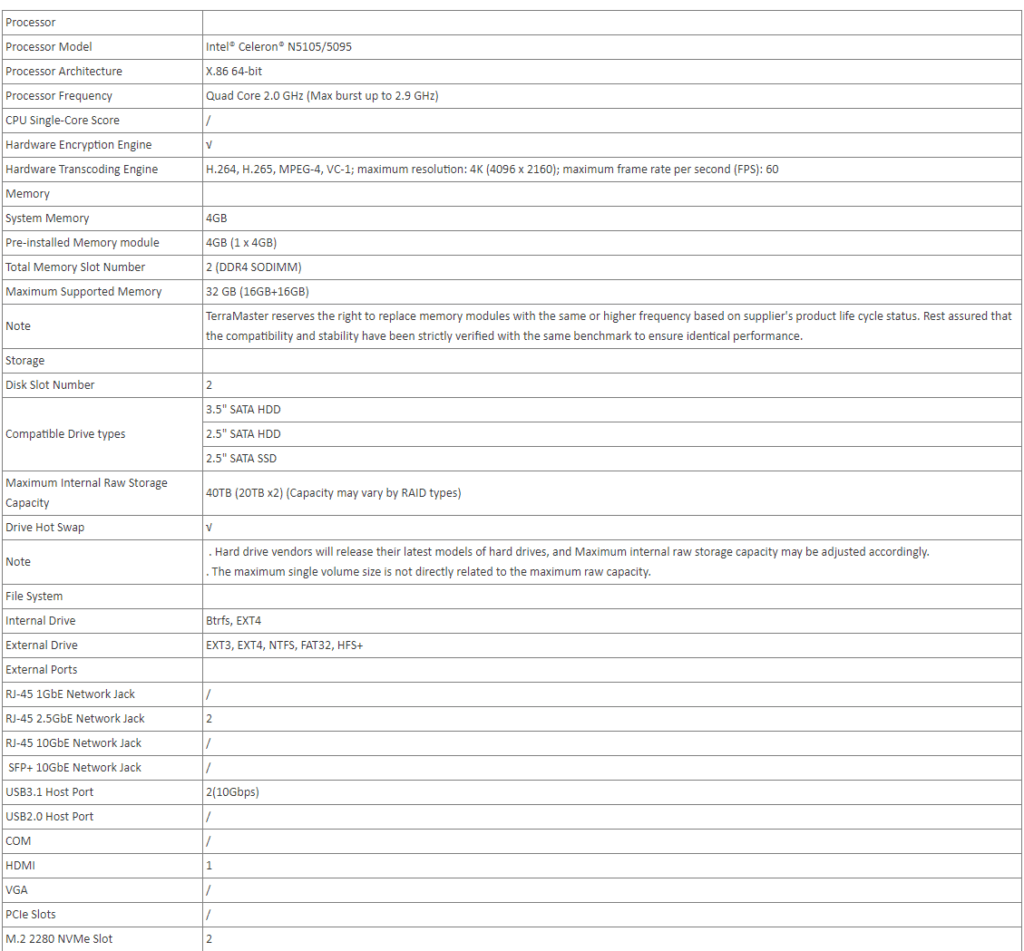
The new TerraMaster F2-423 and its four-bay sibling, F4-423, both implement much more modern hardware.
Both enclosures use the Celeron N5105, which is a 10th Gen Intel chip that was launched back in 2021 and had significantly more performance than the Celeron J4125 and J4025 you find on similarly priced Synology models.
For the RAM, you have two module slots with 4GB installed in one (rather than one soldered slot). This allows you to expand the storage to 32GB, it uses DDR4 SODIMM, which is quite affordable, and most brands should work.
| Preview | Product | Rating | Price | |
|---|---|---|---|---|

| TERRAMASTER F2-423 2-Bay High Performance NAS for SMB with... |
£309.99 | Buy on Amazon | |

| TERRAMASTER F4-423 4-Bay High Performance NAS for SMB with... |
£439.99 | Buy on Amazon |
Specification
HDMI
You may notice the HDMI port on this drive. For this review, I didn’t bother to use it because it doesn’t provide a great deal of function. You don’t get access to the TOS desktop GUI, but instead, it is the underlying Linux debugger. However, this could be useful if you run into any problems with the NAS.
Installing RAM & NVMe Drives
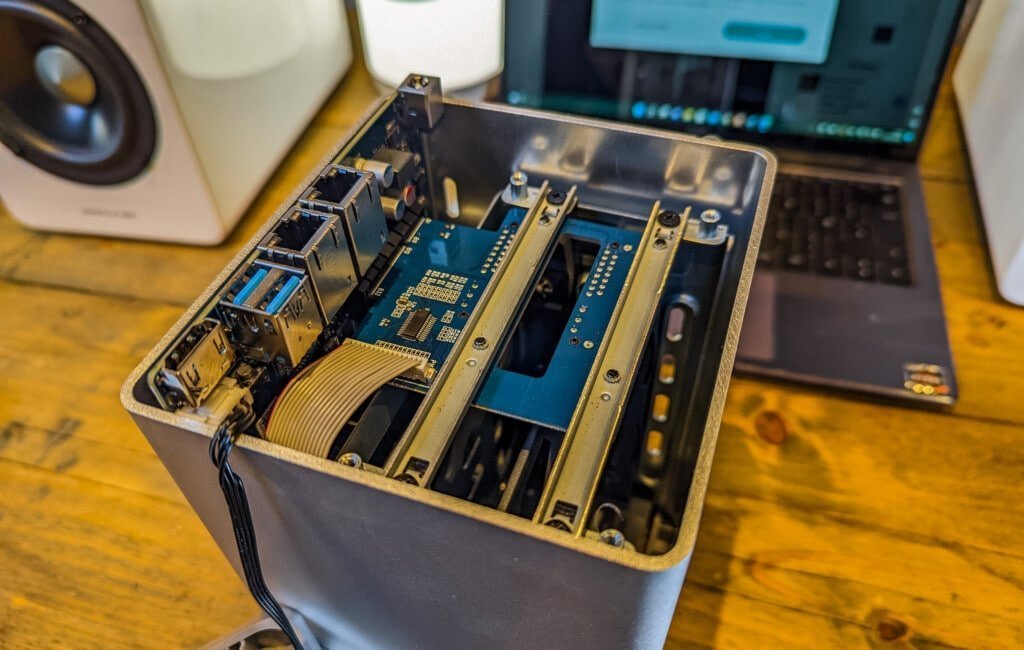
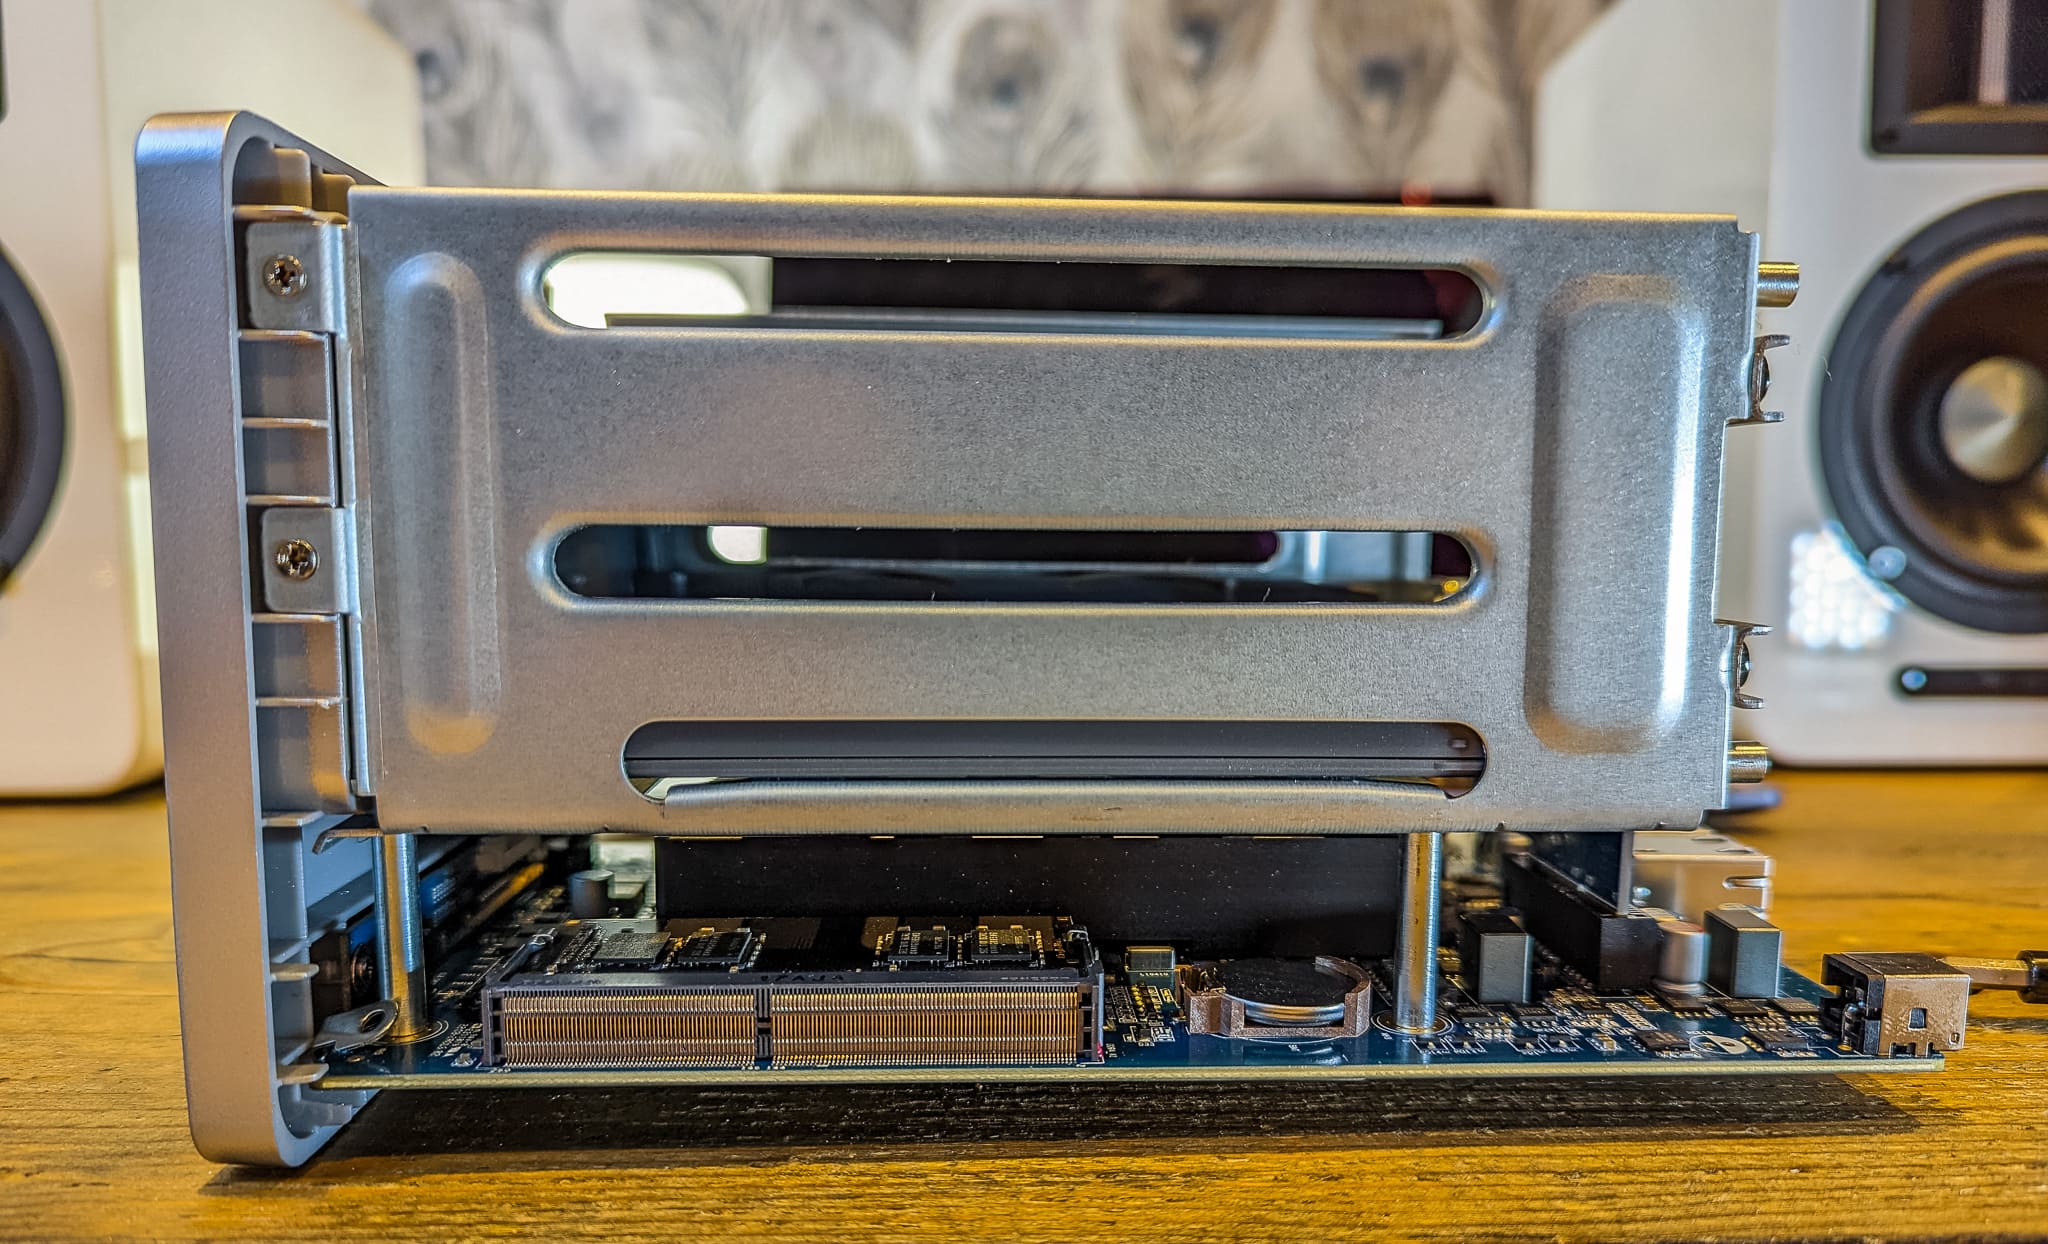
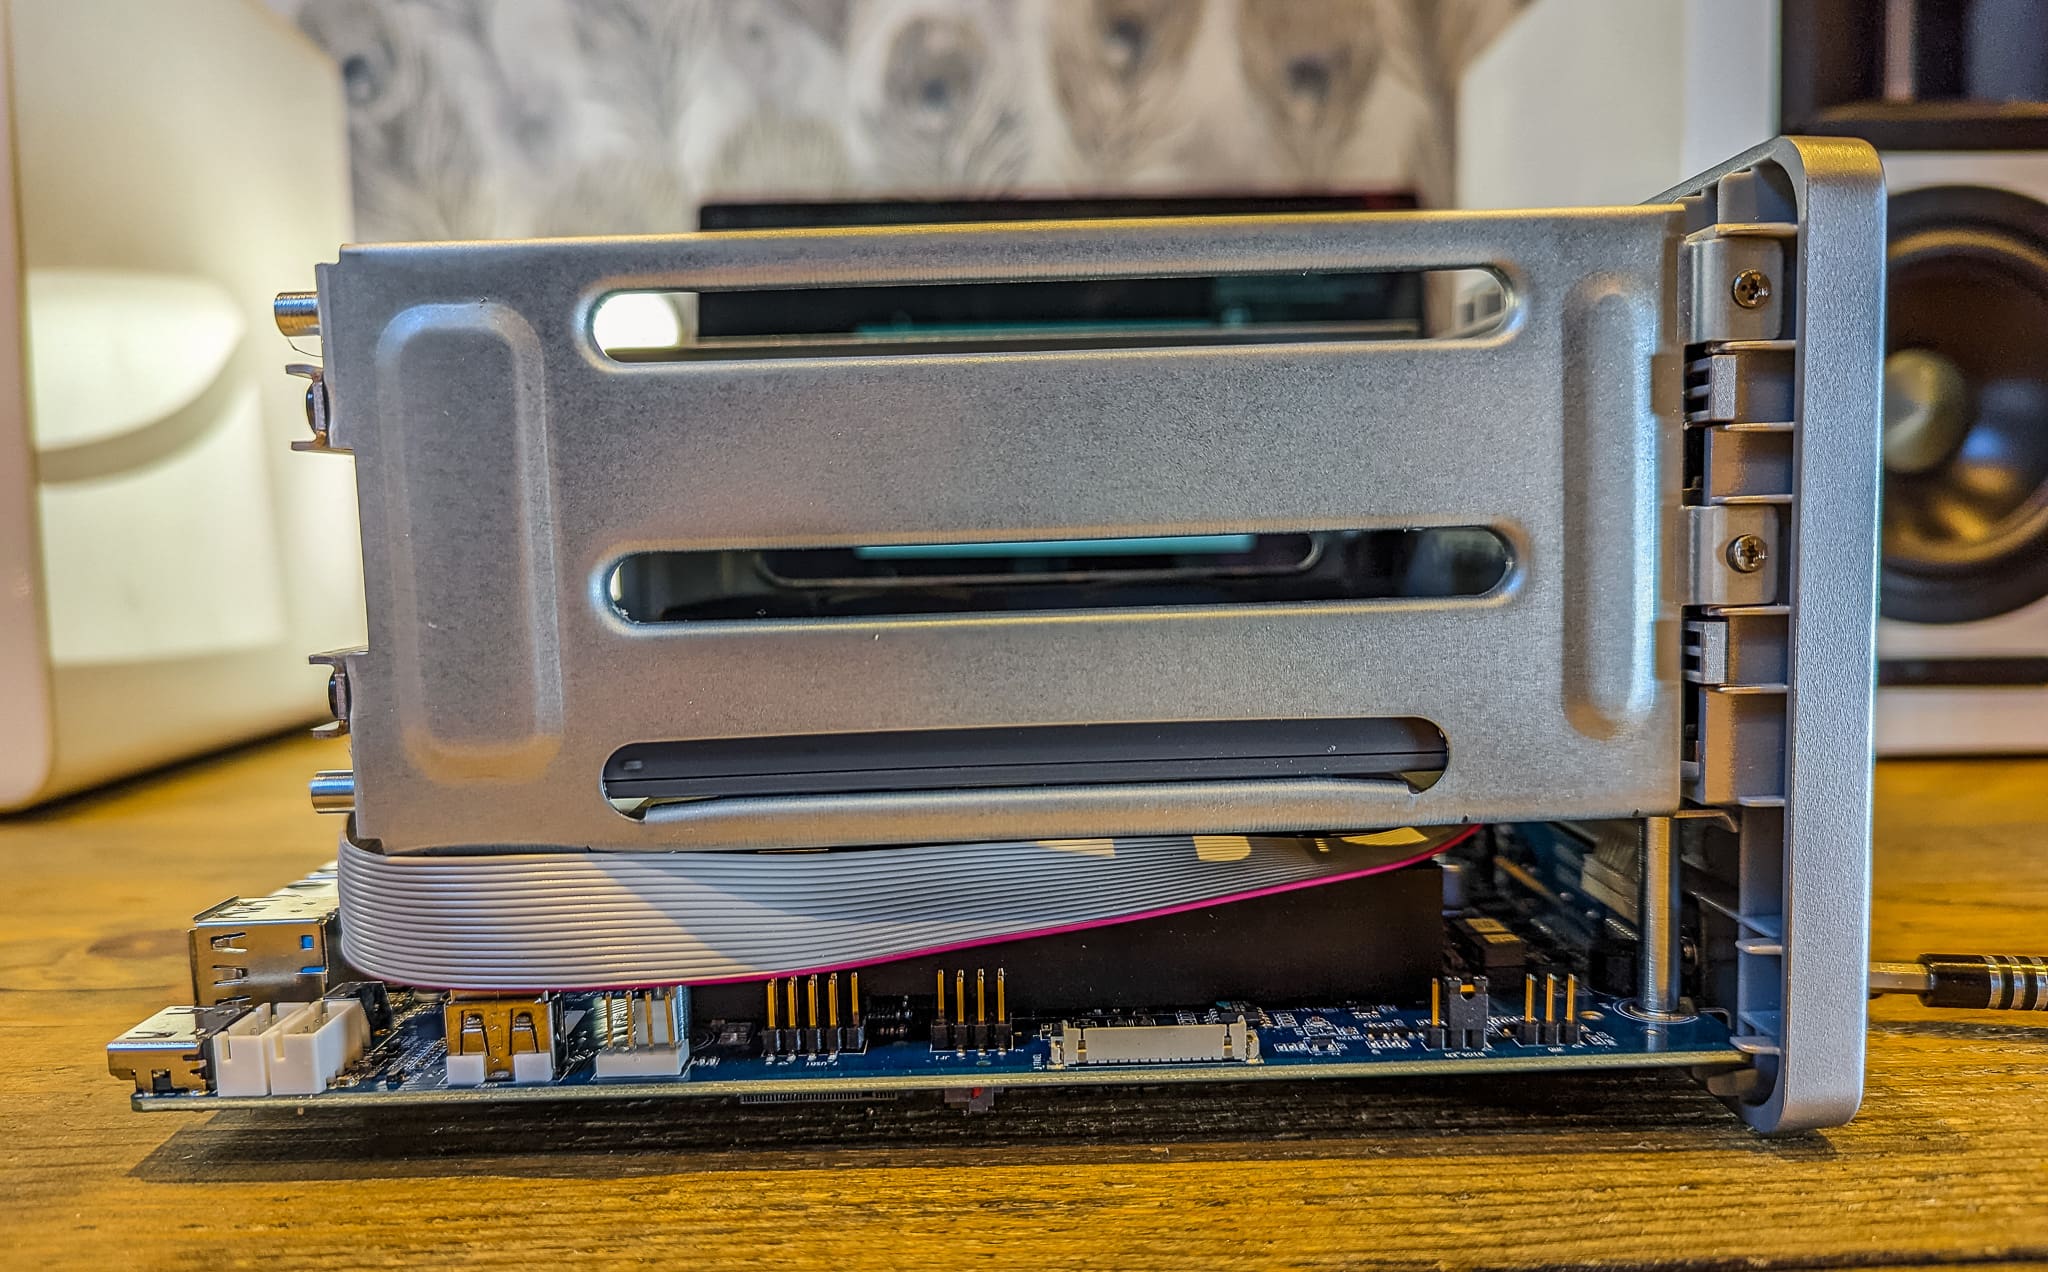
The TerraMaster F2-423 has two M.2 slots which can support NVMe drives. It also uses DDR4 SODIMM slots with 4GB pre-installed.
It is relatively easy to upgrade this enclosure, though replacing the RAM requires you to dismantle it and remove the main motherboard.
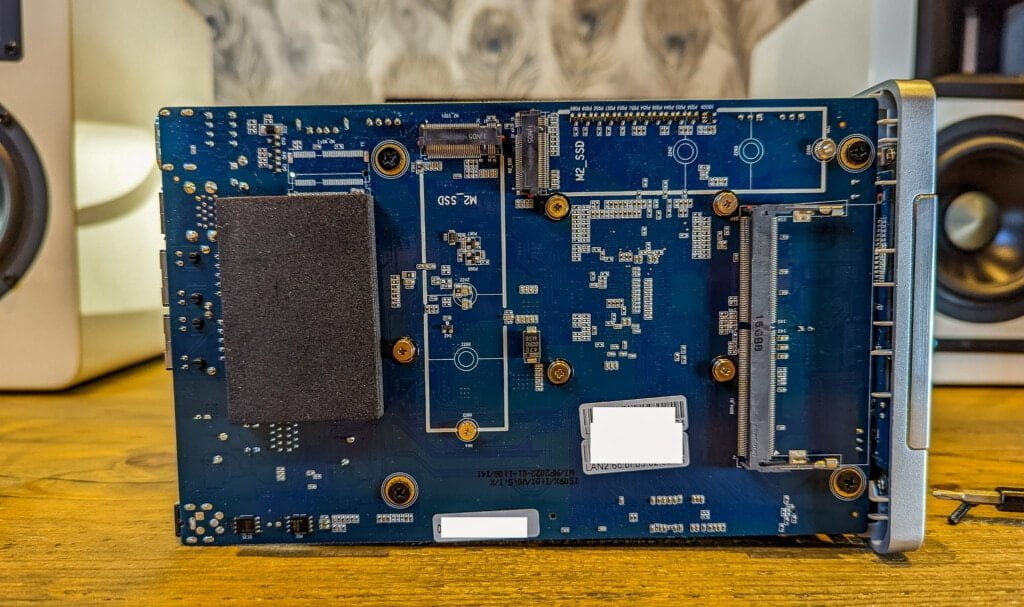
Opening the enclosure up is easy with four screws on the back end. You will then have to detach the fan, which will then allow you to slide the body off.
This will reveal the two M.2 slots, and you can easily add your drives.
One of the RAM slots appears to be easily accessible, but its proximity to the front panel prevented me from slotting a module in. You might be able to pry it in, but I didn’t want to damage anything.
Therefore, you will need to remove the motherboard from the chassis to upgrade. There are four screws affixing it to the chassis. The drive backplane is also slotted into the motherboard, this pops out easy enough, but you will want to align it up properly when you reattach everything.
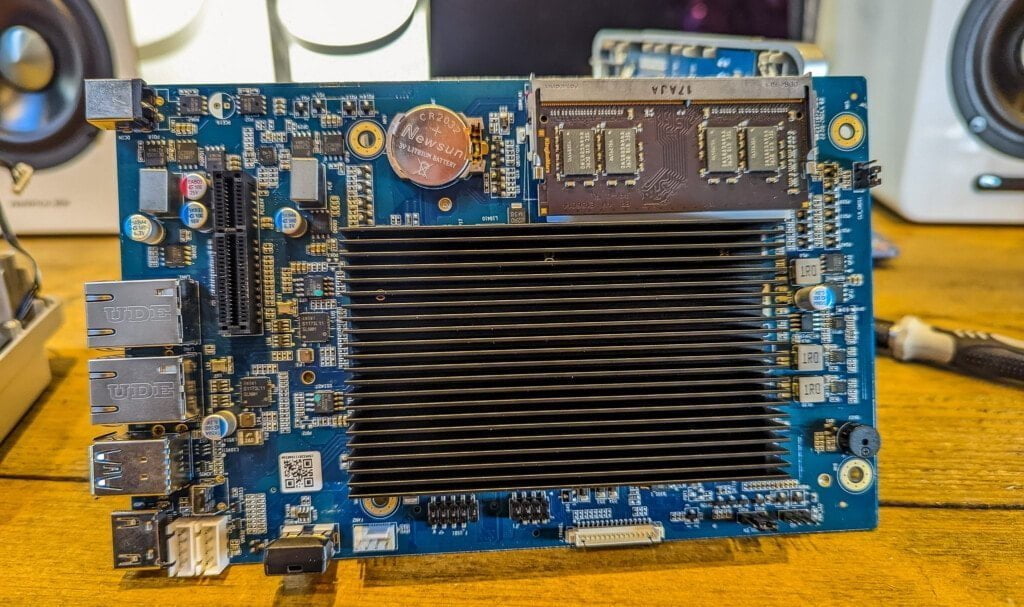
For the upgrades, I reused spare bits I had lying around.
Initially, I tried to use Kingston HyperX Impact 64GB DDR4-2400 SODIMM. Unfortunately, the TerraMaster only supports 32GB, and I couldn’t get it to boot with this memory (even when using one module).
I then managed to get two mismatched RAM modules working, one was the Goodram IRDM 3200Mhz DDR4 SODIMM module, and another was some generic 8GB stick I found lying around.
TOS 5 not installed as default
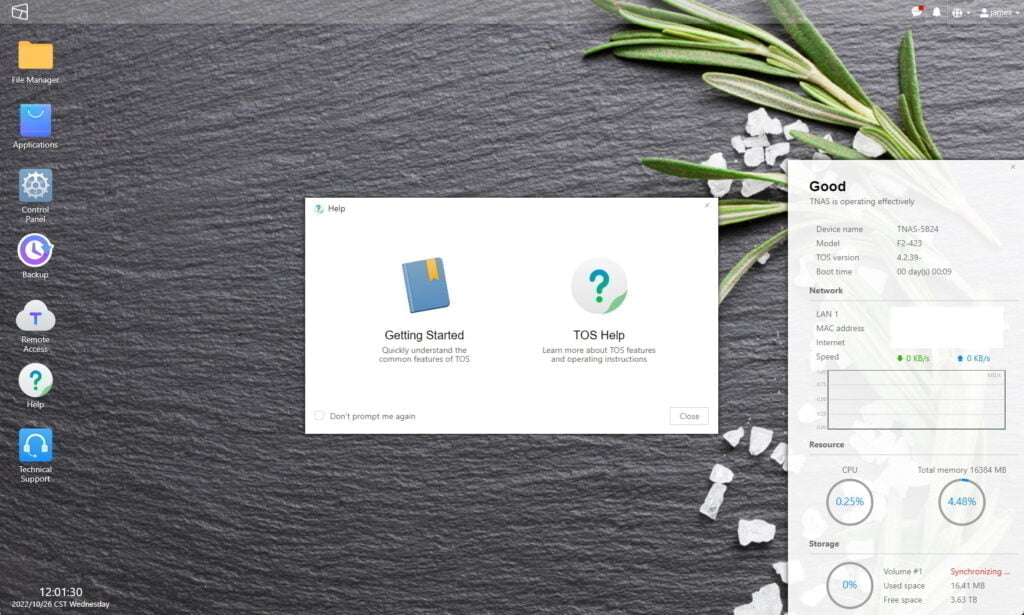
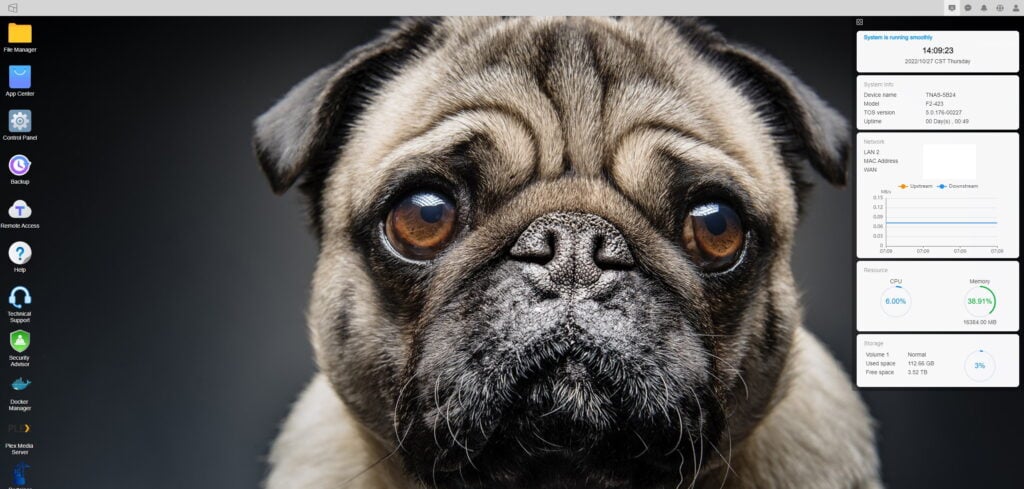
TOS 5 has been out for several months now, but for some reason, this ships with TOS 4.2.39. You also can’t automatically update it via the control panel.
To make things more annoying, TOS 5.0 has significant underlying changes and therefore requires you to do a factory refresh and full reinstall.
I only realised this after doing the initial install. It seems daft to review a brand-new NAS running an old OS. Therefore, I went through the frustrating process of reinstalling everything.
At the very least, the TOS initialisation process should warn you about this or allow you to select your own OS version.
One saving grace is that a full reinstall didn’t destroy the data on my hard drives. It did, however, delete all the applications.
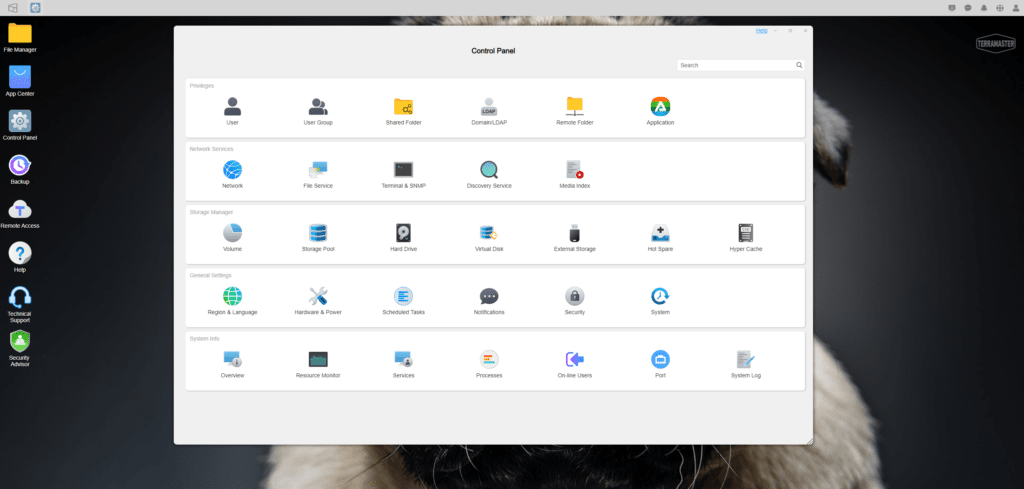
Set-Up
If you choose to go with TOS 5, you will need to do a manual set-up. It is a reasonably straightforward process.
You will need to download the installation package, and here is a dedicated installation guide page where you can find the download.
When you boot up the NAS for the first time, you will want to select custom, and wait for it to check your drives (which may take a long time).
Select the drives you want to use and manually select the package to install. Once installed, you will need to assign your admin user and then format the RAID.
NVMe SSD Cache Drive
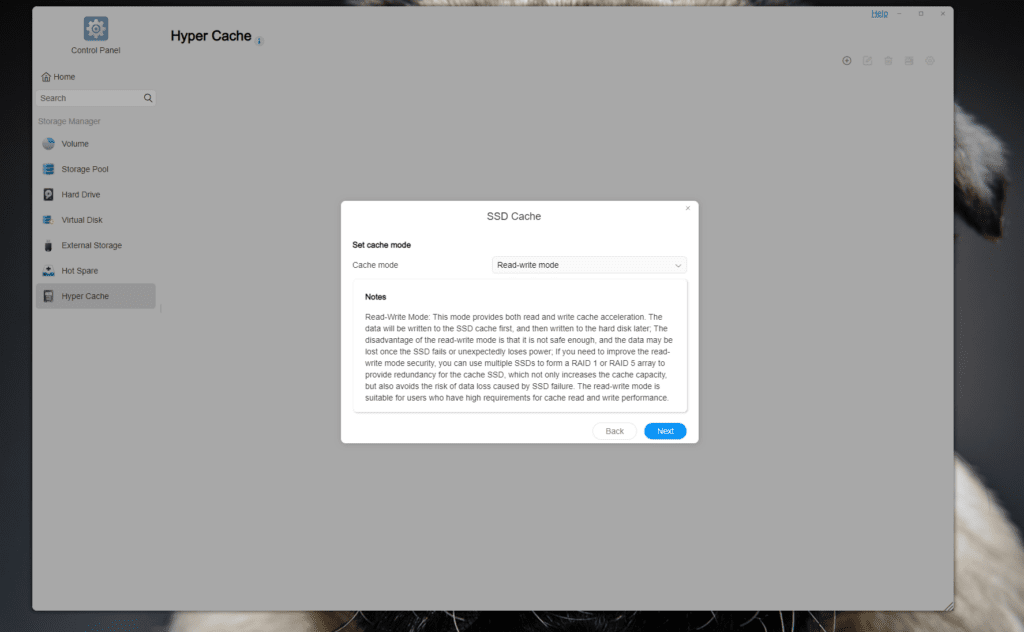
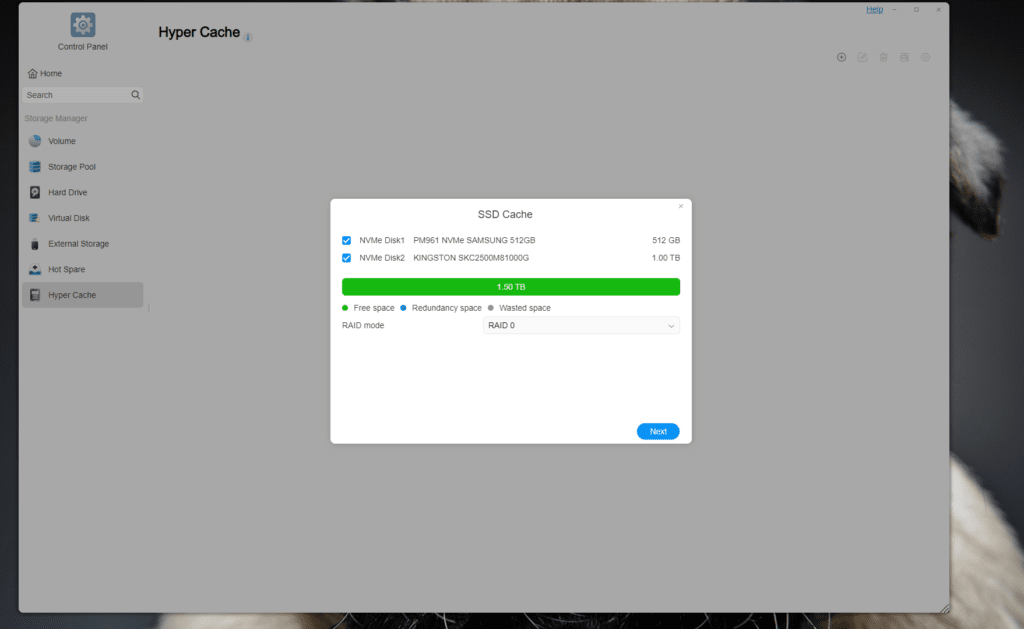
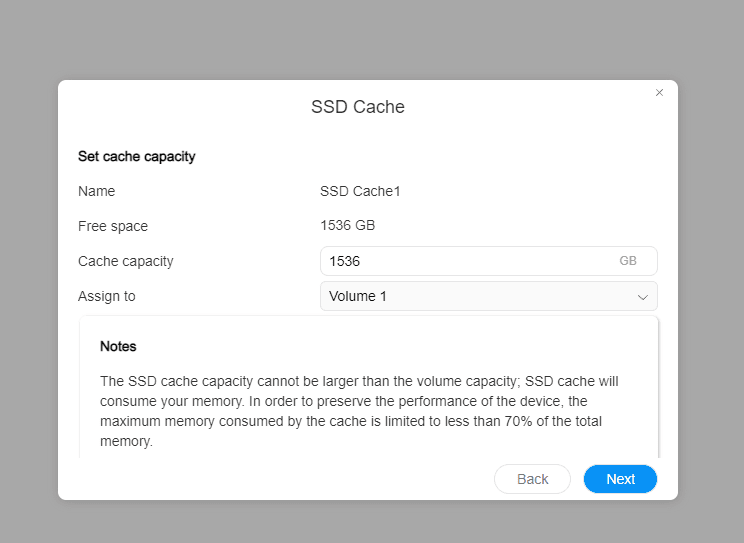
To make the most of this NAS, it is beneficial to set up a cache drive.
You have been able to set up an SSD cache within TOS with the older models and TOS 4.2. However, now you don’t have to waste one of the main drive bays with an SSD and instead use much faster NVMe drives.
With TOS 4.2, in the control panel, you can go to storage manager and volume, select your volume and click edit. You can then select the enable SSD cache and select the drive you want to use. The NAS will need to reboot, and for some reason, I needed to complete this process twice before it acknowledged the cache was being used.
With the upgrade to TOS 5 there is now a new Hyper Cache option. This has a dedicated section within storage manager. With this, you have more control over how the cache works, such as balanced, rear or read/write mode. You also have the option to use RAID 1/0 on two NVMe drives.
Read / Write Performance
I tested the balanced mode in RAID 0 with two NVMe drives and then the read/write mode with a single disk. The performance was as expected.
In the balanced mode, file transfer starts off very fast but quickly drop off. In the read-write mode, with all the data being written to the NVMe, I was able to sustain the full speed of the 2.5GbE connection.
Read performance was understandably less impressive. In the read-write mode, the file transfer speed jumped around between 100MB/s and 150MB/s, but it was still quite a bit faster than I’d expect from reading directly from the disk.
Available Apps
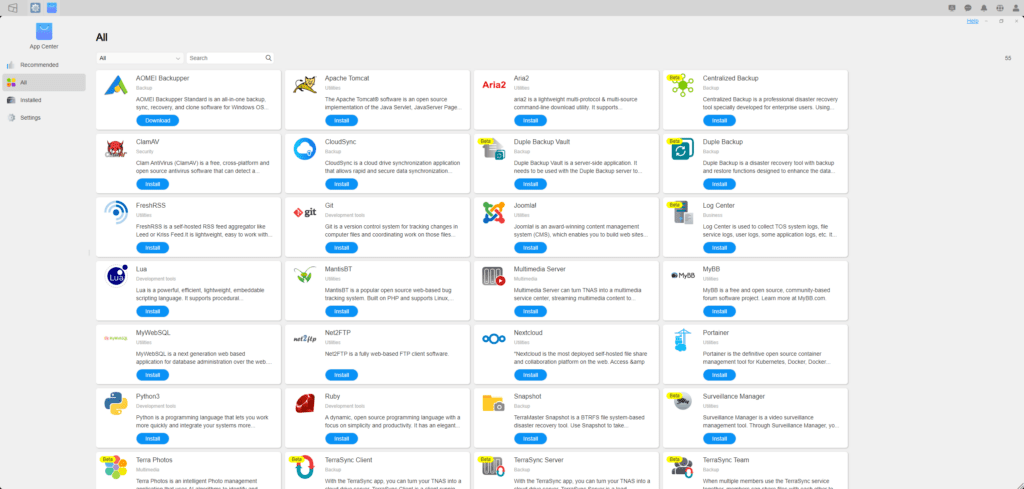
When I reviewed the TerraMaster F4-421, there were 88 apps available to download. It appears that some of these are not present on TOS 5. There are now just 55 apps available to install. A quick glance and there appears to be Headphones and Lazy Librarian missing.
However, they have extended functionality to replicate some Synology functions. This includes new beta apps:
- Terra Photos
- TerraSync
- Surveillance Manager
There is also Nextcloud which provides a lot of the functionality Synology has.
In comparison, Synology has 63 apps within the main section of packages they have developed then a further 43 within the third-party section.
Docker / Portainer / NZBGet
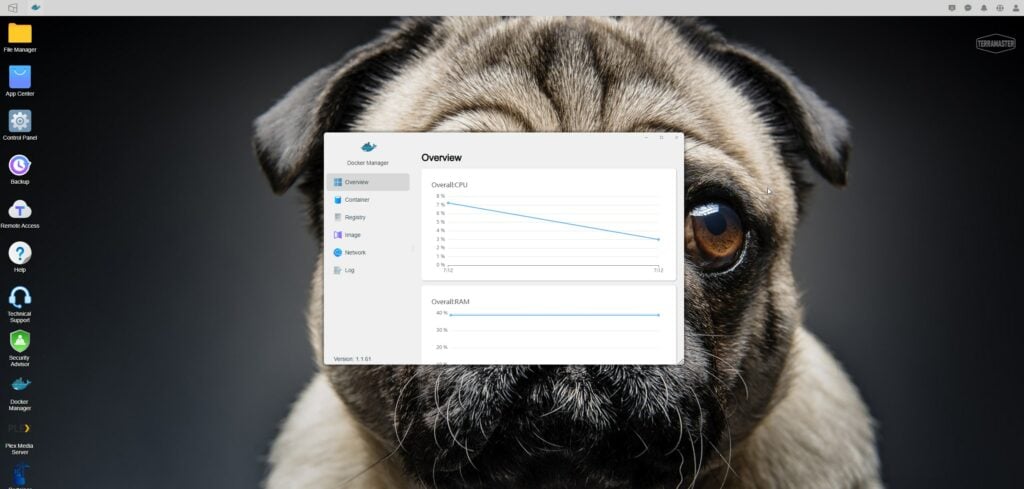
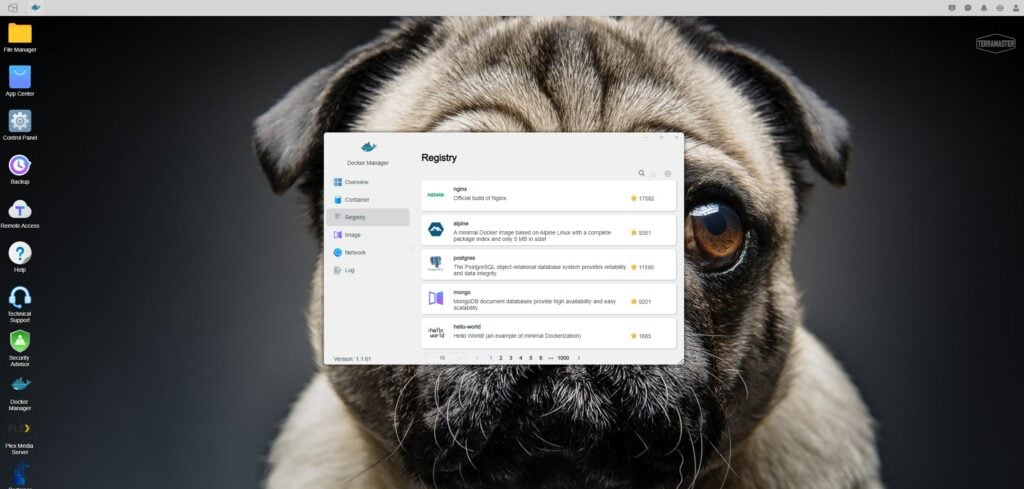
I was happy to see Portainer under the Beta applications. I don’t think this was on TOS when I reviewed the older models, and it makes managing Docker containers a bit more user-friendly.
Using Docker, you can replicate most of the functionality you will get on a Synology NAS.
I didn’t test Docker extensively, but I went through the process of installing NZBGet, and everything worked as it should. Furthermore, I was able to achieve download speeds of around 45MB/s which is what I typically see with my Virgin Media connection and the Usenet servers I use. CPU usage remained low, I saw it peak at around 50% while it was verifying a file I downloaded
Logging into Portainer and managing the NZBGet container is quick and easy.
Plex
Plex Server is one of the most popular applications to run on a NAS. It is also one of the most demanding. In my home, most of my content is direct play and therefore not a huge problem, but if you need to do any transcoding, things can get choppy.
The official Plex NAS Compatibility list doesn’t yet list this NAS, but they do have QNAP models which have the Intel N5105.
For software encoding, it can only do SD and 720P HD with some 1080P HD. For hardware accelerated transcoding, it can do everything up to 1080P without a problem.
For H264 2160p, it can only do SDR and then with HEVC the support is stated as H.264 Output.
While the list isn’t comprehensive for all NAS options on the market, the N5105 seems to be the best option on this list for transcoding.
When I tested this with TOS 4.2, Plex worked without me making any changes to anything. With TOS 5, I needed to assign the correct privileges before Plex was able to read the contents of my media folders.
Backups
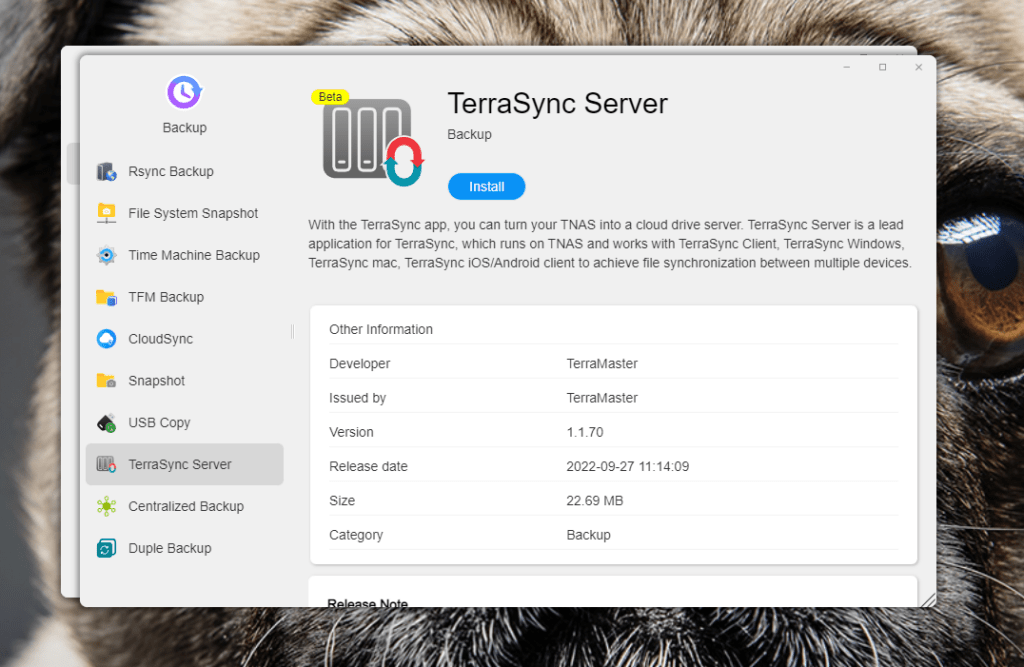
NAS systems are traditionally used for backups, and it is something I find works well across brands. TOS 5 has a dedicated backups section which includes:
- Rsync
- File System Snapshot
- Time Machine Backup
- TFM Backup
- Centralised backup
- Snapshot
- USB Copy
- CloudSync
- TerraSync server – This works like a cloud drive server similar to Google Drive or Synology Drive
- Duple Backup
Power Usage
With rising energy costs, I have become a bit more conscious about the running costs of all the things I review. I have also been considering getting rid of my self-built Ubuntu server in favour of a NAS like this.
Terramaster lists the power supply as being 40W, therefore, this should never exceed that and is significantly lower than my 120W+ server. The 4-bay model ups the power supply to 90W.
Using the TP-Link Tapo P110, I monitored the power draw.
Under idle load/light load with CPU usage ranging from 2% to 20%, the power draw remained at under 24W.
Writing to disk, the power draw varied but never exceeded 31W.
Logging into Plex on the browser and playing a file that causes 90%+ CPU usage, the power draw also stays at under 31W.
Price and Alternative Options
| Preview | Product | Rating | Price | |
|---|---|---|---|---|

| TERRAMASTER F2-423 2-Bay High Performance NAS for SMB with... |
£309.99 | Buy on Amazon | |

| TERRAMASTER F4-423 4-Bay High Performance NAS for SMB with... |
£439.99 | Buy on Amazon |
The TerraMaster F2-423 is priced at £340 on Amazon, and the 4-bay F4-423 is £440.
The older TerraMaster F2-422 is the same price. That has a 10GbE port but inferior specs everywhere else.
Then there is the four-bay F4-421, which is limited to gigabit. This is priced at £410, so you might as well spend the £30 extra on the vastly superior F4-423.
Synology doesn’t really have a two-bay model to compete with the F2-423. But the four-bay Synology DS920+ is £485. That isn’t too much of a price jump from the F4-423; however, the CPU isn’t quite as powerful, it only supports 8GB of RAM, and the Ethernet is only gigabit.
Overall
The TerraMaster F2-423 is an excellent NAS and a much-needed upgrade from the older models I have reviewed, making the hardware more competitive against recent Synology launches.
I found it incredibly annoying that this will default to the older TOS 4.2 as standard.
TerraMaster TOS 5 is a big improvement over 4.2, which I used with my older reviews. However, it is still a long way off Synology, and this is why Synology can command a premium price from their hardware.
Depending on your specific requirements, the software features should be adequate for most users, but it is not quite as feature-rich or user-friendly as Synology.
As always, TerraMaster offers outstanding value for money if your priority is the best hardware possible for your money.
TerraMaster F2-423 NAS Review
Summary
The TerraMaster F2-423 is an excellent NAS and a much-needed upgrade from the older models I have reviewed. This NAS, and TerraMaster master in general offers outstanding value for money if your priority is the best hardware possible for your money.
Overall
90%-
Overall - 90%90%
Pros
- Fantastic hardware specification for the price
- Excellent overall performance
- TOS has enough features for most users
Cons
- TOS 4.2 installed by default
- TOS is not as feature-rich or refined as Synology
I am James, a UK-based tech enthusiast and the Editor and Owner of Mighty Gadget, which I’ve proudly run since 2007. Passionate about all things technology, my expertise spans from computers and networking to mobile, wearables, and smart home devices.
As a fitness fanatic who loves running and cycling, I also have a keen interest in fitness-related technology, and I take every opportunity to cover this niche on my blog. My diverse interests allow me to bring a unique perspective to tech blogging, merging lifestyle, fitness, and the latest tech trends.
In my academic pursuits, I earned a BSc in Information Systems Design from UCLAN, before advancing my learning with a Master’s Degree in Computing. This advanced study also included Cisco CCNA accreditation, further demonstrating my commitment to understanding and staying ahead of the technology curve.
I’m proud to share that Vuelio has consistently ranked Mighty Gadget as one of the top technology blogs in the UK. With my dedication to technology and drive to share my insights, I aim to continue providing my readers with engaging and informative content.
Last update on 2025-07-15 / Affiliate links / Images from Amazon Product Advertising API

