Any links to online stores should be assumed to be affiliates. The company or PR agency provides all or most review samples. They have no control over my content, and I provide my honest opinion.
The Shiba Inu coin could have been the swan song in the recent cryptocurrency cycle with many amateur investors burnt after buying in too late. Interest in crypto has certainly died down, but it represents a good time to buy for anyone looking to get into crypto.
ShibaSwap is a decentralised cryptocurrency exchange that specifically focuses on the three coins associated with Shiba. Shiba Inu, Leash and Bone. Bone has not been made available to buy until ShibaSwap launched.
Shibaswap was supposed to launch back in May amid the exponential growth period of Shiba Inu coin, but its development was delayed, and it finally launched on the 6th of July.
With ShibaSwap finally live, how do you buy Bone? And what is steaking, and how do you do it?
Related: Helium Hotspot Review
How to pair your wallet with Shibaswap
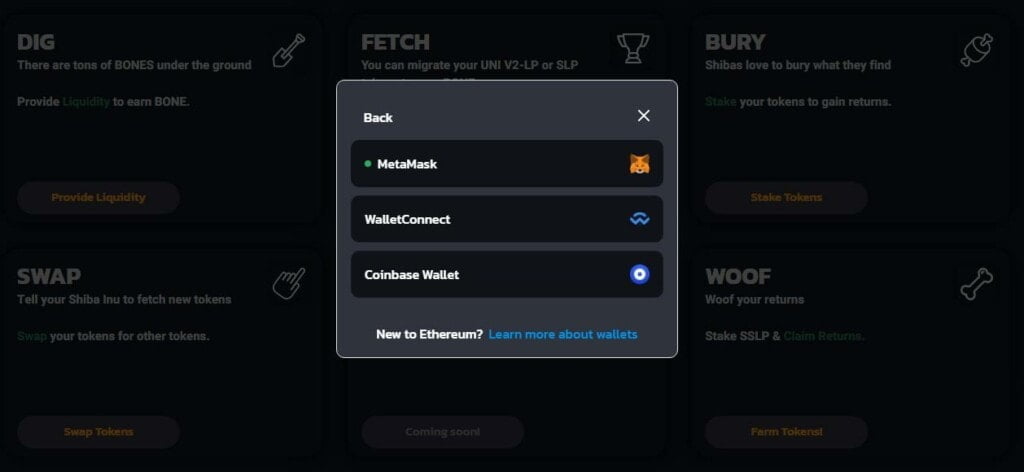
If you already have a decentralised wallet, the process is quite simple.
I use a browser, but it is a similar process with mobile.
- Go to shibaswap.com
- Select connect wallet at the top right
- Select your wallet, you have a choice of MetaMask, WalletConnect and Coinbase Wallet
- Authorise the connection via MetaMask or whatever wallet you use
How to buy Bone tokens
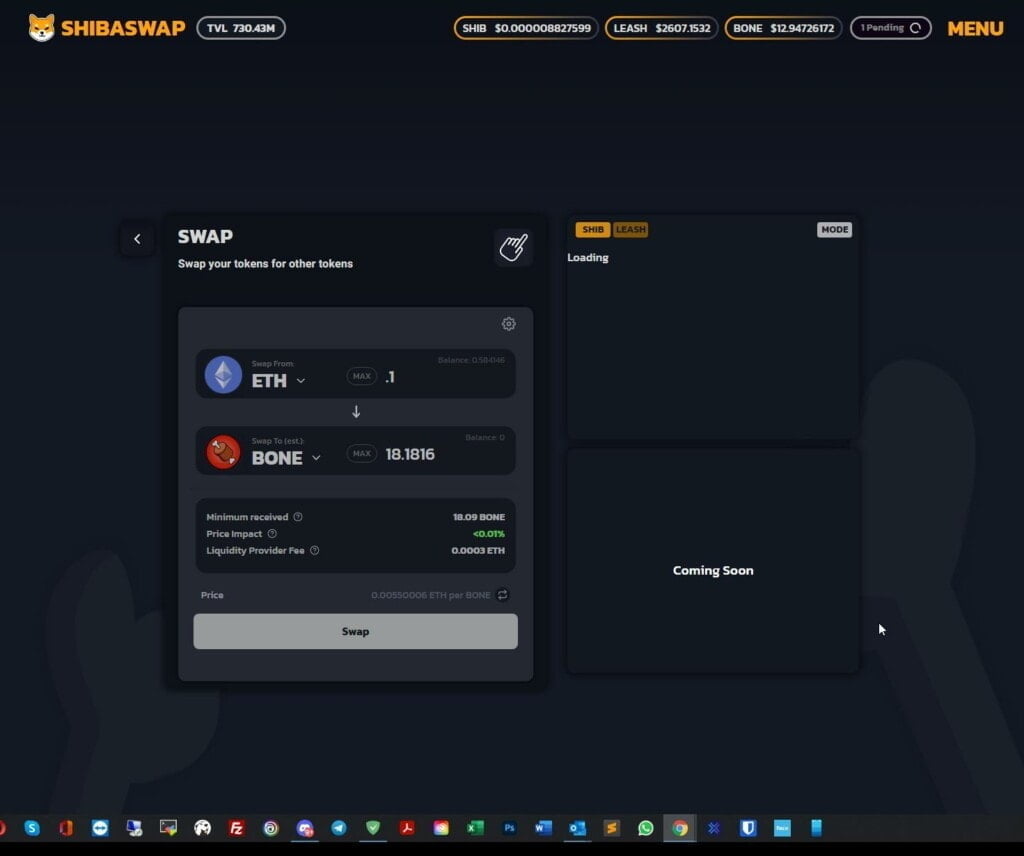
Buying tokens is the same concept as most other platforms such as PancakeSwap etc
- On the homepage, select swap
- Under swap from, select whichever token you want to swap, I used Ethereum
- Click the box below this to select the token you want to swap to
- Assuming you don’t already have Bone, you can type in the name Bone and select, it has a little cartoon boke icon with a red background
- Set the amount of the token you want to swap
- You will be informed of a liquidity provider fee which is 0.25%
- Hit swap, and you will be asked to confirm the swap
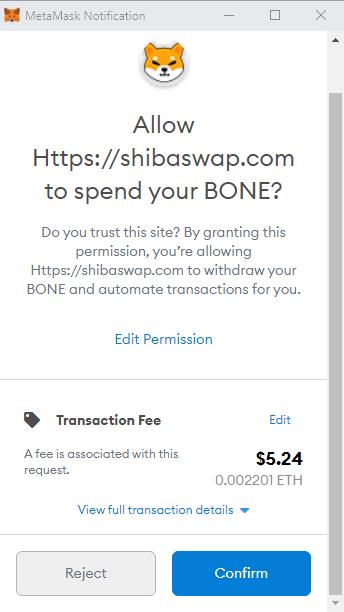
- Matamask should load up, then you will be informed of a Gas fee, which is an additional charge to convert from Ethereum to Bone. At the moment, it is quite low, between $10-$15 when I tried it. Back in May it had risen to over $80
- Click confirm and wait for the transaction to process
It is possible the transaction will fail, and you may need to increase the slippage tolerance via the cog button, but I had no problems with it when I tried
What does provide liquidity mean, what are the rewards and how do I do it?
In terms of cryptocurrencies, liquidity is the ability of a coin to be easily converted into cash or other coins.
Liquidity is important for all tradable assets, including cryptocurrencies. Low liquidity levels mean that market volatility is present, causing spikes in cryptocurrency prices. High liquidity, on the other hand, means there is a stable market with few fluctuations in price.
Shibaswap allows you to provide liquidity and then will reward you by charging buyers/sellers a liquidity provider fee of 0.25%, which is distributed proportionally to liquidity providers.
In order to claim these returns, you must deposit your SSLP (ShibaSwap Liquidity Provider) tokens into the allocated pair box at WOOF (steaking).
Once SSLP tokens are deposited, returns are accrued in real-time.
The big caveat here is that some of your funds get locked into the platform for 6 months.
You can claim 33% of your Woof Returns weekly, but the remaining 67% will be time-locked for 6 months.
How to provide liquidity
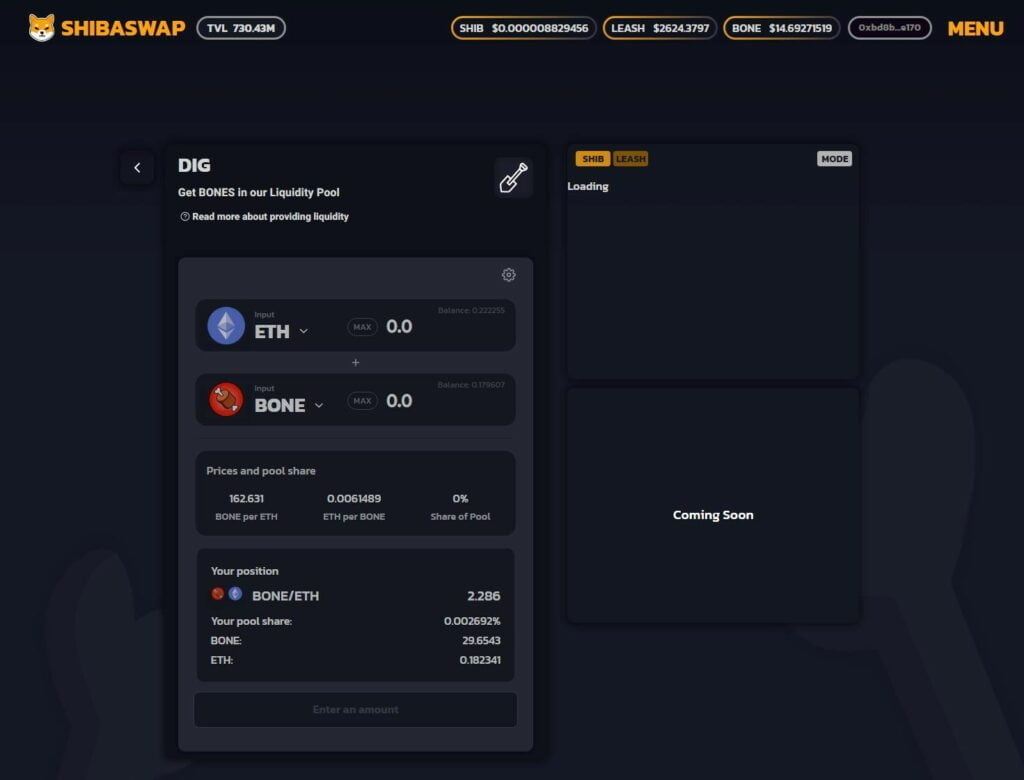
This is a similar process to swapping tokens, though for this one I had to adjust the slippage.
- Select Dig
- Add liquidity
- Select your first token (Ethereum for me)
- Select the second (Bone)
- You need enough Bone to create the pool share so I adjusted the figure in the Bone input box (I hit max)
- Hit submit and approve the transaction in MetaMask (I got stung for $18 with this one)
How to steak Bone?
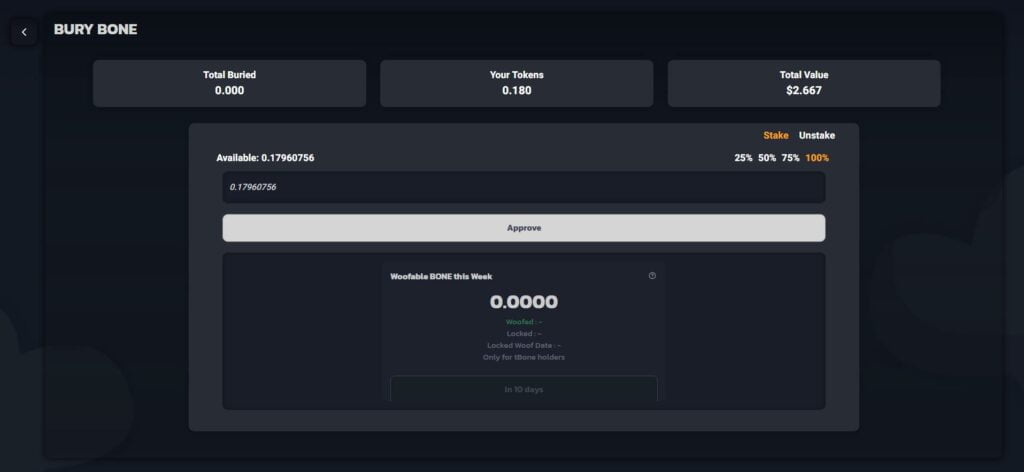
Steaking locks in your funds for a number of months but you will be rewarded Woof Returns as they call it.
When you stake Shib, Leash, or Bone, you will receive xSHIB, xLEASH, or tBONE. Those tokens represent your share of the pool.
Woof Returns are distributed weekly. At the moment, they do not declare the APY (annual percentage yield).
- With this, you need to go to the Bury section (Steak Coins)
- Select the token you want to bury
- Select the amount you want to buy
- Approve the transaction and pay a small fee.
Overall
As always, I advise caution with cryptocurrency, especially these meme coins. It is highly likely that these all have poor long term chances of succeeding, but as we saw earlier in the year, there is the potential to get lucky and make huge returns. It’s basically gambling.
If you have not already invested in crypto, now seems like a good opportunity. Just bet/invest what you can afford to lose.
I am James, a UK-based tech enthusiast and the Editor and Owner of Mighty Gadget, which I’ve proudly run since 2007. Passionate about all things technology, my expertise spans from computers and networking to mobile, wearables, and smart home devices.
As a fitness fanatic who loves running and cycling, I also have a keen interest in fitness-related technology, and I take every opportunity to cover this niche on my blog. My diverse interests allow me to bring a unique perspective to tech blogging, merging lifestyle, fitness, and the latest tech trends.
In my academic pursuits, I earned a BSc in Information Systems Design from UCLAN, before advancing my learning with a Master’s Degree in Computing. This advanced study also included Cisco CCNA accreditation, further demonstrating my commitment to understanding and staying ahead of the technology curve.
I’m proud to share that Vuelio has consistently ranked Mighty Gadget as one of the top technology blogs in the UK. With my dedication to technology and drive to share my insights, I aim to continue providing my readers with engaging and informative content.



This writer was thinking too much about dinner when writing this article.
I am always thinking about food
Hi James,
Great article. I swapped Shiba for bone connecting my metamask wallet. All was good and approve, but i have not received the bone token yet.. will this automatically go to my metamask wallet? Been like over 12 hours now.
Thanks
Update?
The bone should have been converted but it does not show in the metamask wallet but instead, it would be on the shibaswap website so either bury it or add it to a liquidity pool to make an LP but it hsould be there as long as it was approved.
You have to add all the tokens to your metamask wallet ater that you will see them
I’ve buried my BONE last night exactly as in the instructions above and it still doesn’t show up under my shibaswap even though transaction status shows as success. I’m connected to my MetaMask account etc. – any idea?
Why are you allowed to sell your Tbone? Any idea? I accidentally sold my tbones thinking they were the bone rewards for 3400$ when they worth 70-100k fluctuating ???? pretty reckless by me, and a little bit reckless by shibaswap don’t you think? I just wish I can buy back my 106k tbones, but the one who I sold my Tbone tokens to profited very well I guess