Any links to online stores should be assumed to be affiliates. The company or PR agency provides all or most review samples. They have no control over my content, and I provide my honest opinion.
A lot of the home automation gadgets I have reviewed are relatively closed systems offering specific functionality, and they are great. But one area I have always wanted to review is a Z-Wave home control system.
Z-Wave is a wireless networking system for home automation devices; several big companies use this standard in the smart home technology, the most notable being Samsung SmarthThings and Heat Genius.
The Devolo Home Control (and other smart home systems like SmartThings & Fibaro) differ from other smart home tech like Heat Genius and Tado, by offering control of dozens of devices to carry out multiple tasks, allowing you to automate all sorts of things in and around your home. You have a main controller, and then you can add as many sensors or accessories you want.
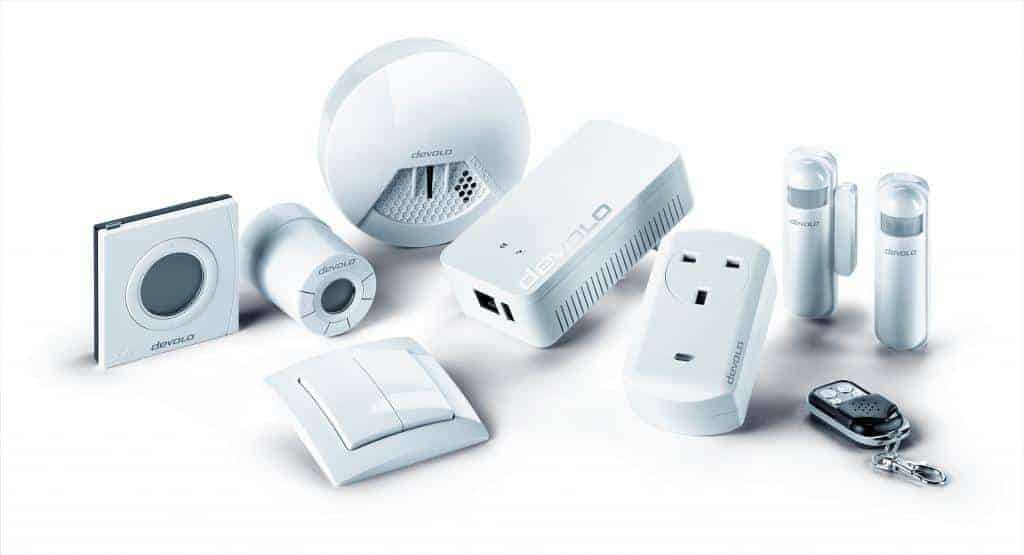
The sample I was sent included quite a large selection of devices to test the full potential of the main controller. This included:
- A room thermostat
- Wall Switch
- Door/window sensor
- Movement sensor
- Humidity sensor
- Water/Flood sensor
- Key fob
- Radiator Valve
- Smart Plug
The control unit itself is a similar design to the Powerline adapters that Devolo sell. I like this design as it means fewer wires and less mess.
Set-up needs to be carried out via the browser to start with, which is fine by me as I prefer this method. Connecting your account to the controller works in a similar manner to Philips Hue, you add the device and press the button on the front of the controller, it will then authenticate itself.
I had quite a few issues getting the set-up to work at first. It just didn’t want to authenticate. It is quite possible that it was my browser causing an issue, though, as a web developer I have all sorts of extensions installed. I eventually got everything working when I entered incognito mode where everything installed is disabled.
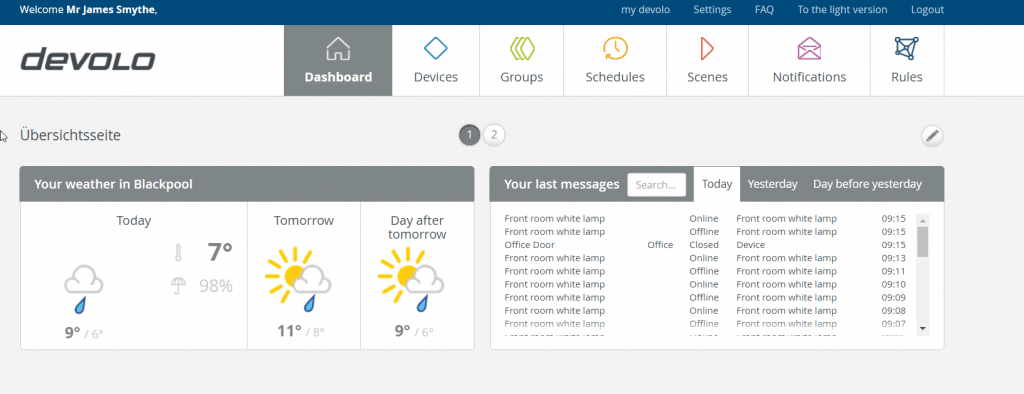
The Devolo dashboard is nicely designed it easy to navigate. There does seem to be some random bits that still use the German language. Which goes to show that this system is still in its early days.
Adding devices to the system works in a similar manner, you chose which device to add and follow the instruction on the screen. In general, they all work in a similar manner, you either just press a button or pull the battery tab out when the controller is scanning, and it will connect. All the devices I add connected with no issues.
You are not restricted to just Devolo products. You can obviously add any Z-Wave product you want, but it also works with Philips Hue and HTTP devices.
I added my basic Philips Hue system, at first, it said it didn’t connect but when I reloaded the web page all my bulbs were there.
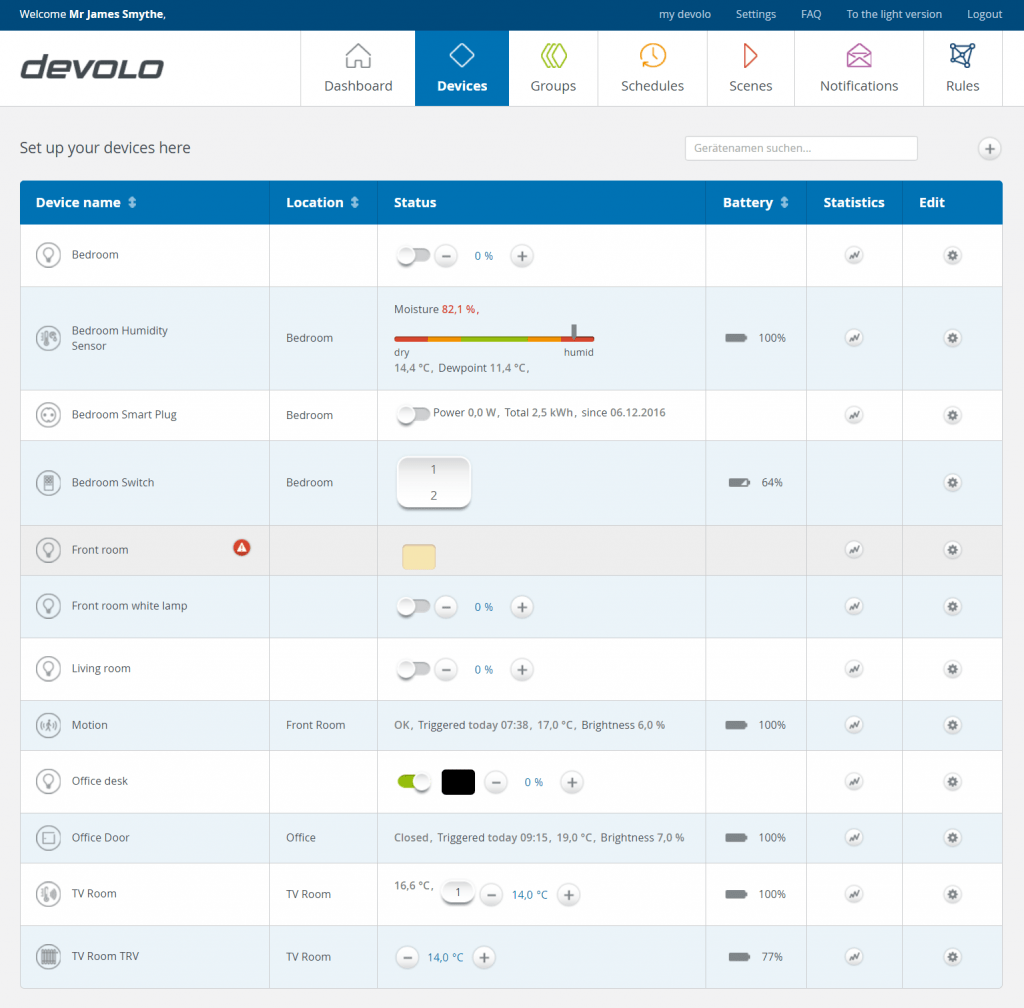
During the setup process of the devices you can name them and assign them rooms, this allows you to manage each device quite nicely.
When everything is added, you can view the status of each device and carry out actions from the browser.
Some of the sensors offer more functionality than the name suggests:
- The motion sensor has temperature and brightness readings
- Humidity sensor has temperature and dew point readings
- Door/Windows sensor also has temperature and brightness readings
These are nice little additions as I like to monitor the temperature of the rooms so I can tweak my smart heating settings.
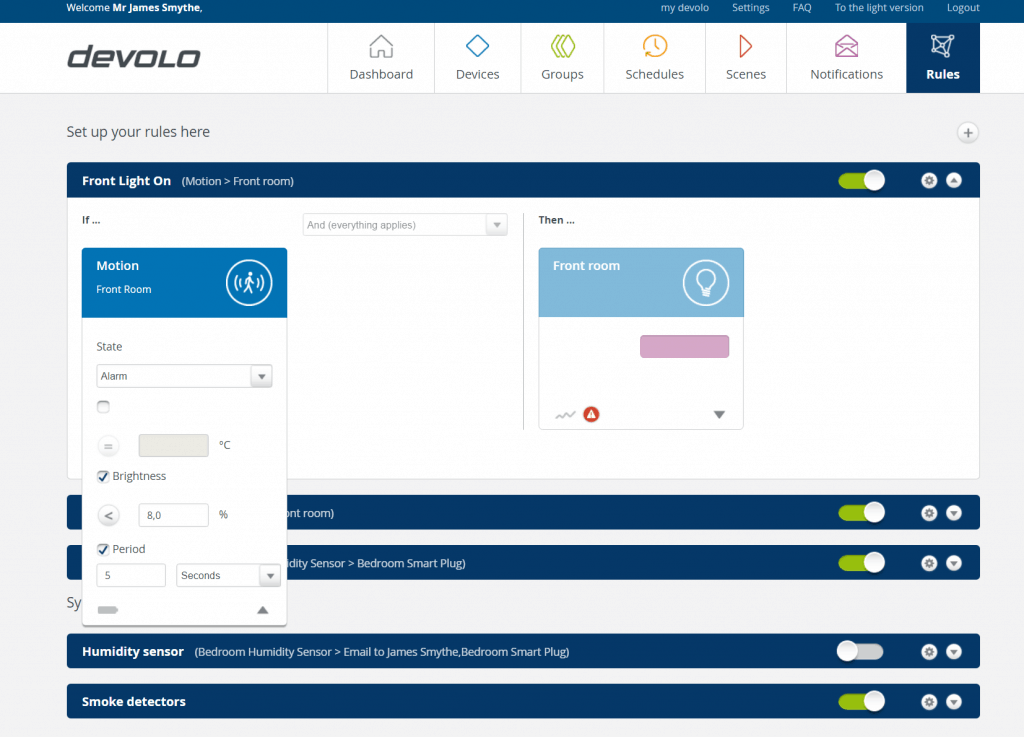
Once you have all your devices in the dashboard, you can start with setting up some automation. There are three areas you can set things up in which include Schedules, Scenes, and Rules. This is quite confusing at first, I wasn’t sure what to set up where but after a little playing around it all starts to make sense.
My attempt at explanation is that:
- Rules – These are the primary smart controls to manage what devices do what when something happens. For example, I have the front room light to switch on when motion is detected.
- Schedules – This controls the schedule of devices individually or the rules you have set up. So, my motion sensing rule could run between the hours of 5am-7pm for example.
- Scenes – Carry out multiple actions in one. So, for example, I can have my smart plug, and office lights all switch on in one action. This then can be used in the Rules and Schedules section.
Once you have grasped how the three sections work together, you can set up relatively complex automation tasks around your home. Due to my limited selection of accessories I couldn’t do anything too fancy but the basic examples I have are:
- Front room lights on after 3 seconds of movement and under 7% luminosity, off after 15 mins.
- Smart plug on when the humidity sensor is in the red zone, off when orange to run between 4 pm and 8 pm
- Radiator set to 14 degrees at 5 am 20 degrees at 4 pm back to 14 degrees at 8 pm.
- Office plugs and lights on at 4 am – off at 6 pm
- All lights off at 12 am
It is quite a simple set up really, but I like it, it makes life slightly easier not having to root around in a dark room to find light switches, and also being able to control the heating room by room is a great smart feature.
As well as the language and initial set up glitches, there are a few other areas of concern with the system. While the system uses the widely available Z-wave standard, it doesn’t integrate with anything else (apart from Hue). There is no IFTTT or Alexa integrations. You could probably do something with the HTTP functionality, but I feel like that is going beyond a lot of people’s capabilities.
The rocker switch was also quite slow to respond. It is OK if you carry out just one action, but if I turned a light on by mistake and when to switch it off, quite often it just wouldn’t do anything.
The sensors are also quite ugly and large. It isn’t a huge issue but other companies such as Fibaro and Aeon Labs have multi-sensors which cost the same and look (marginally) more attractive.
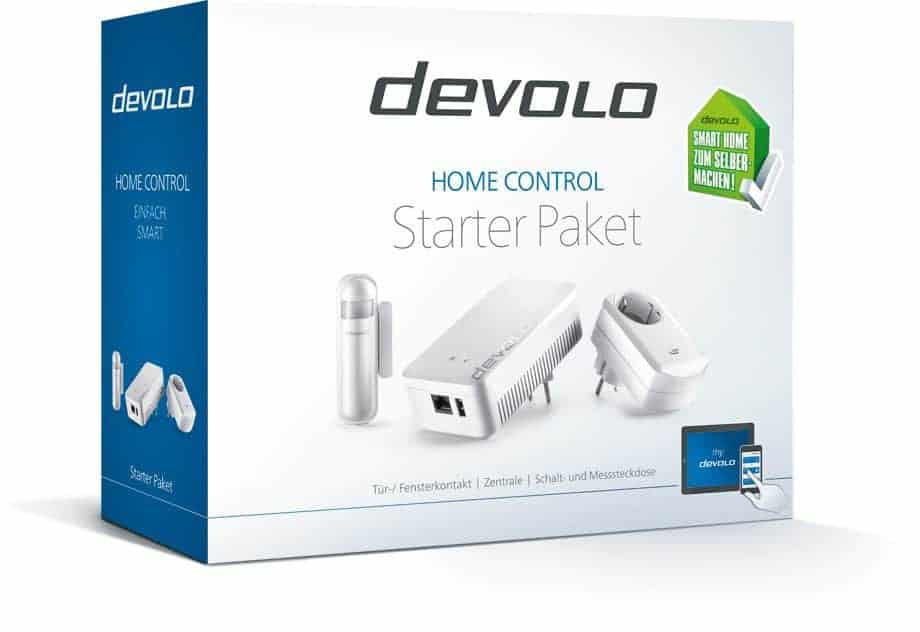
The other issue for some might be the cost. The starter pack is £179.80 which is a decent buy in my opinion as just a gateway from other companies can cost more than this, but in comparison, SmartThings costs £199.99 and is a more established product.
It’s the accessories that seem a bit overpriced to be. The motion sensor costs £50, but you can get a multi-sensor which includes UV and Humidity for the same price from Aeon/Fibaro. Nearly all the SmartThings accessories are around the £30 mark too.
The radiator valves are priced competitively, and they also look nicer than some of the other options for sale.
Overall, the Devolo Home Control is a good product and a great start for Devolo. The software is clearly in its infancy, and I think it will improve significantly over the next few months. The software does work well as it currently is, but it needs cross-device compatibility with devices like Google Home, Alexa and IFTT for it to be any real competition with SmartThings.
You can find out more about the Devolo Home Control range here.
I am James, a UK-based tech enthusiast and the Editor and Owner of Mighty Gadget, which I’ve proudly run since 2007. Passionate about all things technology, my expertise spans from computers and networking to mobile, wearables, and smart home devices.
As a fitness fanatic who loves running and cycling, I also have a keen interest in fitness-related technology, and I take every opportunity to cover this niche on my blog. My diverse interests allow me to bring a unique perspective to tech blogging, merging lifestyle, fitness, and the latest tech trends.
In my academic pursuits, I earned a BSc in Information Systems Design from UCLAN, before advancing my learning with a Master’s Degree in Computing. This advanced study also included Cisco CCNA accreditation, further demonstrating my commitment to understanding and staying ahead of the technology curve.
I’m proud to share that Vuelio has consistently ranked Mighty Gadget as one of the top technology blogs in the UK. With my dedication to technology and drive to share my insights, I aim to continue providing my readers with engaging and informative content.

