Any links to online stores should be assumed to be affiliates. The company or PR agency provides all or most review samples. They have no control over my content, and I provide my honest opinion.
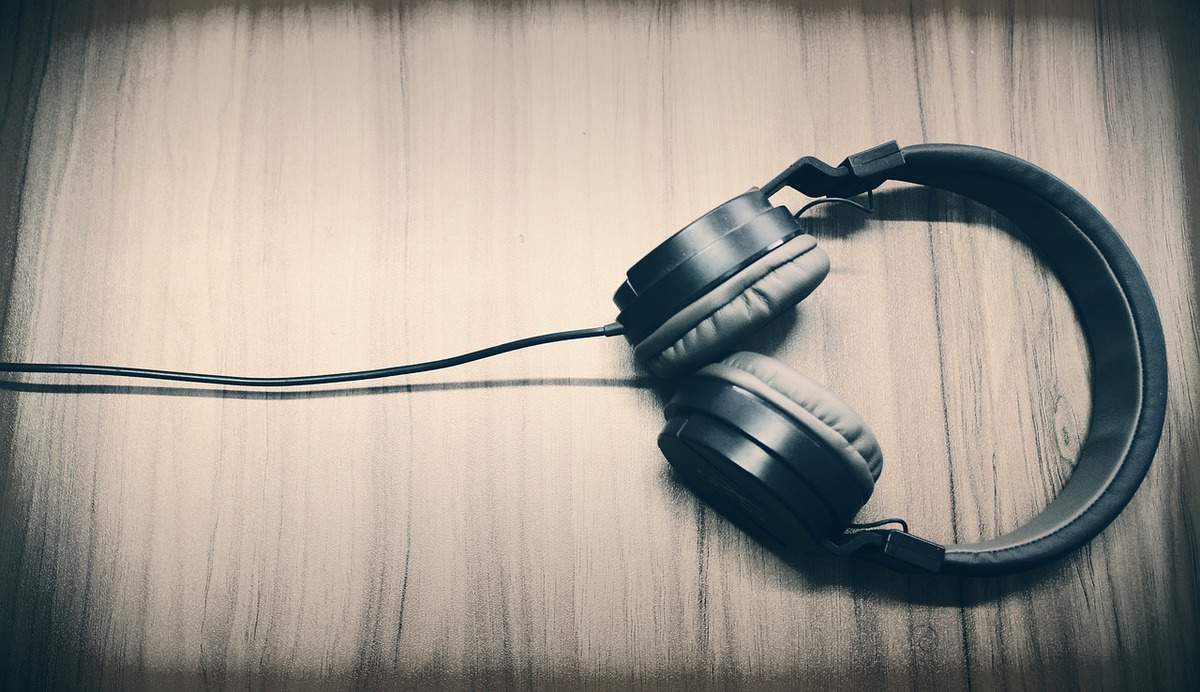
Listening to music or your favourite programs with your headphones is both convenient and entertaining. However, a horrible day is coming when your headphones will begin to malfunction and start packing in. one of the most common headphone’s fault is sound coming out in one ear and goes off on the other side of the ear.
Sure, you can rush out and buy a new one when you encounter this issue, but that’s not always the best option especially if you own expensive earbuds or headphone. Fixing your issue is a better alternative as it can save you the cost of replacing or buying a new pair of headphones but how will you go about it? In this article, I am going to show you how to fix headphones without sound in one ear so you can quickly and efficiently address the problems with your headphones.
The tools and materials that you need
- Flathead screwdriver or a sharp knife
- A multimeter (or voltmeter)
- Another device (could be your smartphone, iPod, radio, mp3 or portable CD player with a jack that is compatible with your headphone)
- Soldering iron
- Masking tape
- Glue (optional)
Now let’s go to the steps
How to fix headphones without sound in one ear (step by step guide)
Step 1: Figure out the problem
- Start by plugging your headphone into an audio source and listen. While listening, bend the headphone cable at every ½ inch along the cable length to figure out where the wires have disconnected. Note that you can try with different audio sources or with your friend’s earpiece to determine if the problem is with your earpiece or your audio source.
- If you can’t figure out the problem yet, push your headphone’s plug end while listening to detect the sound. The moment you hear sound coming from both ears, you have successfully located the spot where the wire has shorted or not properly connected.
- Mark the spot by wrapping a little piece of masking tape to the right and left of the faulty area leaving a space (about an inch) in between the tape.
Using a multimeter
- If you can’t find the problem yet, you’ll have to switch to a multimeter (find one at the hardware store near you if you currently have none). You’ll also need a razor blade or a sharp knife to cut the cable open and strip the wires, so children should seek the assistance of an adult on this aspect. Set up your voltmeter or multimeter to test for continuity (just turn its selector knob to )))) or a similar symbol. Insert the red test probe into the port marked ΩmAV or )))) and the black test probe into the COM port. Test the meter by touching the tip of the test leads together, you should get a beep sound from your multimeter.
- Pry open the speaker compartment of the side that is not functional using your screwdriver or cut a narrow opening close to the earpiece and another, close to the plug. (Cut away the insulation carefully to expose the wires; make sure you don’t cut the wire inside). Now, you should see the wires with different colours (red is usually positive while black is ground or negative). Scrape away the protective coat on the wire with a knife or a razor blade.
- Test the cable by touching the wire in one slit with the red test probe and the other slit with the black probe. If your multimeter beeps, then the fault is in the speaker or the plug. If there’s no beep, slit the cable further and test the wires till you locate the point that causes the multimeter to produce no beeping sound.
Step 2: Fix the cable
- After locating where the problem is on your headphone’s cable, strip the insulation off using a knife or wire stripper (you may need to use sandpaper if the wire is too small). This is the spot you have to repair. Splice the broken wires by twisting them together to create a connection.
- Solder this connection using your soldering iron by applying a small melted dab on the wires. If your wires come with no insulation, you have to remove the protective coating by scraping, sanding or burning it off before you solder (make sure you don’t breathe in the fumes while burning off the thin protective coating with your soldering iron).
- Allow it to cool down, and then wrap the soldered area with the masking tape to prevent contact with other wires in the cable.
- Slide a shrink tube over the area you repaired and heat the area up with a heat gun, to fit create a snugly fit, and then strengthen and protect the area you repaired on the cable.
Step 3: Fix the plug
- If you don’t get continuity from the plug, you may have to replace it with a new one (you can find a new one online or at the hardware store near you, but make sure it has the same size as your old plug).
- Cut off the old plug and strip the cable to expose the 3 different coloured wires. Connect the copper wire to the longest piece of metal on the plug, and the other two on the two pins left on the plug. Solder the wires to the plug and reassemble the cap. Test the unit, and if the problem persists, the wires might be touching each other, unscrew it and tug them apart.
Step 4: Fix the speaker
- If the problem is with your headphone speaker, take it apart and see if the wire connection is intact, if it not, re-attach the wire to your headphone driver.
- If the driver is faulty, change or replace it with a new one. Reassemble the unit and then apply a very small amount of glue to hold it in place.
Click here to watch.
Conclusion
Fixing headphones without sound in one ear is not a difficult task, all you need to do is to follow this guide, and you are good to go. But before you disassemble or cut your headphone’s cable, contact the manufacturer or check if you’re still under the warranty coverage.
I am James, a UK-based tech enthusiast and the Editor and Owner of Mighty Gadget, which I’ve proudly run since 2007. Passionate about all things technology, my expertise spans from computers and networking to mobile, wearables, and smart home devices.
As a fitness fanatic who loves running and cycling, I also have a keen interest in fitness-related technology, and I take every opportunity to cover this niche on my blog. My diverse interests allow me to bring a unique perspective to tech blogging, merging lifestyle, fitness, and the latest tech trends.
In my academic pursuits, I earned a BSc in Information Systems Design from UCLAN, before advancing my learning with a Master’s Degree in Computing. This advanced study also included Cisco CCNA accreditation, further demonstrating my commitment to understanding and staying ahead of the technology curve.
I’m proud to share that Vuelio has consistently ranked Mighty Gadget as one of the top technology blogs in the UK. With my dedication to technology and drive to share my insights, I aim to continue providing my readers with engaging and informative content.

