Any links to online stores should be assumed to be affiliates. The company or PR agency provides all or most review samples. They have no control over my content, and I provide my honest opinion.
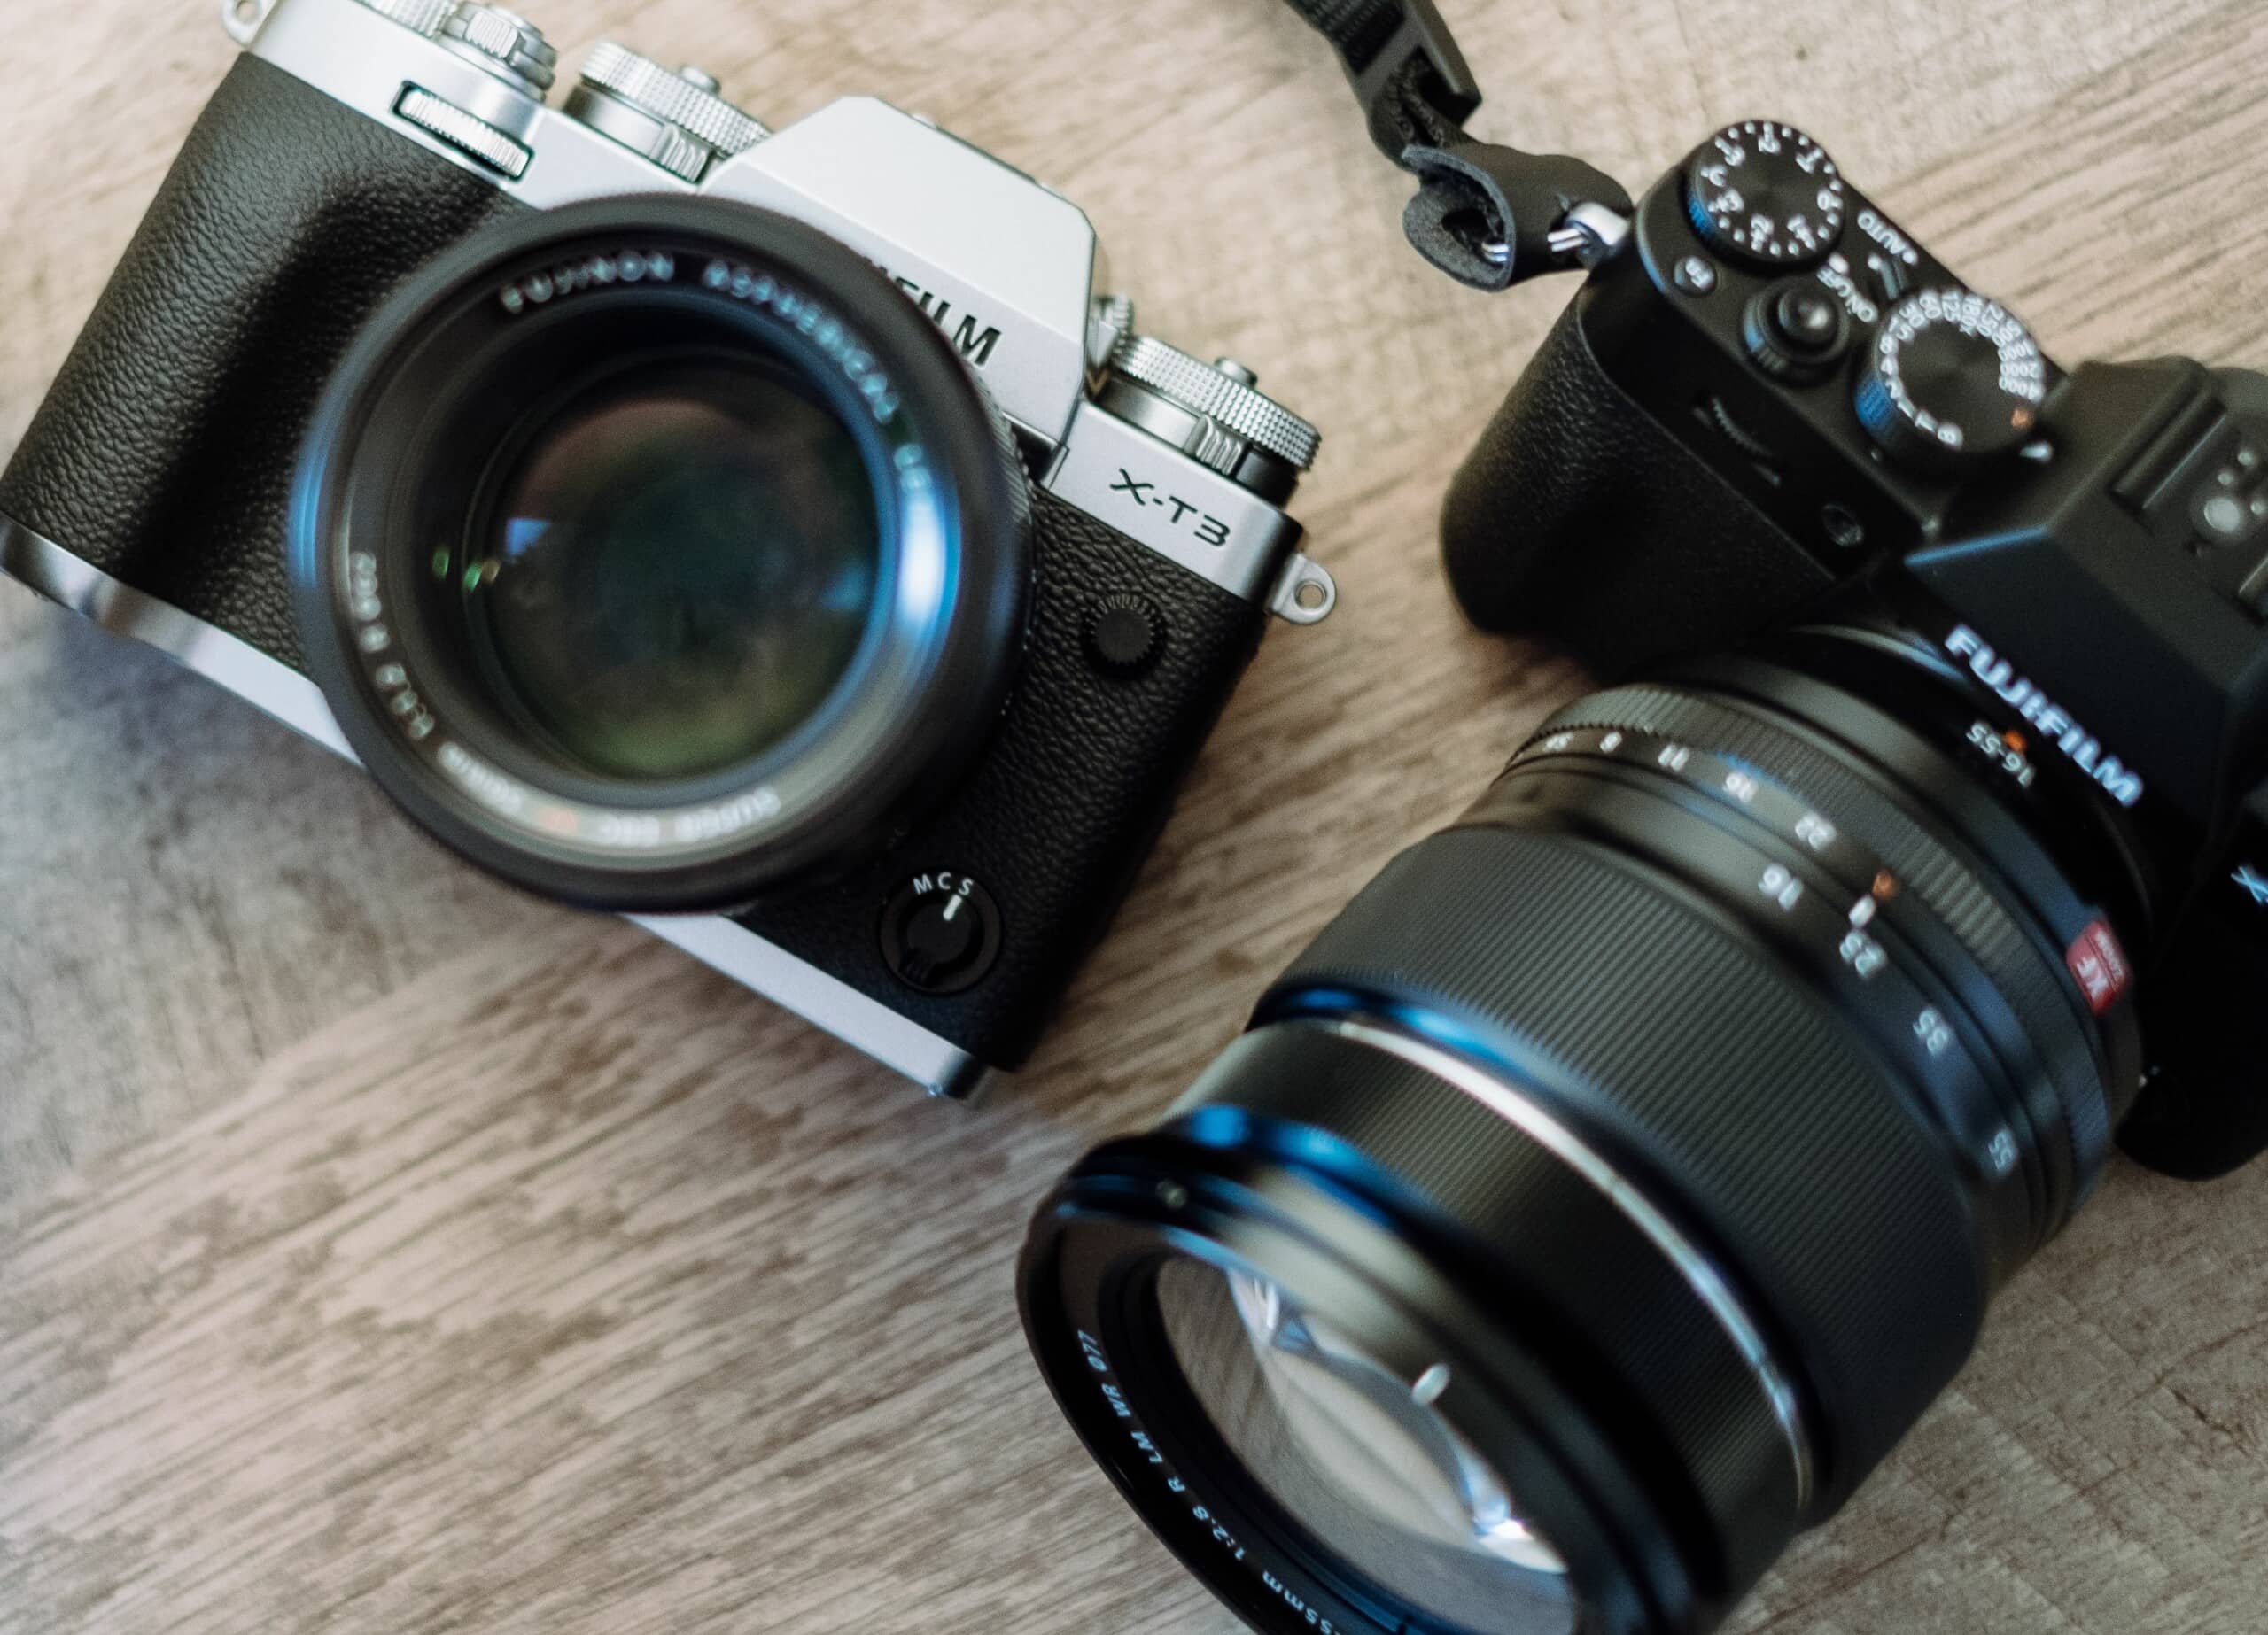
Many people prefer taking pictures on their smartphones, but they are often not enough and have poor quality compared to professional cameras. The art of photography has significantly developed during the last decades, and devices have become more innovative and highly technological. A massive selection of digital cameras awaits users, but how to choose the best option? Grab some tips to consider when picking the best device, and get ready to take fascinating pictures!
1. The Size & Type of Camera’s Matrix
The picture quality is of great importance to each photographer. And the matrix is the element that now replaces the old-fashioned camera roll. Its main parameters include the size and number of pixels: the higher they are, the better quality is possible. The most common options include:
- Matrices of less than 1 inch are used in compact cameras that provide high-quality pictures under the daylight but cannot make a good image at night or during twilight.
- APS-C matrices are considered the most popular in modern SLR devices. Semi-professional photographers often use this type, so consider it if you are not planning to take pictures for magazines.
- Full frame matrices are useless for beginners, but experienced photographers often pay attention only to this option. The technology is used in expensive professional cameras that can take high-quality pictures regardless of the time and weather.
Don’t chase the most expensive, high-resolution cameras if you’re just an amateur who goes on a trip or likes to take a couple of photos during the day. In this case, it is better to choose a cheaper option – non-professionals will hardly notice a difference in quality but have the chance to save their budgets significantly.
2. The Camera’s Optics
This parameter is a system containing a set of lenses. They provide quality to the picture and guarantee that all errors and deviations are equally compensated. The primary optics’ characteristic is focal length, measured in millimeters. The middle-class lenses imply 50 mm, and their viewing angle is average. On the other hand, those who need better quality images should pay attention to an index ranging from 70 to 200, which can easily cope with portrait photography.
3. Zooming Function
Photographers often have to take pictures from reasonably large distances because it’s not always possible to take a convenient position for a high-quality image. This function is the best way to zoom in on distant objects. This feature is not surprising or innovative since it is available in almost every camera or smartphone. However, the whole point is in the quality of the picture, as the main photographer’s task is to capture a high-quality image. There are two types of zoom functions:
- Optical zoom utilizes the camera’s lens to bring the object closer, which helps to take a perfect picture without losing quality. This function is usually available on expensive professional devices.
- Digital zoom is more superficial and just increases the image in the device’s viewfinder and is considered a cheaper alternative. In this case, the shoot’s quality may worsen, but an amateur won’t notice the significant difference.
It doesn’t mean it’s necessary to invest a fortune to get a camera with optical zoom. Professional photographers need high-quality pictures, so they have to buy the best gadgets, while a simpler and cheaper version with digital zoom can be pretty enough for others.
4. Image Stabilizer Function
Almost every modern camera has such a feature, which is really convenient for users. Developers consider the human factor since the photographer’s hand can tremble, and the picture can turn out blurry. This option is beneficial when shooting at a high zoom, where any unnecessary movement can spoil the image. Even cheap compact cameras now provide this feature, and it’s better to choose an optical stabilizer.
5. Powering the Camera and Charging the Battery
This point is also important since most people take pictures outside the home and while traveling without being able to recharge the device constantly. In such cases, it is critical for the device to work for a long time. Most cameras charge from an outlet or computer, but the process takes at least a couple of hours.
Some devices run on batteries that can be powered using a portable charger. In such cases, the best option is to purchase several additional accumulators and carry them with you to change if necessary. This option is more comfortable since the photographer does not have to look for the nearest power source. It is essential to consider this aspect in advance and ask about the available options since no one wants to buy a camera that works very little without charging.
I am James, a UK-based tech enthusiast and the Editor and Owner of Mighty Gadget, which I’ve proudly run since 2007. Passionate about all things technology, my expertise spans from computers and networking to mobile, wearables, and smart home devices.
As a fitness fanatic who loves running and cycling, I also have a keen interest in fitness-related technology, and I take every opportunity to cover this niche on my blog. My diverse interests allow me to bring a unique perspective to tech blogging, merging lifestyle, fitness, and the latest tech trends.
In my academic pursuits, I earned a BSc in Information Systems Design from UCLAN, before advancing my learning with a Master’s Degree in Computing. This advanced study also included Cisco CCNA accreditation, further demonstrating my commitment to understanding and staying ahead of the technology curve.
I’m proud to share that Vuelio has consistently ranked Mighty Gadget as one of the top technology blogs in the UK. With my dedication to technology and drive to share my insights, I aim to continue providing my readers with engaging and informative content.


