Any links to online stores should be assumed to be affiliates. The company or PR agency provides all or most review samples. They have no control over my content, and I provide my honest opinion.
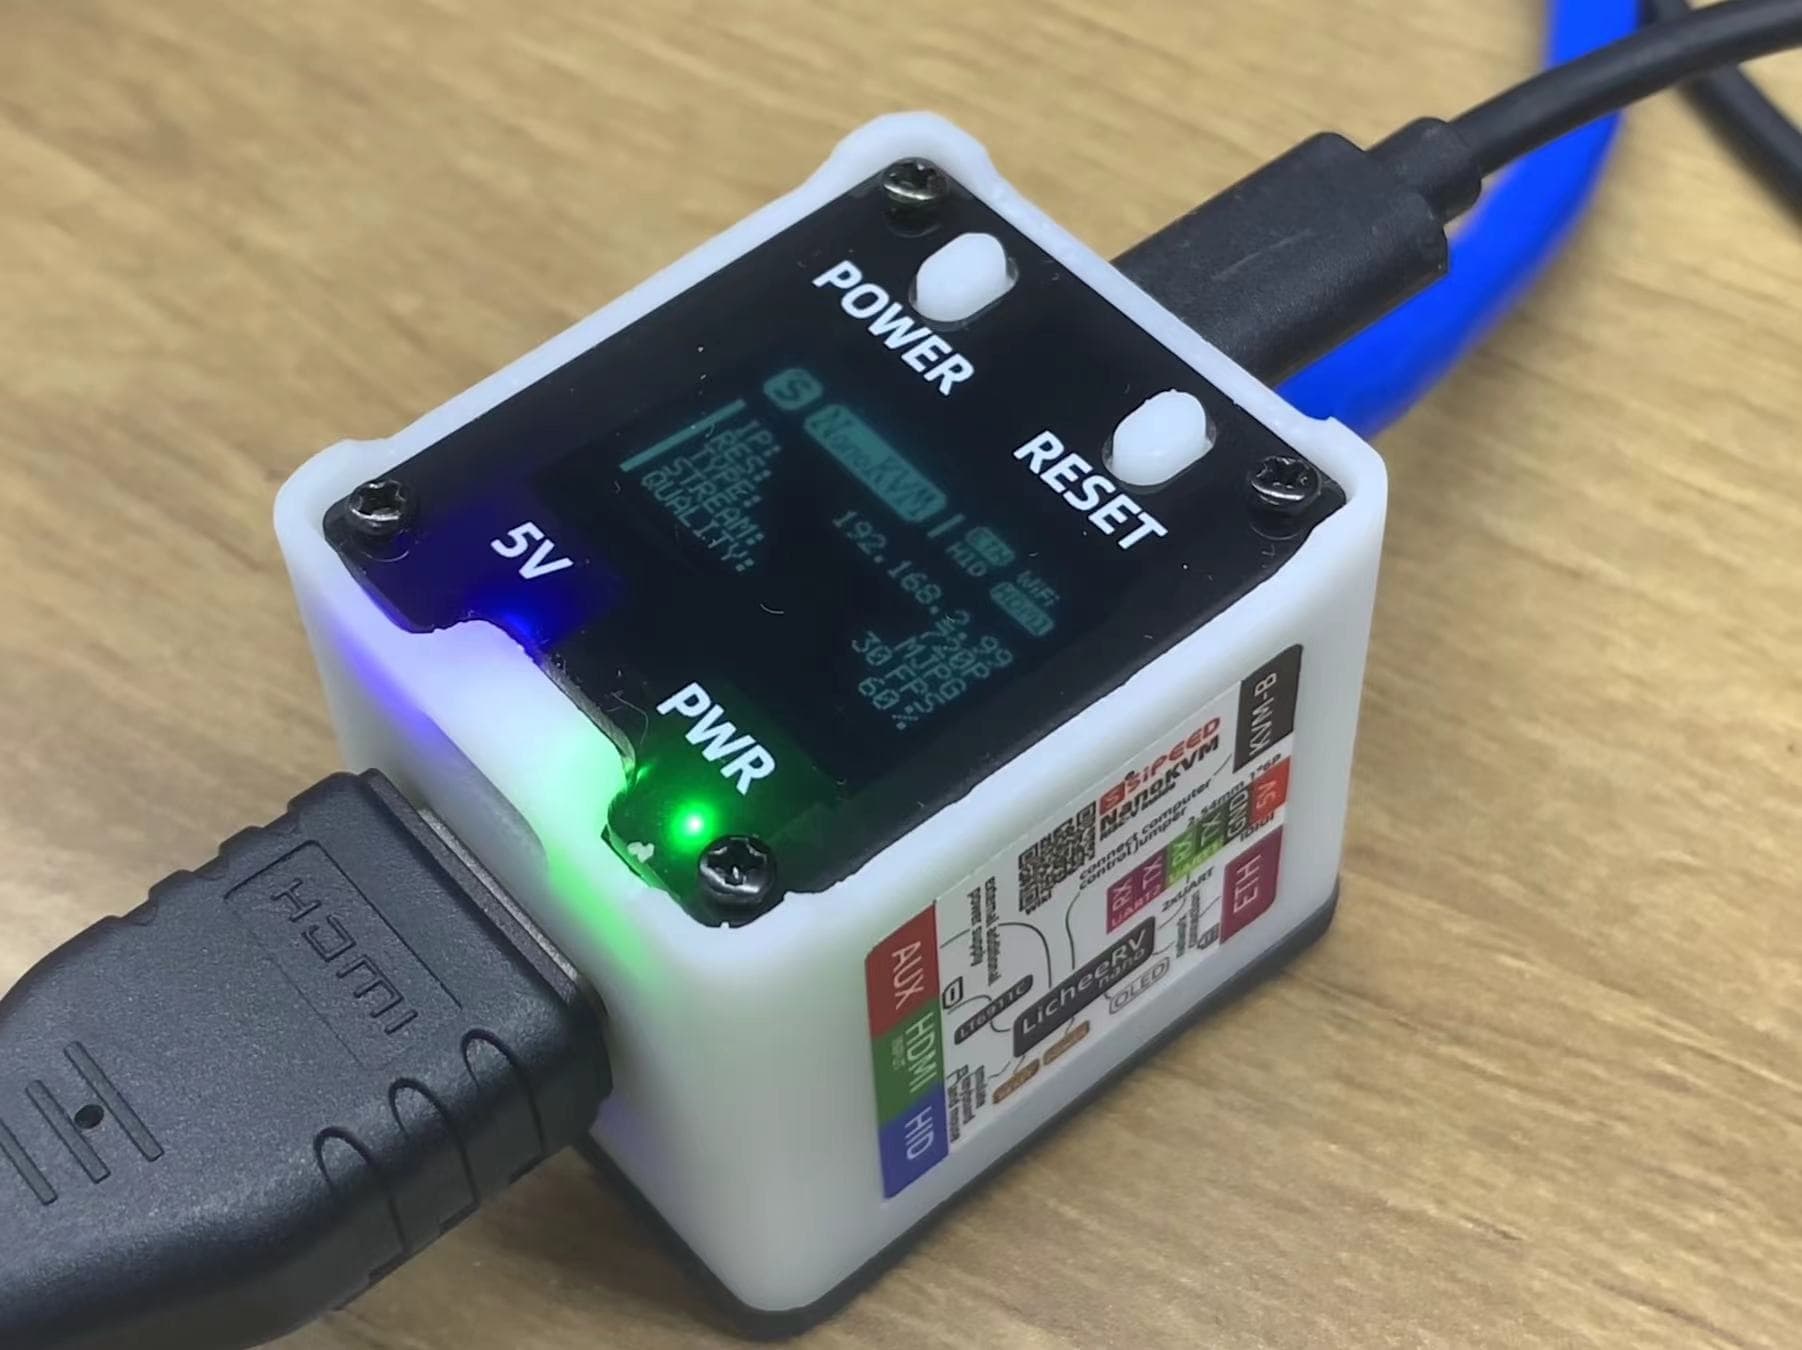
Following on from my Cheap KVM over IP Recommendations, I have been using the Sipeed NanoKVM in my home lab. I bought both the NanoKVM cube which has a display and ATX power control for the PC, and the more affordable NanoKVM Mini, which lacks the ability to power up your PC.
My use case scenario is probably similar to most home-labbers with two reasons for wanting an IP-KVM:
- Most of my home lab is in my loft, and my miniPCs are all set up without a monitor. So, an IP-KVM saves me from going up in the loft to resolve any issues I may have.
- I recently started working from an office, and I also travel a lot, so it is helpful to be able to power up, reboot, and problem-solve remotely.
I may also start using these to power up/down devices in the future. I don’t think any of my miniPCs have wake on LAN, and I don’t like to rely on using smart plugs and the boot on power function.
As much as I would love a PiKVM, based on my needs, there is no way I could justify the cost. The PiKVM V4 Mini costs more than some of my miniPCs!
Sipeed NanoKVM Variants
- NanoKVM Lite This is the most budget-friendly model, focusing purely on basic IP-KVM functionality. It lacks features such as power control or a display but performs well for simple out-of-band management tasks. The lack of ATX control and display reduces its flexibility for more advanced use cases, but for headless systems that rarely need physical interaction, it works well.
- NanoKVM Full / KVM Cube The Cube version includes a small display, hardware buttons, and power/reset jumper headers for ATX control. This makes it more suitable for server management, especially if you want to hard reboot or power on a machine that doesn’t support remote start. The inclusion of the display is especially useful for diagnostics.
- NanoKVM-PCIe This model is designed to be installed directly into a PCIe slot inside a host machine. It’s a more permanent installation and ideal for those who want a neat integration. However, the physical installation requirement may limit its appeal for users wanting plug-and-play solutions.
Specification
The Sipeed NanoKVM is built around the LicheeRV Nano, a compact RISC-V single-board computer. Key specifications include:
- Processor: RISC-V SG2002 SoC
- Memory: 128MB RAM
- Video Input: HDMI (up to 1080p60)
- Network: 10/100 Ethernet
- USB: Multiple USB-C ports for power, keyboard/mouse emulation, and ATX board connection
- Storage: microSD card for firmware and ISO storage
- Display: 128×64 OLED (Full/Cube model only)
- ATX Power Control: Available on Full/Cube and PCIe models
- Case: 3D-printed enclosure on Cube; bare PCB on Lite
Features
Despite its low price, the NanoKVM offers a surprisingly broad feature set:
- Full KVM-over-IP: Remote keyboard, video, and mouse access, independent of the host OS.
- BIOS Access: Operates at the hardware level, enabling BIOS configuration and OS installation.
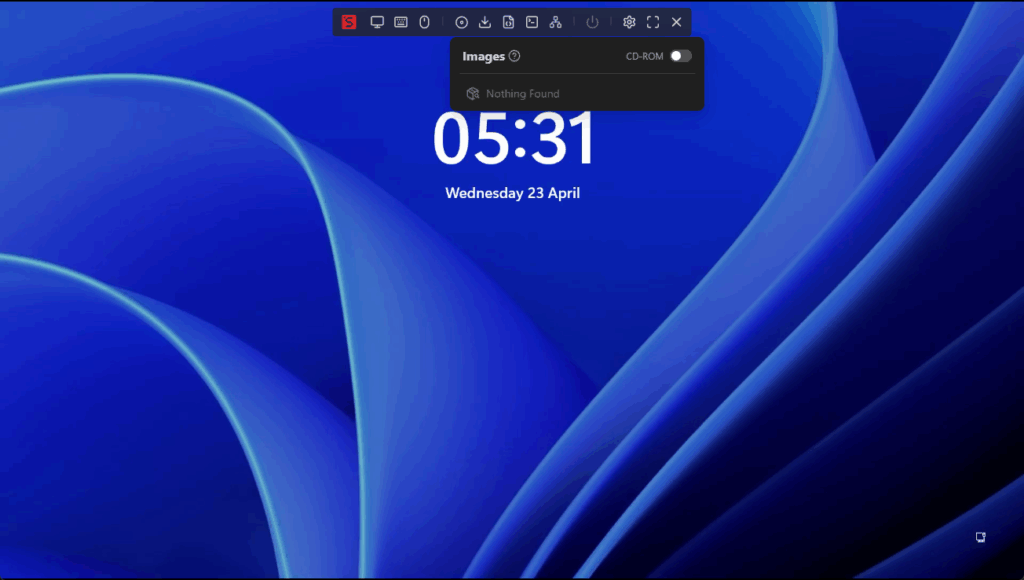
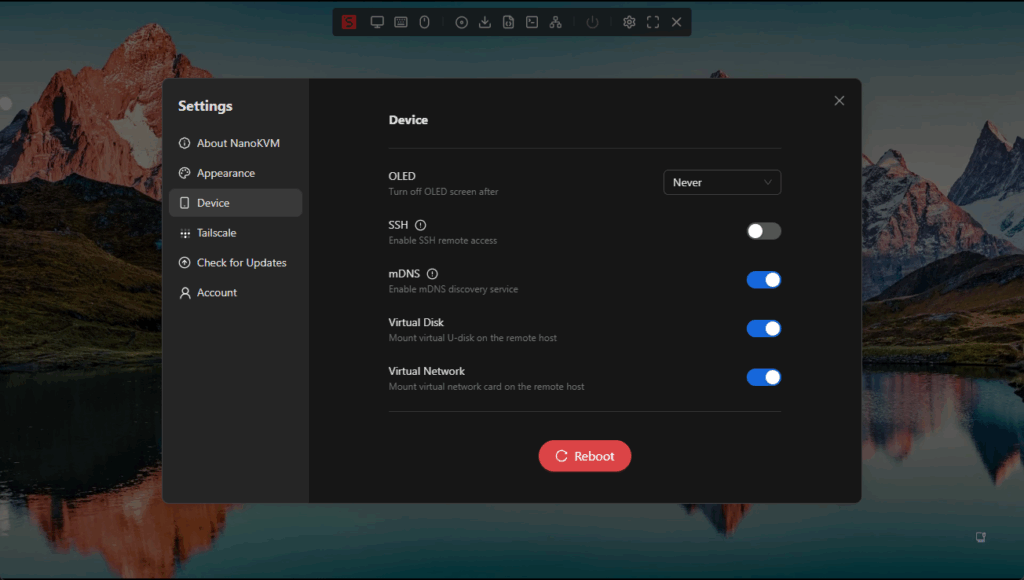
- Virtual Disk: Mount ISOs or other images as a USB mass storage device, supporting remote OS installations.
- ATX Power Control: Remotely power on, reset, or shut down the host (Cube/PCIe models).
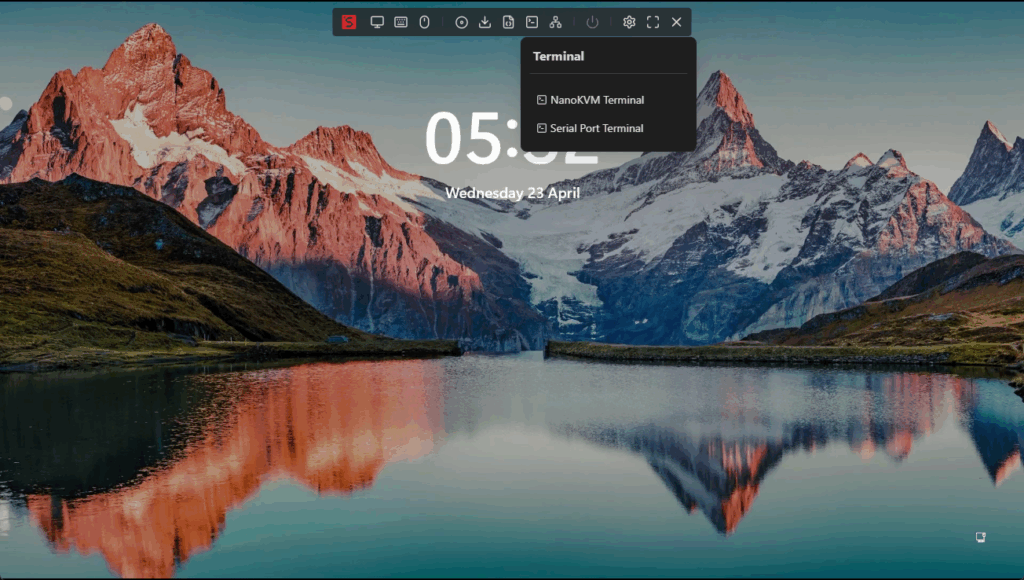
- Serial Console: Serial port access for devices supporting it.
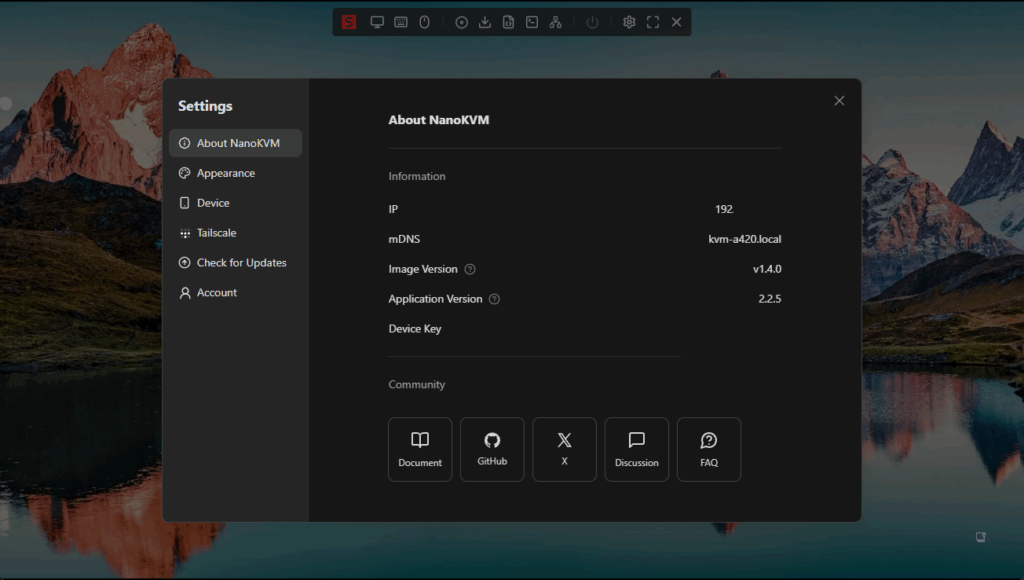
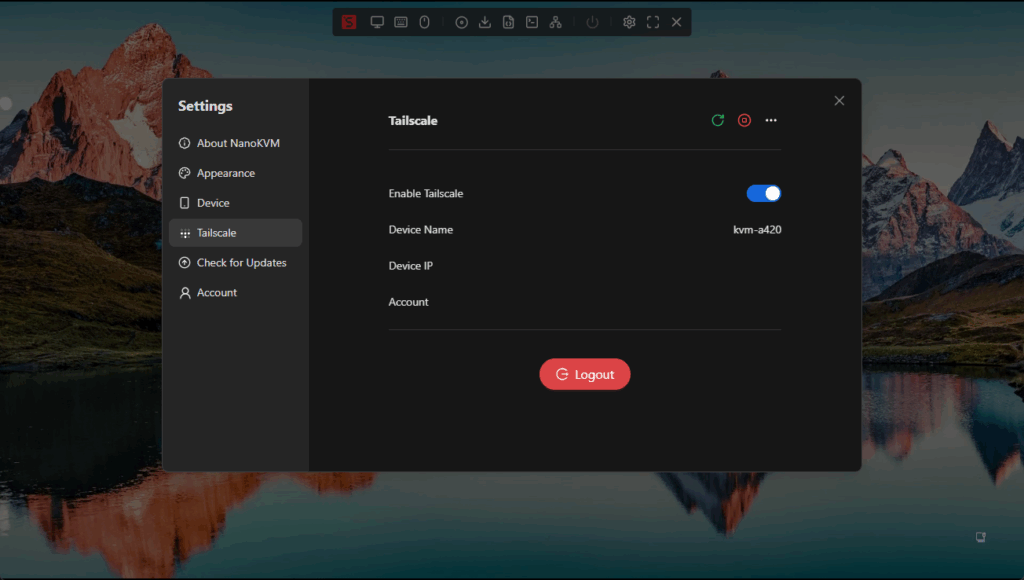
- Tailscale: Built-in support for secure remote access.
- Web UI: Access and control via a browser, with no need for additional software.
- SSH Access: Advanced users can access the underlying Linux OS for troubleshooting or updates.
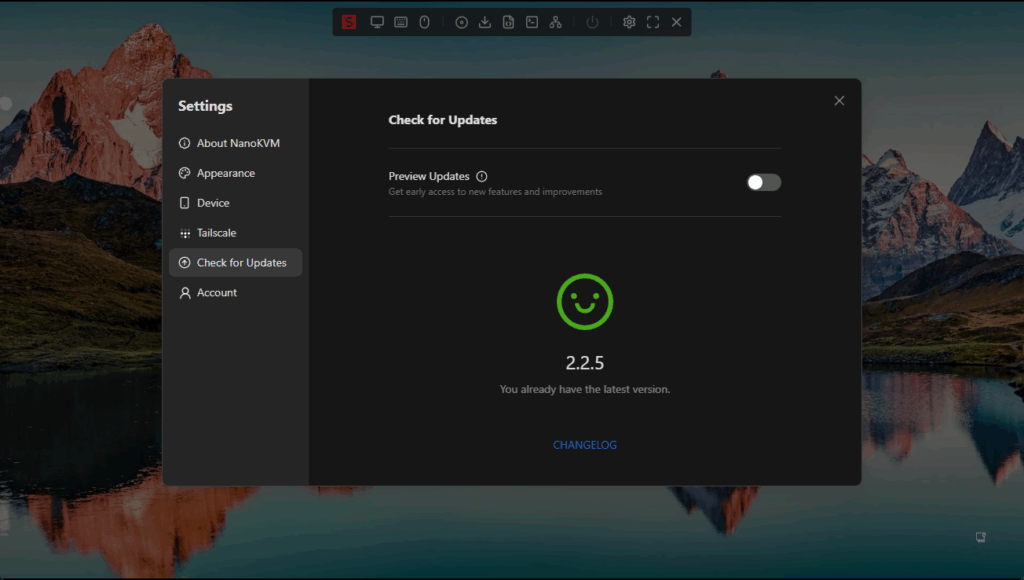
- Firmware Updates: Regular updates, with a straightforward process via the web UI or SSH.
Security
Security is a key concern for any device offering out-of-band management. The NanoKVM’s history here is mixed:
- Proprietary to Open Source: Early firmware was closed source, leading to community apprehension. Sipeed has since open-sourced the firmware, which is now available on GitHub. This move has addressed some concerns, but the project’s security model is still maturing.
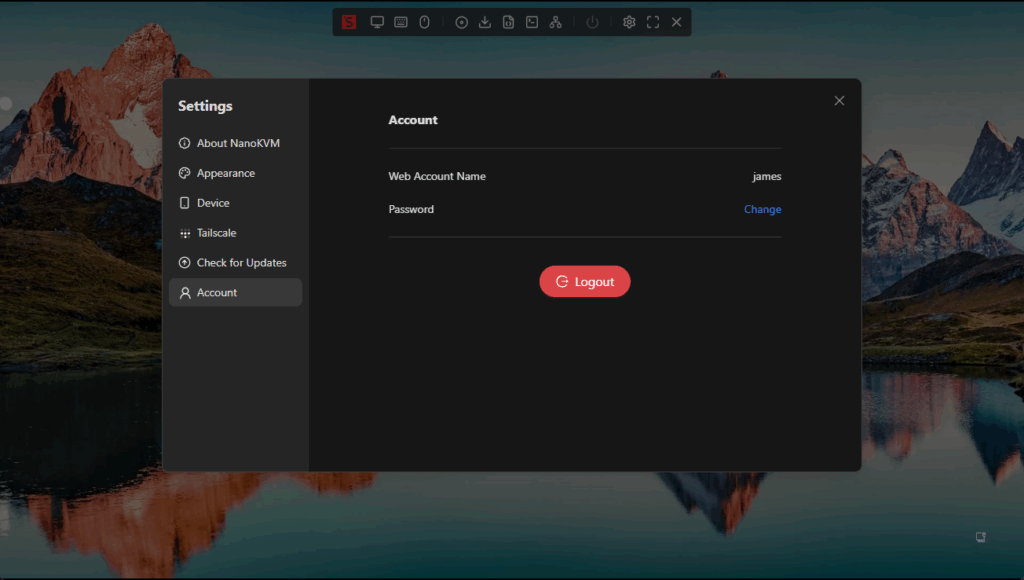
- Default Credentials: The device ships with default admin credentials, which must be changed on first login. SSH access is enabled by default, with a separate root password, which is not clearly documented in the web interface.
- Network Exposure: The KVM stream’s encryption status is not well documented. It is advisable to isolate the device on a dedicated VLAN or restrict access via firewall rules.
- Firmware Updates: Security vulnerabilities have been fixed rapidly in response to community feedback, but some issues (such as hardcoded shortcuts and dynamically downloaded firmware for the HDMI bridge) have raised eyebrows.
- Tailscale: Tailscale integration provides a secure method for remote access, but stability issues have been reported due to limited RAM (I rarely access it this way and haven’t had any issues).
The device is best deployed in environments where network segmentation and strict access controls are in place. Users should disable unused services, change all default passwords, and consider isolating the device from the broader network.
Unboxing Design
The NanoKVM Cube arrives in a small, well-labelled box. The package includes:
- NanoKVM device (Cube or Lite)
- ATX breakout board (Cube only) for connecting to motherboard power/reset headers
- USB-C cables for power and data
- Ribbon cable for ATX board
- SIM ejector pin (for pressing the reset button)
- Basic instructions
The Cube model features a 3D-printed enclosure with clear port labelling and a QR code linking to the online wiki. The OLED display shows IP address and status information, which is helpful for setup and troubleshooting.
The Lite model is a bare PCB with minimal labelling. It lacks the OLED display, ATX board, and enclosure, but is even smaller and cheaper.
The build quality is reasonable for the price, though the 3D-printed case is somewhat flexible and the connectors could be vulnerable to stress. The ATX board is not enclosed, so care is needed to avoid short circuits inside a case.
Set Up
Setting up the NanoKVM is straightforward:
- Connect the HDMI input to the host machine’s video output.
- Plug the USB-C port into a USB port on the host for keyboard/mouse emulation and (optionally) power.
- Connect the Ethernet port to your network.
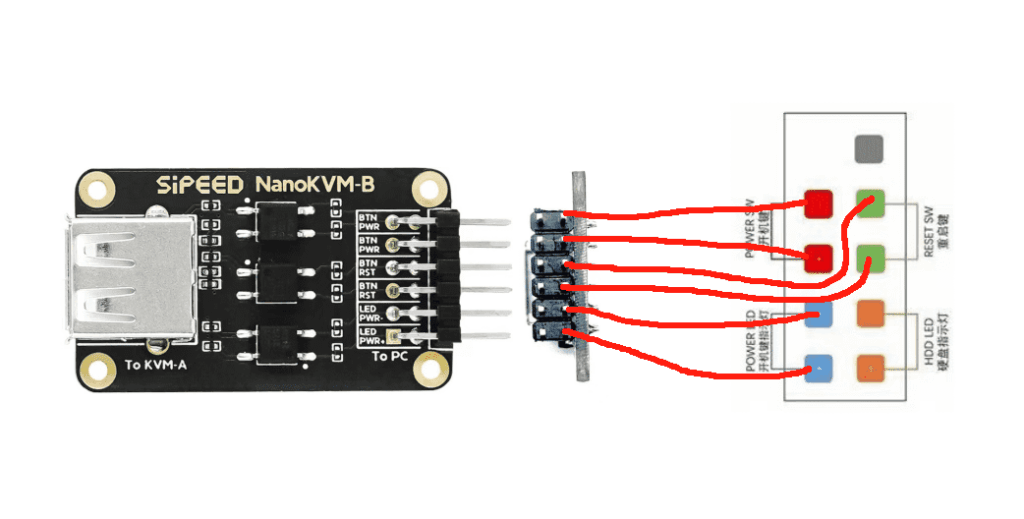
- (Cube only) Attach the ATX board to the motherboard’s power/reset headers, then connect it to the NanoKVM.
- Power up the device—either from the host’s USB port or via the auxiliary USB-C power input.
The OLED display (Cube) shows the device’s IP address. You can then access the web interface via a browser on the same network. The default login is admin/admin, with a prompt to change the password on first use.
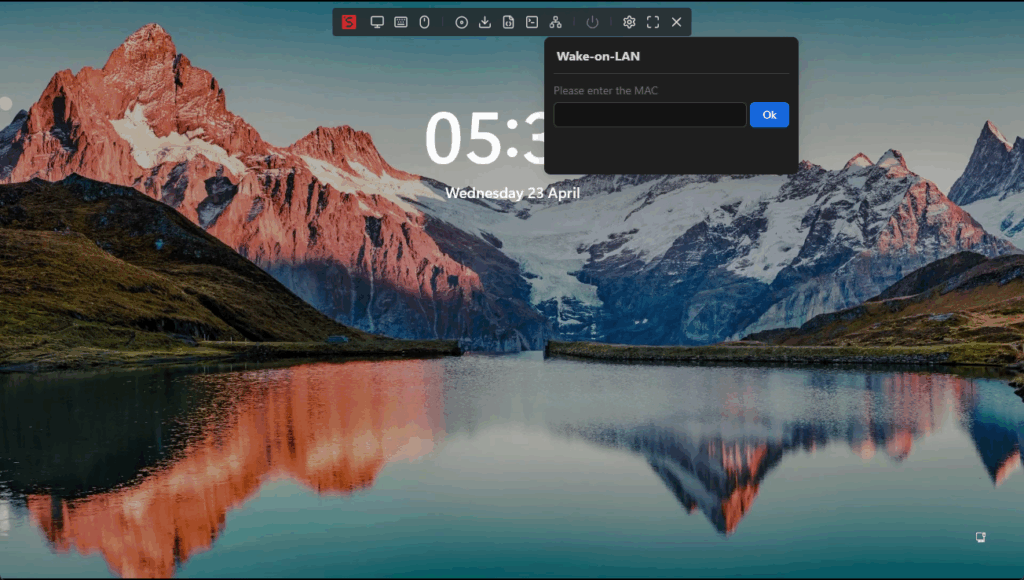
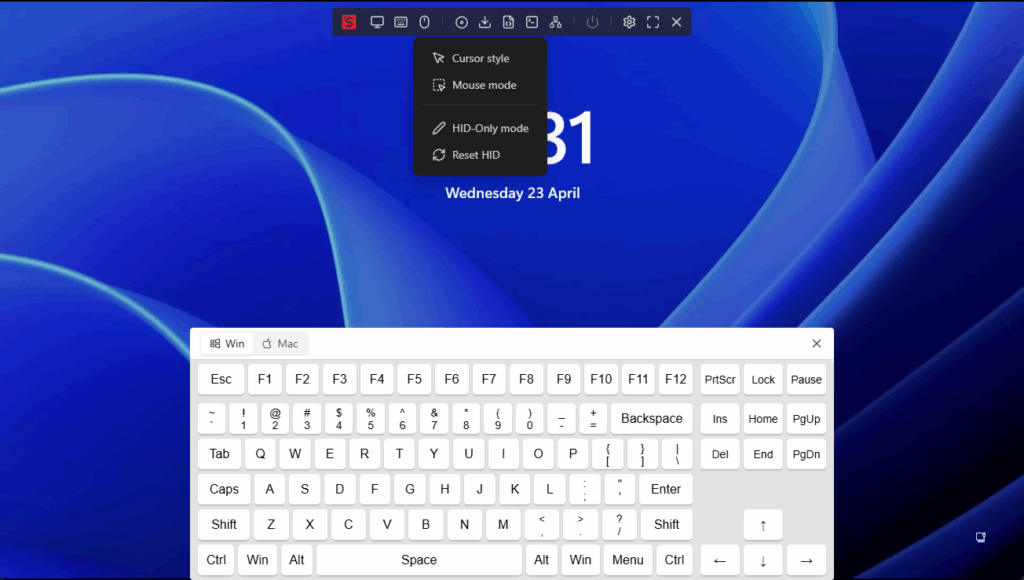
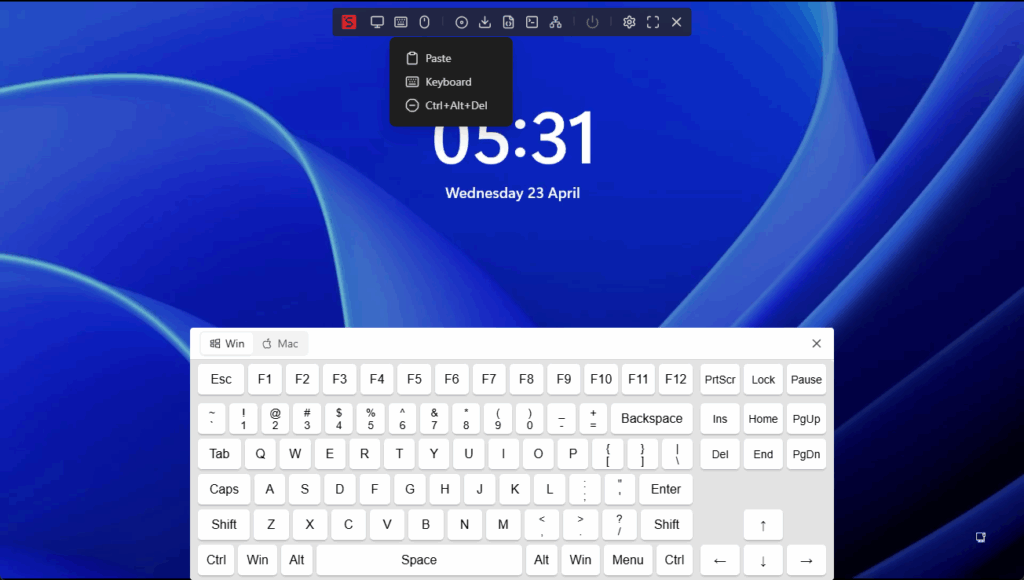
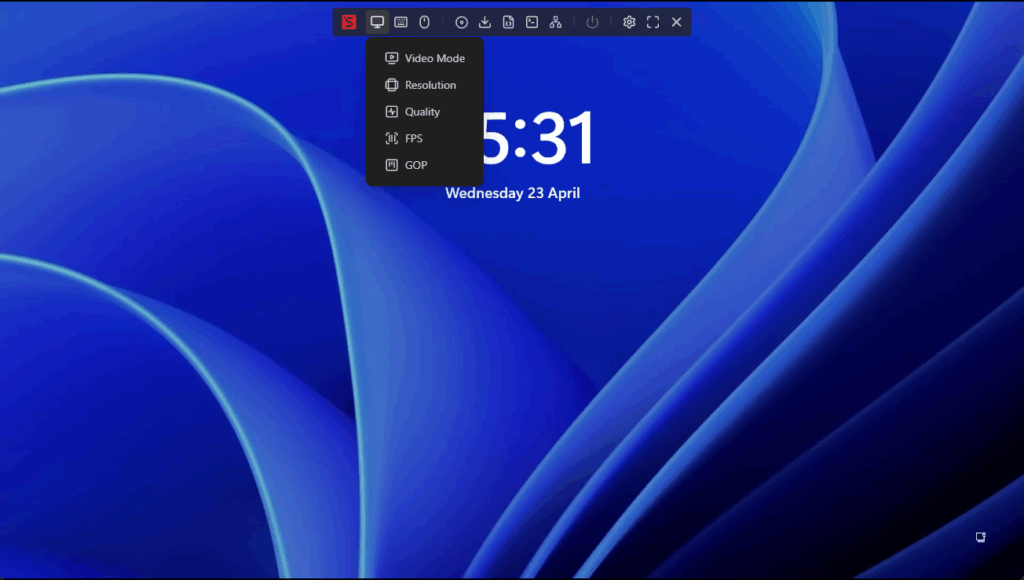
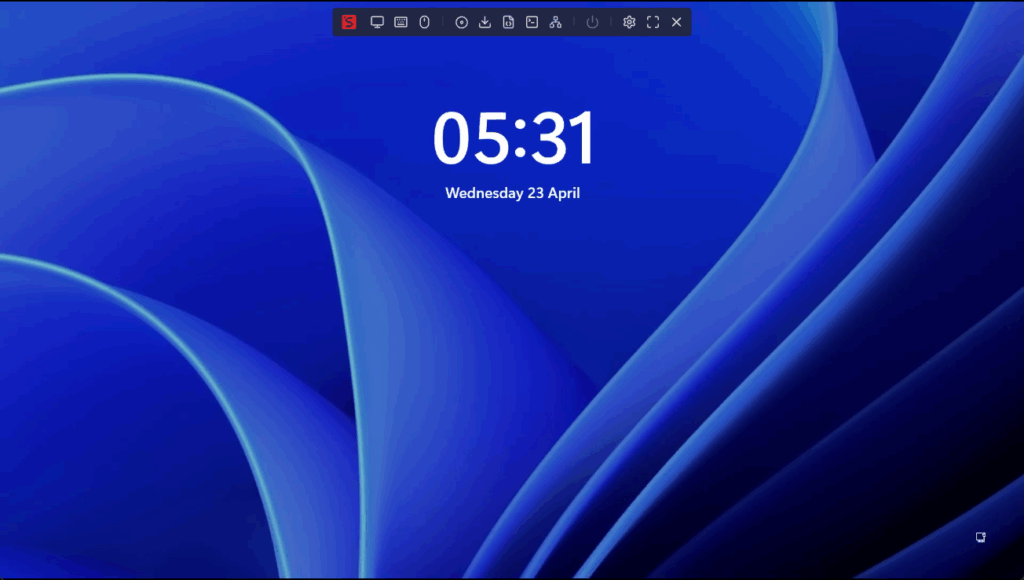
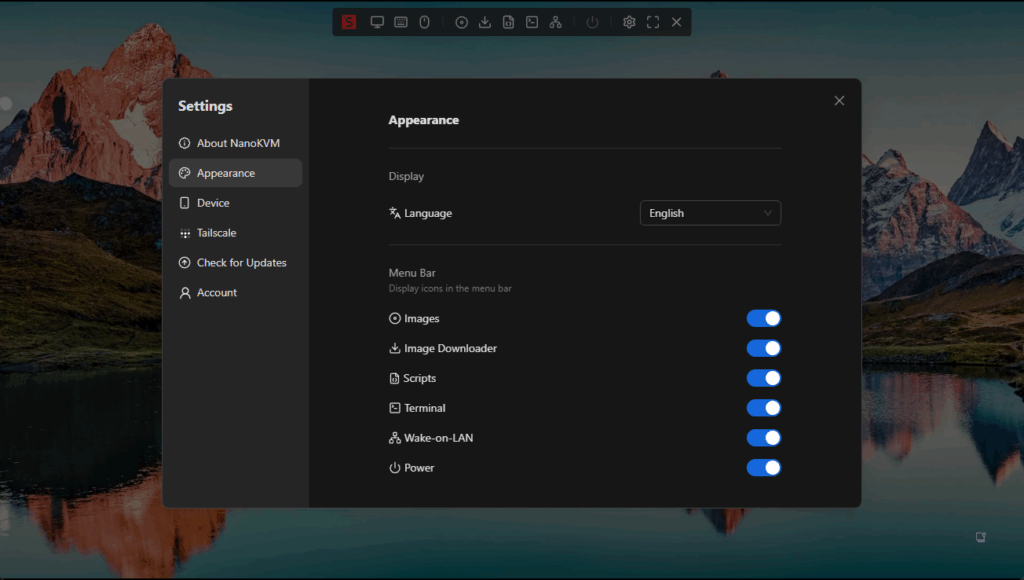
The web UI is minimal but functional, with a top-centre navigation bar granting access to all features. Settings are logically organised, and most users will be up and running within minutes.
Tailscale
The NanoKVM supports Tailscale for secure remote access. Enabling Tailscale is as simple as clicking a button in the web UI and authenticating the device via the Tailscale portal.
This feature is a major advantage for users needing access from outside their local network. However, running Tailscale on a device with only 128MB RAM can be unreliable, with reports of the client being killed by the out-of-memory process. For critical remote deployments, it is advisable to test stability thoroughly before relying on this feature.
User Interface
In-Use
Day-to-Day Operation
In practice, the NanoKVM delivers on its basic promises:
- Remote BIOS and OS installation: The device allows full control of the host, including BIOS access and OS installation via virtual USB disk.
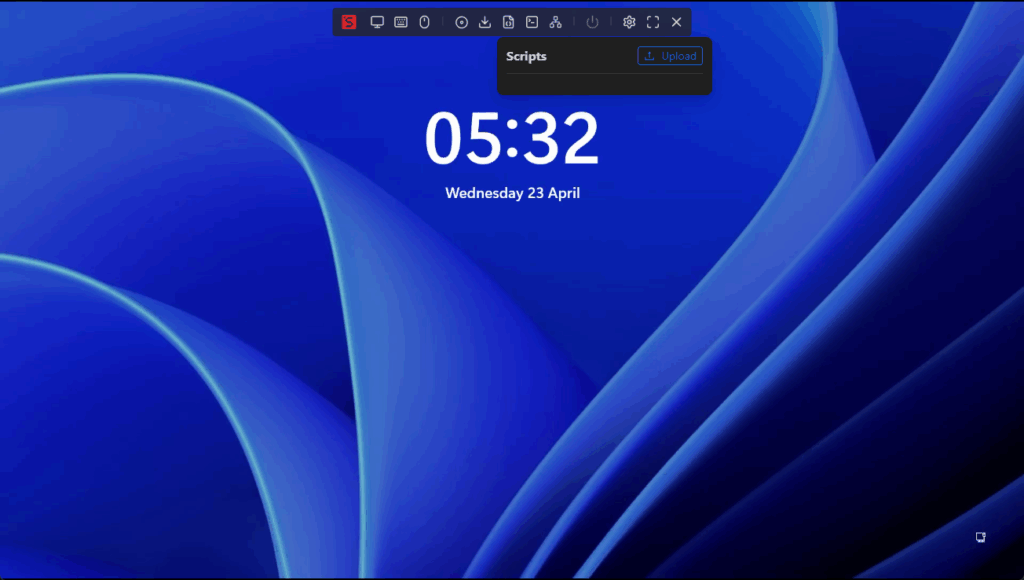
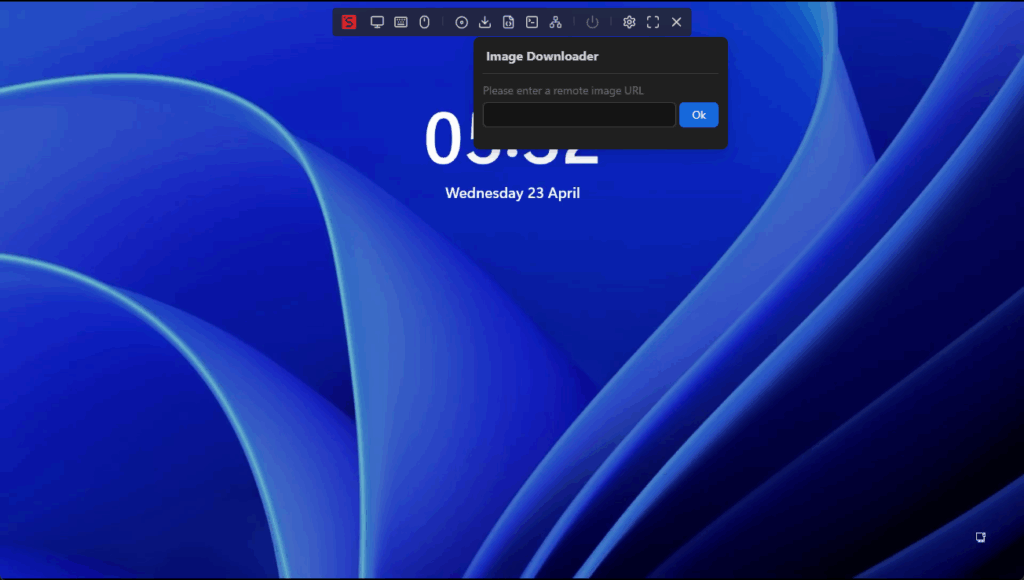
- Web UI: The interface is clear, responsive, and accessible from any modern browser. Features like ISO mounting, power control, and serial console are available from the top navigation bar.
- Input Latency: Latency is generally acceptable for remote administration, though not suitable for latency-sensitive tasks like gaming. Reported figures range from 80–200ms. Input lag is noticeably higher than with PiKVM, and can become problematic if network conditions are poor.
- Virtual Disk: ISOs can be mounted by uploading to the microSD card (via SFTP or by removing the card), or by connecting the device as a mass storage device to another computer. Transfer speeds are slow (around 5MB/s), making large OS images time-consuming to upload.
- ATX Power Control: The Cube model enables remote power on/off and reset, which is invaluable for true out-of-band management. The Lite model cannot control power and will reboot with the host if powered from the same USB port.
- Serial Console: Serial port functionality is present but requires additional wiring and was not tested extensively.
Stability and Bugs
A few issues became apparent during extended use:
- Device Instability: Occasional issues with HID emulation (keyboard/mouse) were encountered, necessitating a device reboot.
- Compatibility: I haven’t experienced this, but some Nvidia graphics cards caused slowdowns, and certain motherboards failed to boot with the device attached due to hardware bugs. Sipeed has acknowledged these issues and promised fixes in future hardware revisions.
Price and Alternative Options
I bought both products from AliExpress, and I paid:
- Sipeed NanoKVM: £40.69
- Sipeed NanoKVM Mini: £20.29
I bought them both together, and the tax (£13.35) and shipping (£5.79) took the final cost to £80.11
If I were to buy them separately, it looks like the Mini would be around £32.67 including tax and shipping and the Sipeed NanoKVM Cube would be £60.
On Amazon UK, you can get the Lite for £45. It is available through Amazon Prime but appears to be shipped from China.
The Sipeed NanoKVMFull / Cube is available for £76 and is shipped from the US.
Overall
I will admit I am a bit biased with this review, as it is my first experience of an IP-KVM, and it did exactly what I wanted, and it did so affordably.
If you are using a miniPC as a server, the Sipeed NanoKVM Mini is perfect in my opinion. You don’t have access to the power jumpers, so the larger model is not really necessary, and for £30 there is nothing that competes with this, the price is incredible.
If you have access to the power jumpers on the motherboard, or have a mini PC like the GEEKOM Mini Air12 Lite with a front panel header, then the large Cube model is well worth considering, giving you direct control of power.
For my use case—remote management of headless mini PCs in a home lab—the Sipeed NanoKVM has did the job perfectly. It has saved me countless trips to the loft and enabled remote troubleshooting and OS installation with minimal fuss. While it is not without flaws, its affordability and feature set make it a standout option for budget-conscious users.
I am James, a UK-based tech enthusiast and the Editor and Owner of Mighty Gadget, which I’ve proudly run since 2007. Passionate about all things technology, my expertise spans from computers and networking to mobile, wearables, and smart home devices.
As a fitness fanatic who loves running and cycling, I also have a keen interest in fitness-related technology, and I take every opportunity to cover this niche on my blog. My diverse interests allow me to bring a unique perspective to tech blogging, merging lifestyle, fitness, and the latest tech trends.
In my academic pursuits, I earned a BSc in Information Systems Design from UCLAN, before advancing my learning with a Master’s Degree in Computing. This advanced study also included Cisco CCNA accreditation, further demonstrating my commitment to understanding and staying ahead of the technology curve.
I’m proud to share that Vuelio has consistently ranked Mighty Gadget as one of the top technology blogs in the UK. With my dedication to technology and drive to share my insights, I aim to continue providing my readers with engaging and informative content.

