Any links to online stores should be assumed to be affiliates. The company or PR agency provides all or most review samples. They have no control over my content, and I provide my honest opinion.
The Snipping tool is a built-in utility on Windows that allows users to easily take screenshots of their screen. Unfortunately, the Snipping tool is not available on Mac by default. However, there are several alternative ways to take screenshots on a Mac, including built-in screenshot app functionality.
How to take a screenshot on your Mac

One of the simplest ways to take a screenshot on a Mac is to use keyboard shortcuts. To take a screenshot of the entire screen, press Command + Shift + 3.
How to capture a portion of the screen

To take a screenshot of a specific portion of the screen, press Command + Shift + 4, and then select the area you want to capture. The screenshots will be saved to the desktop by default.
Set a timer for screenshots
This is a handy feature that can prevent you from capturing unwanted parts of the screen, such as the cursor.
If you need to set a timer for a screenshot, follow these steps:
- Press Shift – Command – 5
- Select Options
- Set Timer to either None, 5 Seconds, or 10 Seconds
Screenshot app shortcuts:
- Shift > Command > 3
- Shift > Command > 4
- Shift > Command > 4 > Spacebar
- Shift > Command > 6 (for Touch Bar MacBooks)
- Shift > Command > 5 (new for macOS Mojave and above)
Mac OS X Grab utility to take screenshots
Another way to take a screenshot on a Mac is to use the built-in Grab utility. This is available on older versions of macOS and was replaced by the screenshot app with versions above macOS Mojave (10.14).
If you are using an older version, this can be found in the Applications > Utilities folder. With Grab, you can take screenshots of the entire screen, a specific window, or a selected area.
Best 3rd party apps for screenshots
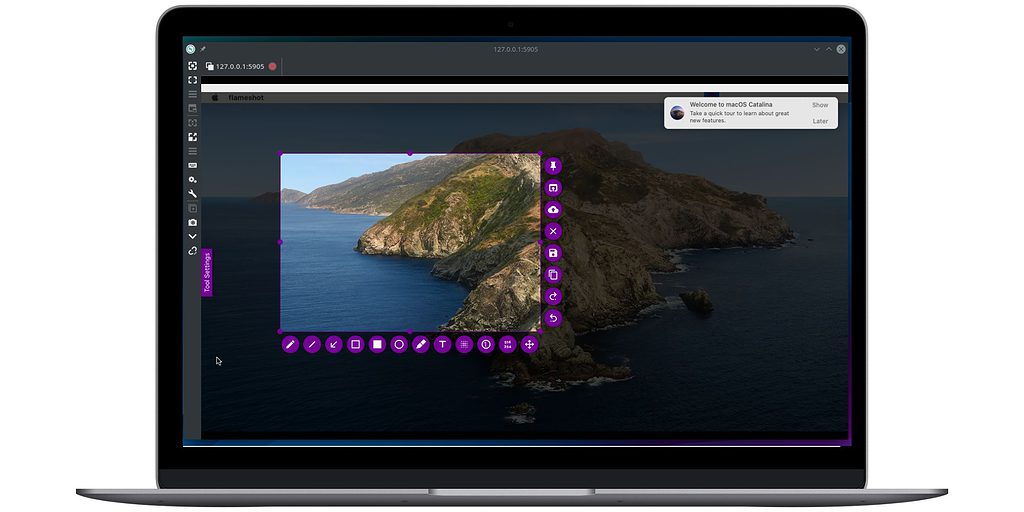
I am personally a Windows user, as much as I like the snipping tool on Windows, I prefer alternative apps. I love ShareX on Windows. Many people regard the best Mac alternative is Flameshot, which is both free and Open Source.
Before using ShareX, I used Greenshot, which is available on the Mac and an app I can strongly recommend.
There are many other options available for download such as Lightshot, Skitch, and Monosnap. These apps often offer additional features like annotation, cropping, and image editing tools.
I am James, a UK-based tech enthusiast and the Editor and Owner of Mighty Gadget, which I’ve proudly run since 2007. Passionate about all things technology, my expertise spans from computers and networking to mobile, wearables, and smart home devices.
As a fitness fanatic who loves running and cycling, I also have a keen interest in fitness-related technology, and I take every opportunity to cover this niche on my blog. My diverse interests allow me to bring a unique perspective to tech blogging, merging lifestyle, fitness, and the latest tech trends.
In my academic pursuits, I earned a BSc in Information Systems Design from UCLAN, before advancing my learning with a Master’s Degree in Computing. This advanced study also included Cisco CCNA accreditation, further demonstrating my commitment to understanding and staying ahead of the technology curve.
I’m proud to share that Vuelio has consistently ranked Mighty Gadget as one of the top technology blogs in the UK. With my dedication to technology and drive to share my insights, I aim to continue providing my readers with engaging and informative content.

